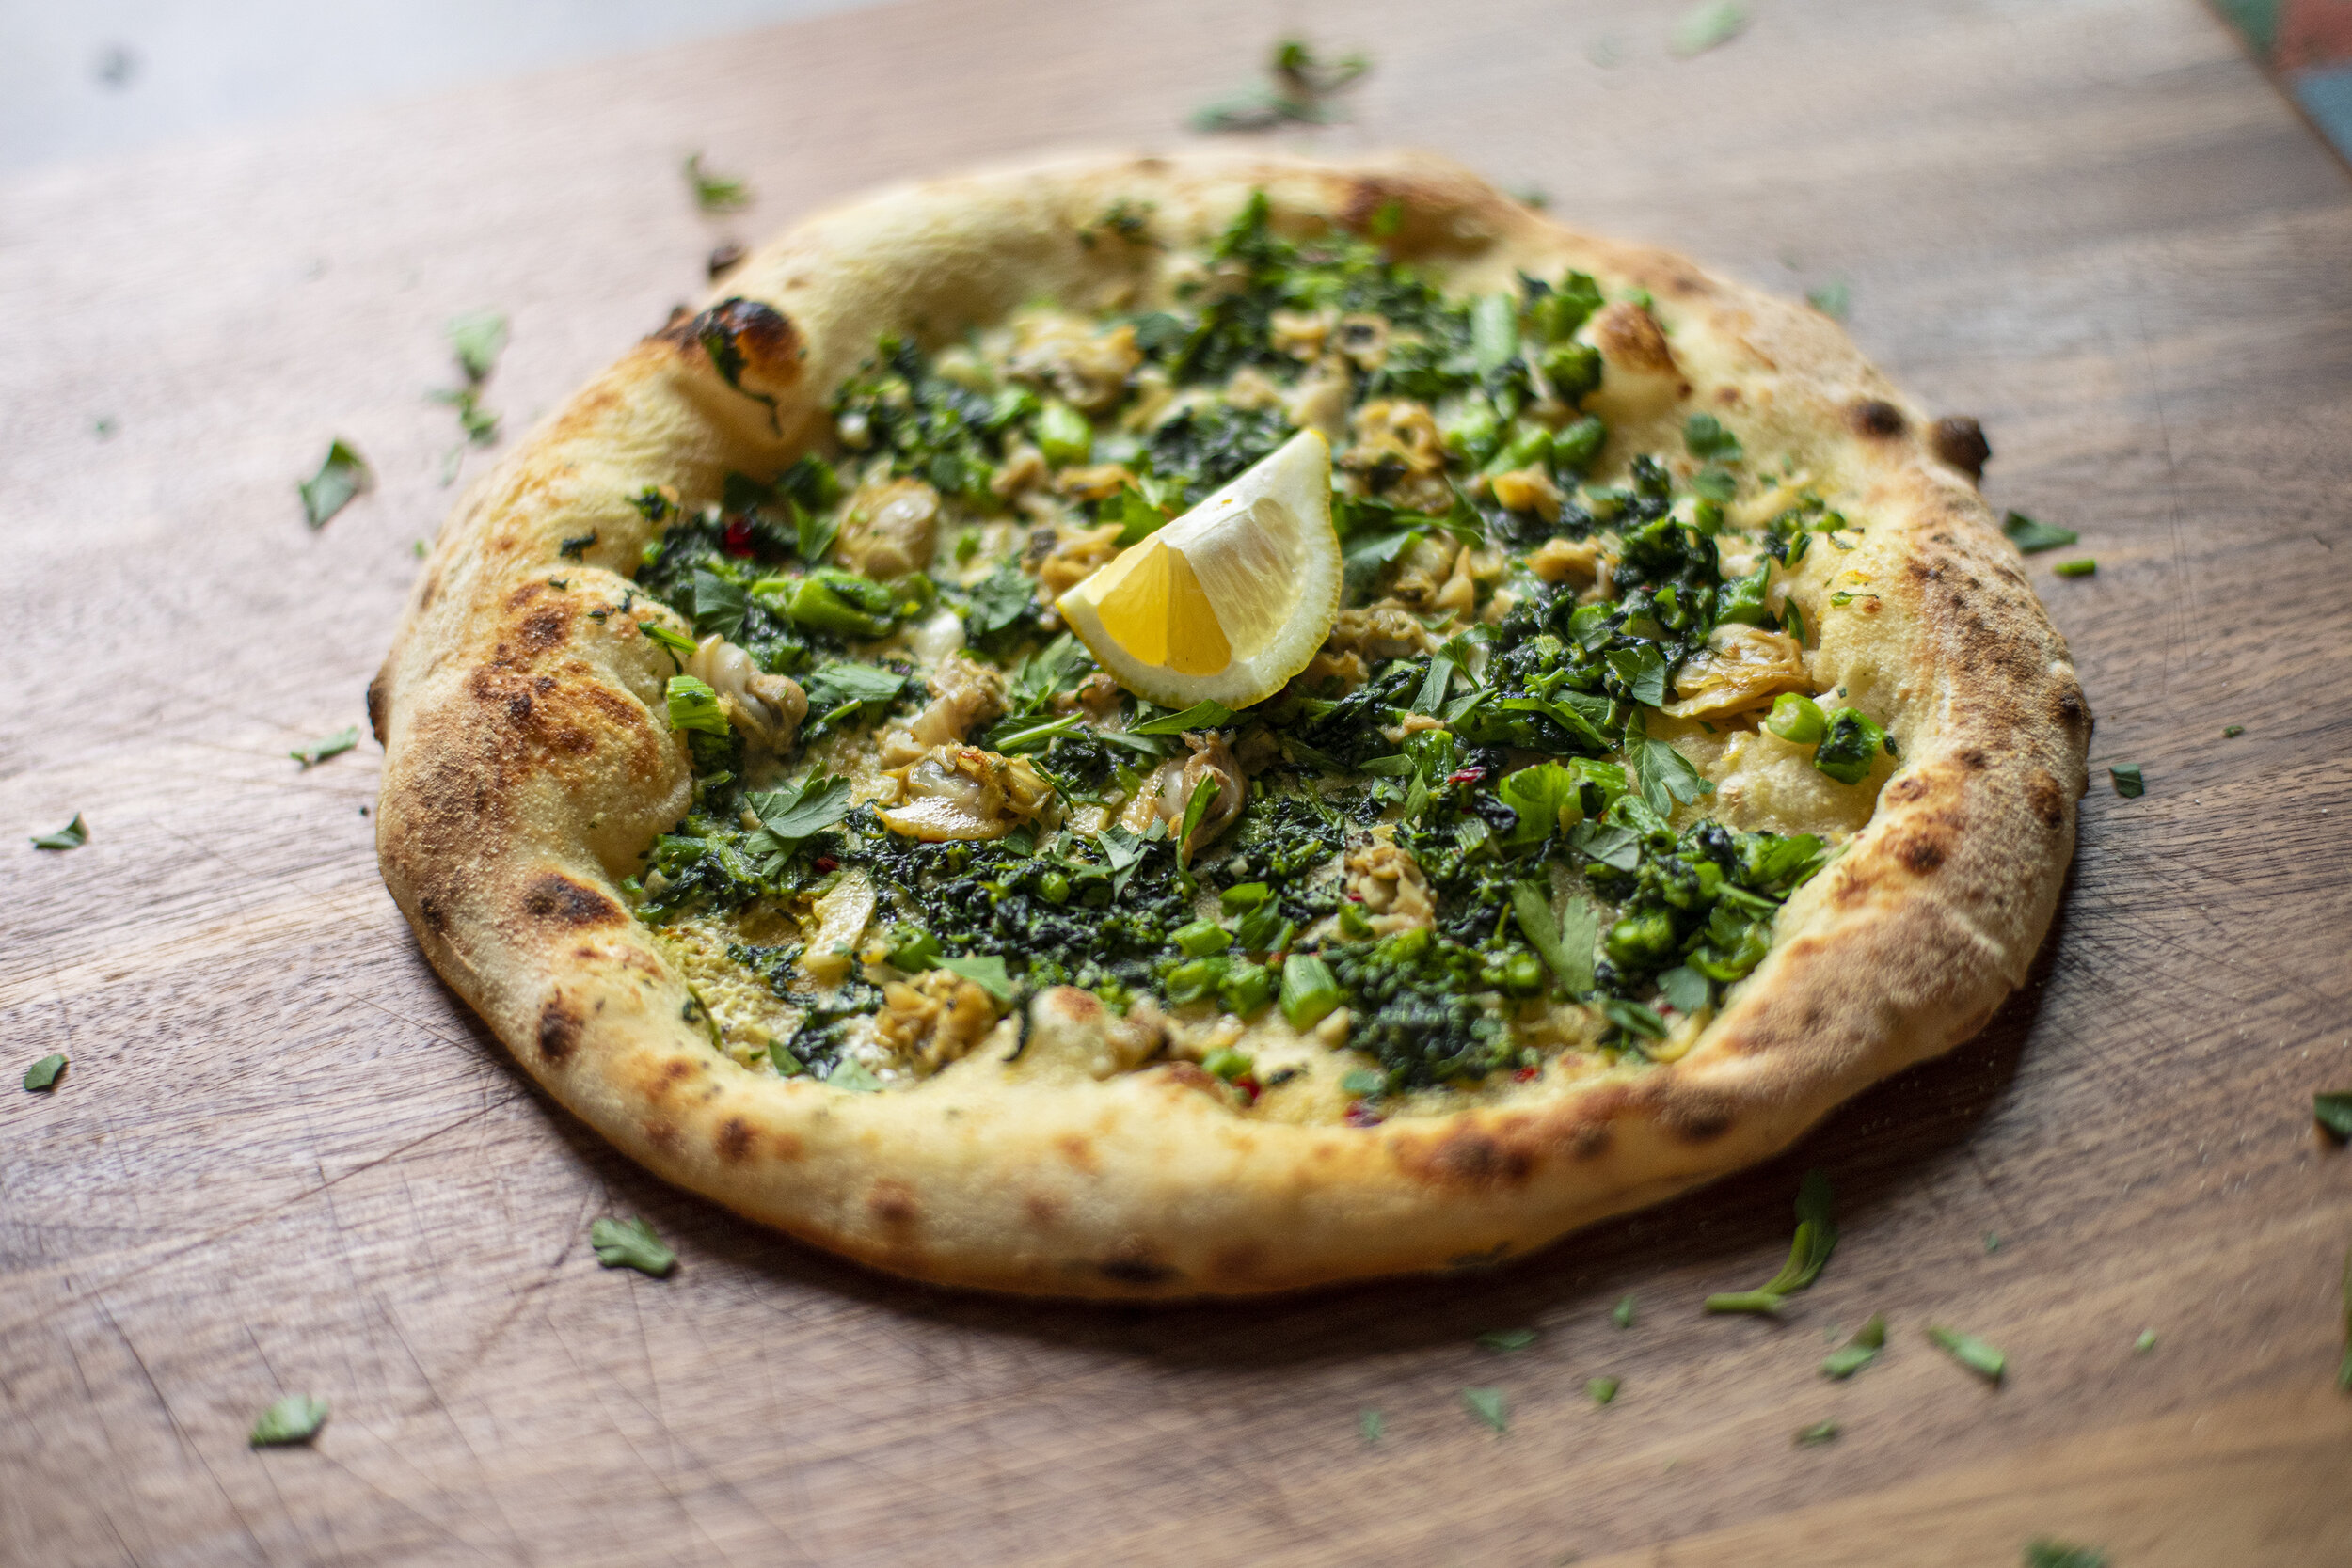
Candy Cap Caramel Donuts

An experiment. When I first started reading about candy caps I was immediately intrigued. People always describe them in such vivid detail, emitting a perfume that smells overwhelmingly like maple syrup. A smell that saturates the room for hours. It’s one of the few mushrooms that lends itself to sweets and non-savory applications. While they don’t grow on the East Coast I was fortunate to get my hands on some from @theforagedfeast . I cycled through various ideas about what to make, read through all of @foragerchef ‘s lovely candy cap recipes and eventually circled back to something closer to home - donuts. The initial reaction might be WTF, or mushrooms don’t belong in donuts, but I assure you that these are not your average mushrooms. There might be some mental threshold that needs to be crossed for the mushroom skeptics out there, but on taste alone these are pretty special. I used a small percentage of dried candy cap powder for the dough which was naturally leavened over two days, deep fried, glazed and drizzled with a decadent salted candy cap caramel sauce. They might not end up on the menu of my hypothetical donut shop that I've been dreaming up, but they were a worthy experiment to work with some unexpected wild ingredients and produce something sweet and delicious with an incredible texture. Video of the whole process below.

finished candy cap donuts.jpg

Ingredients:

230 g Manitoba 0 Flour (or similar)

25 g Whole Wheat Tumminia Flour

12 g dried candy cap powder

50 g water

40 g sugar

50 g butter (cubed)

90 g eggs (approx 2 medium sized)

5 g salt

110 g active sourdough starter

1 tsp vanilla

1 gallon neutral oil

*makes approximately 6 - 8 donuts depending on size

The recipe is spread out over three days and in my opinion is well worth the wait. The natural leavening always yields a tastier end result. I normally start my process around 12pm on day 1 which results in fresh donuts for breakfast two days later.

candy caps in hand.jpg
dough hook.jpg
punching out.jpg
frying.jpg

The Dough

Directions:

  1. 12 pm Day 1 - In a stand mixer, combine all your ingredients and mix for about 10 minutes.

  2. This is very similar to a brioche dough, so at first it will feel quite sticky to the touch, even after ten minutes of mixing.

  3. Transfer the dough to a bowl and cover.

  4. Over the next 5-6 hours you’ll want to fold the dough with your hands 4 times. Let the dough relax for at least 30 minutes in between each fold. By the fourth fold the dough will feel a lot less sticky and will be smoother to the touch. Avoid the urge to add flour if you find it is too sticky.

  5. 6pm Day 1 - Transfer the covered bowl to the refrigerator and forget about it for 24 hrs.

  6. 6pm Day 2 - Remove dough from the refrigerator and allow to relax for about 30 minutes. Do one more round of folding and set out at room temperature overnight.

  7. 7am Day 3 - Gently flour your work surface and dump out the dough.

  8. Bring your neutral oil up to 350F.

  9. Use your hands to spread it out evenly. Use a rolling pin to gently roll out the dough to approximately 3/4 inch thickness. Do not press down too hard as you want to keep some rise to the dough.

  10. Using a circular cookie cutter approx 4” in diameter, punch out as many donuts as possible. Save the scraps for maltagliate - ugly leftover shapes of dough that shouldn’t go to waste!

  11. Use another circular punch about 1/2” in diameter to punch out the holes in the center of each donut. Gently use your fingers to stretch it out ever so slightly.

  12. Drop each circular dough into the oil and fry for about 3 minutes each side until golden brown.

  13. Remove from the oil and set onto a rack or paper towels to dry off and cool slightly.

drizzling spoon.jpg
donut with bite.jpg

The Candy Cap Caramel

This recipe is based on a recipe from Sally McKenney.

Ingredients:

1 cup (200g) granulated sugar

6 Tablespoons (90g) unsalted, room temperature cut up into 6 pieces

1/2 cup (120ml) heavy cream, at room temperature

2 teaspoons big chunky flake salt

20g dried candy cap powder

Directions:

  1. Bring a medium sized saucepan to medium heat and add the granulated sugar. Using a rubber spatula or whisk, stir constantly for a few minutes until the sugar eventually melts into a thick brown liquid. Continue to stir and lower the flame to a low simmer.

  2. Once there are no more lumps, add the butter and continue stirring to combine. Whisk/stir vigorously so the sugar and butter combines without looking clumpy. This will take a few minutes.

  3. Add the candy cap powder and continue stirring for another minute.

  4. Very slowly pour in the heavy cream and continue stirring. It will begin to bubble as it simmers. Allow it to simmer like this for about 1 minute.

  5. Remove from the heat and as it cools add in the flake salt.

  6. Allow it to completely cool before using.

  7. It will keep in the fridge for about 1 month.

The Final Donut

The donuts are then dipped in a plain glaze and drizzled with the candy cap caramel. Best enjoyed while still slightly warm.

Tumminia Flour Busiate with Fire Roasted Red Sauce

I was delighted to receive a package from @gustiamo with this incredible tumminia flour from Filippo Drago's flour mill in Castelvetrano, Sicily. I've never worked with this variety before - an ancient variety of wheat native to Sicily. I was intending on making a wood fired pasta alla norma with handmade tumminia busiate, but because of the chaos at the supermarkets and the threat of coronavirus I wasn't able to source all my ingredients and instead just opted for a simpler wood fired red sauce in the @oonihq Pro. The flour has an amazing smell and flavor, and I'm looking forward to using it to make a traditional pane nero next. A compromised vision - but a pretty tasty dish none-the-less. Full video about the process below.

plate of busiate 2.jpg

The Dough

1/2 cup of Tumminia Flour (or regular whole wheat)

1/2 semolina flour

1 cup of cold water

Olive oil

Salt

The Pasta

Form a mound in the center of your work surface with your blended flour. Using your finger tips, create a well in the center like a volcano. Slowly pour in the water a little at a time and use a fork to start combining the flour with the water. Incorporate the water completely and the mixture will be somewhat crumbly. Now start working the dough together with your hands for about 5 minutes. it will start to feel smoother. Drizzle on a little bit of olive oil, a pinch of salt, and continue working the dough for another 5 minutes until it is very smooth. If the dough feels too sticky, use a little more flour to dust the surface until the dough does not stick to the work surface or your hands. Wrap the dough ball in plastic wrap and set aside for 30 minutes at room temperature.

Unwrap a corner of the dough and start pulling out one of the side to form the shape of an elongated pear. You’ll keep pulling more dough off the end while keeping the remainder wrapped in plastic so it doesn’t dry out as you work. Rip off small balls about the size of a large grape and roll them into thin “snakes” about 6 inches long with the palm of your hands. Gently dust with more flour.

There is one essential tool you’ll need for this which essentially is a thin wooden dowel which in Sicily is referred to as a busa. Any thin wood dowel safe for food should work for this. The original way to roll the pasta was with the stem of a piece of native grass grown in Sicily. The translation of stem is busa. Hence busiate.

Take the tip of the busa and lay it over one of the ends of the rolled out dough “snake” and it should be at about a 45 degree angle. Now gently roll the busa so that the dough begins to wrap around the wood. Use gentle pressure but don’t push too hard. Here is where you’ll realize that if you don’t dust the dough enough, it will start sticking to the wood, and you’ll start to get frustrated. I promise. So be calm and make sure the dough is not sticky. After the dough is coiled around fully, gently wiggle the busa so it comes loose, and slide it out of the corkscrew shape that you just created. Repeat. Repeat, until there is no dough left. This recipe makes about 4 medium sized plates of pasta.

The video is helpful to visualize how the process looks.

flour in hand.jpg
pulling dough.jpg
corkscrews.jpg

The Sauce

Stewed whole San Marzano tomatoes

Garlic

Yellow onion

Basil

Parmesan Rind

Salt

Pepper

Extra virgin olive oil

The key here is simplicity, and good ingredients (especially the tomatoes).

For this recipe I’m using my wood fired Ooni Pro, but this is wonderful done on the stove top as well. When cooking with fire, you’ll just need to be more mindful of temperature regular but it makes more a wonderful rustic and smoky sauce. Lightly puree the tomatoes in a processor or with a stick blender. Be careful not to aerate the tomatoes too much. For a chunkier sauce you can simply crush the tomatoes by hand. Set aside in a bowl. Peel and dice three to five cloves of garlic and set aside. Peel and chop the onion in half. By cooking the entire halves you will impart the flavor of the onion and the sauce won’t have chunks of onion in it. 

Heat a generous pour of EVOO in your saucepan at medium to low heat. Add your garlic and onion halves and let saute for a few minutes. Be careful not to burn anything. Add a piece of parmesan rind into the hot oil, and let it simmer for another minute. The oils from the cheese will add depth to the sauce. Add your tomatoes to the pan, and bring to a simmer. Add salt and pepper to taste. Add some chopped basil, stir, and set on medium/low. You want your sauce to simmer for about 30 minutes. Stir frequently to make sure it's not sticking to the bottom.

fire roasted sauce.jpg

Finishing

Boil the pasta for about 4 minutes. Drain and transfer to a bowl with the sauce. Use tongs to roll the pasta around so it coats all of the noodles. Plate your pasta and finish with a generous amount of freshly grated parmesan and fresh basil. Enjoy.

New England Style Clam Pizza

When the world seems like it's on its head, I can always find comfort in the things that taste good. And as the weather warms up, I'm feeling a bit more motivated to fire up some pizzas. I haven't had much of a chance this winter to test out the new Ooni Karu - but this past weekend was the perfect opportunity to give it another go. This is my spin on the iconic New England style clam pizza from Frank Pepe's with the addition of broccoli rabe and saffron. This one really hit on all cylinders and will be replicated again. Short video of the entire process below.

clam pie.jpg

Broccoli Rabe

Olive Oil

Dried chili peppers

Garlic

Clams (2 dozen)

Shallots (2 -3)

Thyme

Parsely

Saffron

White Wine

Heavy Cream

Salt

Pepper

The Broccoli Rabe

Blanch broccoli rabe in a pot of boiling water for about 3 minutes. Remove, rinse with cold water and chop into small pieces. Heat oil in a skillet and saute garlic and chili flakes for a minute or so and then add the broccoli rabe to saute for another few minutes. Season with salt and pepper. Set aside.

clams in pan.jpg

The Clams

Finely dice shallots, 2 cloves of garlic, thyme, and parsley. Bring a heat resistant pan up to temperature in the wood burning oven (or stovetop) and add the olive oil. Saute the aromatics for a minute or so until softened and fragrant. Add the saffron and stir. Add in about a half a cup of white wine and return to the heat for another minute. And the clams (as many as will fit in your skillet), mix together, and place back into the heat. Stir occasionally until the clams begin to open. Discard any clams that fail to open up. Remove the clams and allow the liquid to cool down a little. Remove the clam meat from the shells and chop roughly on a cutting board.

removing meat.jpg

The Sauce

In a medium sized bowl, whisk together the heavy cream until frothy and thickened. Slowly pour in the liquid from the clams and continue whisking vigorously until well incorporated. 

Assembly

Stretch your dough. Spoon on the cream sauce leaving an edge around the entire dough. Layer on the chopped broccoli rabe and clams and slide onto your pizza peel. Fire in the oven for 60 - 90 seconds (or until fully cooked through with leoparding around the crust).

Finishing

Finish the pizza with freshly chopped parsley and a big squeeze of lemon juice. 

The Dough

I have been using the overnight levain recipe from Ken Forkish’s Flour Water Salt Yeast and I really haven’t found a good reason to deviate from the recipe.

Sourdough Brioche Ravazzata with Venison Ragu

I was recently turned on to Ravazzata, a traditional street food found in Palermo. The experience is like what would happen if an arancino and a sloppy joe had a baby. There are both fried and baked versions but I opted to go with a baked version for my first attempt using a sourdough brioche recipe inspired by Artisan Bryan. The ragu is mostly traditional, with the exception of swapping out beef for ground venison.

open ravazzata.jpg

The filling

1 lb ground beef (or venison)

Half of a yellow onion, finely diced

3 cloves of garlic, finely minced

6 oz tomato paste

1 cup of frozen peas

Salt and pepper to taste

Cubed provolone, caciocavallo, or your cheese of choice

Saute the onions and garlic in some olive oil for a few minutes until soft. Spoon in the tomato paste and work into the mixture. Add just a little more olive oil if you find it hard to work with but it is important that the ragu stays on the drier side to make filling the ravazzata easier. After sauteing a few more minutes add in the ground meat and keep turning until it browns evenly. Add in the peas and cook for a few more minutes, turning frequently. Add salt and pepper to taste. Set aside to cool and put it into the refrigerator to firm it up before filling.

ragu.jpg

The dough

250g Bread flour

250g All purpose flour

250g active levain

115g cold water

170g unsalted butter

175g eggs (approximately 3-4 eggs)

150g sugar

15g salt

I based the recipe off of a sourdough brioche recipe from Artisan Bryan and made a few modifications to make it more savory and less aromatic. I think it will take a few more iterations to get it perfect, but I was pleased with how it turned out for a first attempt.

dough.jpg

2pm Day 1

Cube the butter. Mix all of you dry and wet ingredients into a mixer/kitchenaid. Start off on the slowest setting and gradually increase the speed. The dough is going to be really wet and sticky but try to avoid adding more flour. Mix for about 10-15 minutes to properly develop the dough. 

Transfer to a lightly oiled bowl or container and allow to rise at room temperature for about 6 hours. Transfer to the refrigerator and cold ferment overnight for about 10 hours. 

7am Day 2

Remove dough from the refrigerator and allow to soften a little for about 20 - 30 mins so it’s easier to work with. Gently flour your work surface and remove the dough from the bowl. Gently dust the top of the dough. Now divide the dough into individual bun size balls (approx 130g each). These will proof with the filling for another 4 hrs.

filling.jpg

Assembly

Using your fingertips gently press each ball down to form something that looks like a large pancake. The edges should be slightly thinner than the middle as they will be folded up over onto each other after filling. Fill each dough round with a few spoonfuls of ragu and top each with the cubed cheese. Gently bring up the edges of the dough, around the ragu, and use your fingers to seal it together. Flip the whole thing over so that the smoother bottom now becomes the top, and transfer to a parchment lined baking tray gently dusted with semolina. 

Brush each bun with an egg wash and sprinkle a generous amount of sesame seeds all over the top surface. Set aside and proof for another 4 hours at room temperature.

finished buns.jpg

Baking

Set your oven to 400F. Bake for 30-35 minutes until light to medium brown depending on your preference. Best enjoyed while still hot.

Sourdough English Muffin Breakfast Sandwich

egg porn shot.jpg

This might look like an ordinary breakfast sandwich, but this thing has a lot going on. Sweet and spicy venison + pork sausage patty, melted cheddar cheese, and a fried egg on top of a homemade sourdough English muffin. This is my version of Thomas’ English Muffin where I tried to replicate the textural experience with a naturally leavened dough. They’re super easy to make once you have an active starter and dare I say better than the original. Video of the process below.

The Sourdough English Muffins

Day 1 Evening

Make your sponge with 110 g active starter, 260 g bread flour, 276 g whole milk and set out to rest overnight at room temperature for approximately 8 hours.

hand in dough.jpg
punch outs.jpg
in skillet.jpg
crumb shot.jpg

Day 2 Morning

Add another 75 g bread flour, 1 tsp of salt, 1 tsp of baking soda, 1.5 tsp of honey, and 1.5 tsp of melted butter. Knead for about ten minutes until all the ingredients are well incorporated. Flour your working surface and roll the dough out to about half an inch thick. Using a circular form, punch out circles of the dough and dust them with a light coat of semolina. Set aside and let proof for about 45 to 60 minutes. 

Lightly oil a cast iron skillet and set to medium/low heat. Cook muffins directly in the pan for about 7 minutes on each side until golden/toasted brown. Cool on a wire rack and split open with a fork.

sausage ingredients.jpg

The Sausage Patties

   1 tablespoon finely chopped fresh sage

    1 tablespoon finely chopped fresh thyme

    2 teaspoons light brown sugar

    1½ teaspoons kosher salt

    1 teaspoon crushed fennel seeds

    ½ teaspoon crushed red pepper flakes

    ¼ teaspoon freshly ground black pepper

    ¼ teaspoon garlic powder

    ¼ teaspoon sweet paprika

    .5 pound ground pork 

    .5 pound ground venison

patties.jpg

Mix sage, thyme, brown sugar, salt, fennel seeds, red pepper flakes, black pepper, garlic powder, and paprika in a medium bowl. Add pork and venison and work spice mixture into meat with your hands until it's very well blended.

Using your hands, form approximately 3 - 4 inch patties about ¼ inch thick. Griddle sausage over medium-high heat until browned on one side, about 2 minutes. Flip and cook 2 minutes more. Use a grill press to ensure a thin and crispy patty.

open sandwich.jpg

The Sandwich

Lay your split English muffin open on a cast iron skillet and top with good quality cheddar cheese. Set into a broiler until the cheese melts. Meanwhile fry your egg in another pan with a generous amount of butter. Set the sausage patty on top of the melted cheese followed by the fried egg gently placed on top so it doesn’t break. Season with salt and pepper and the top half of the muffin. The sausage is already a little spicy but add hot sauce to your liking.