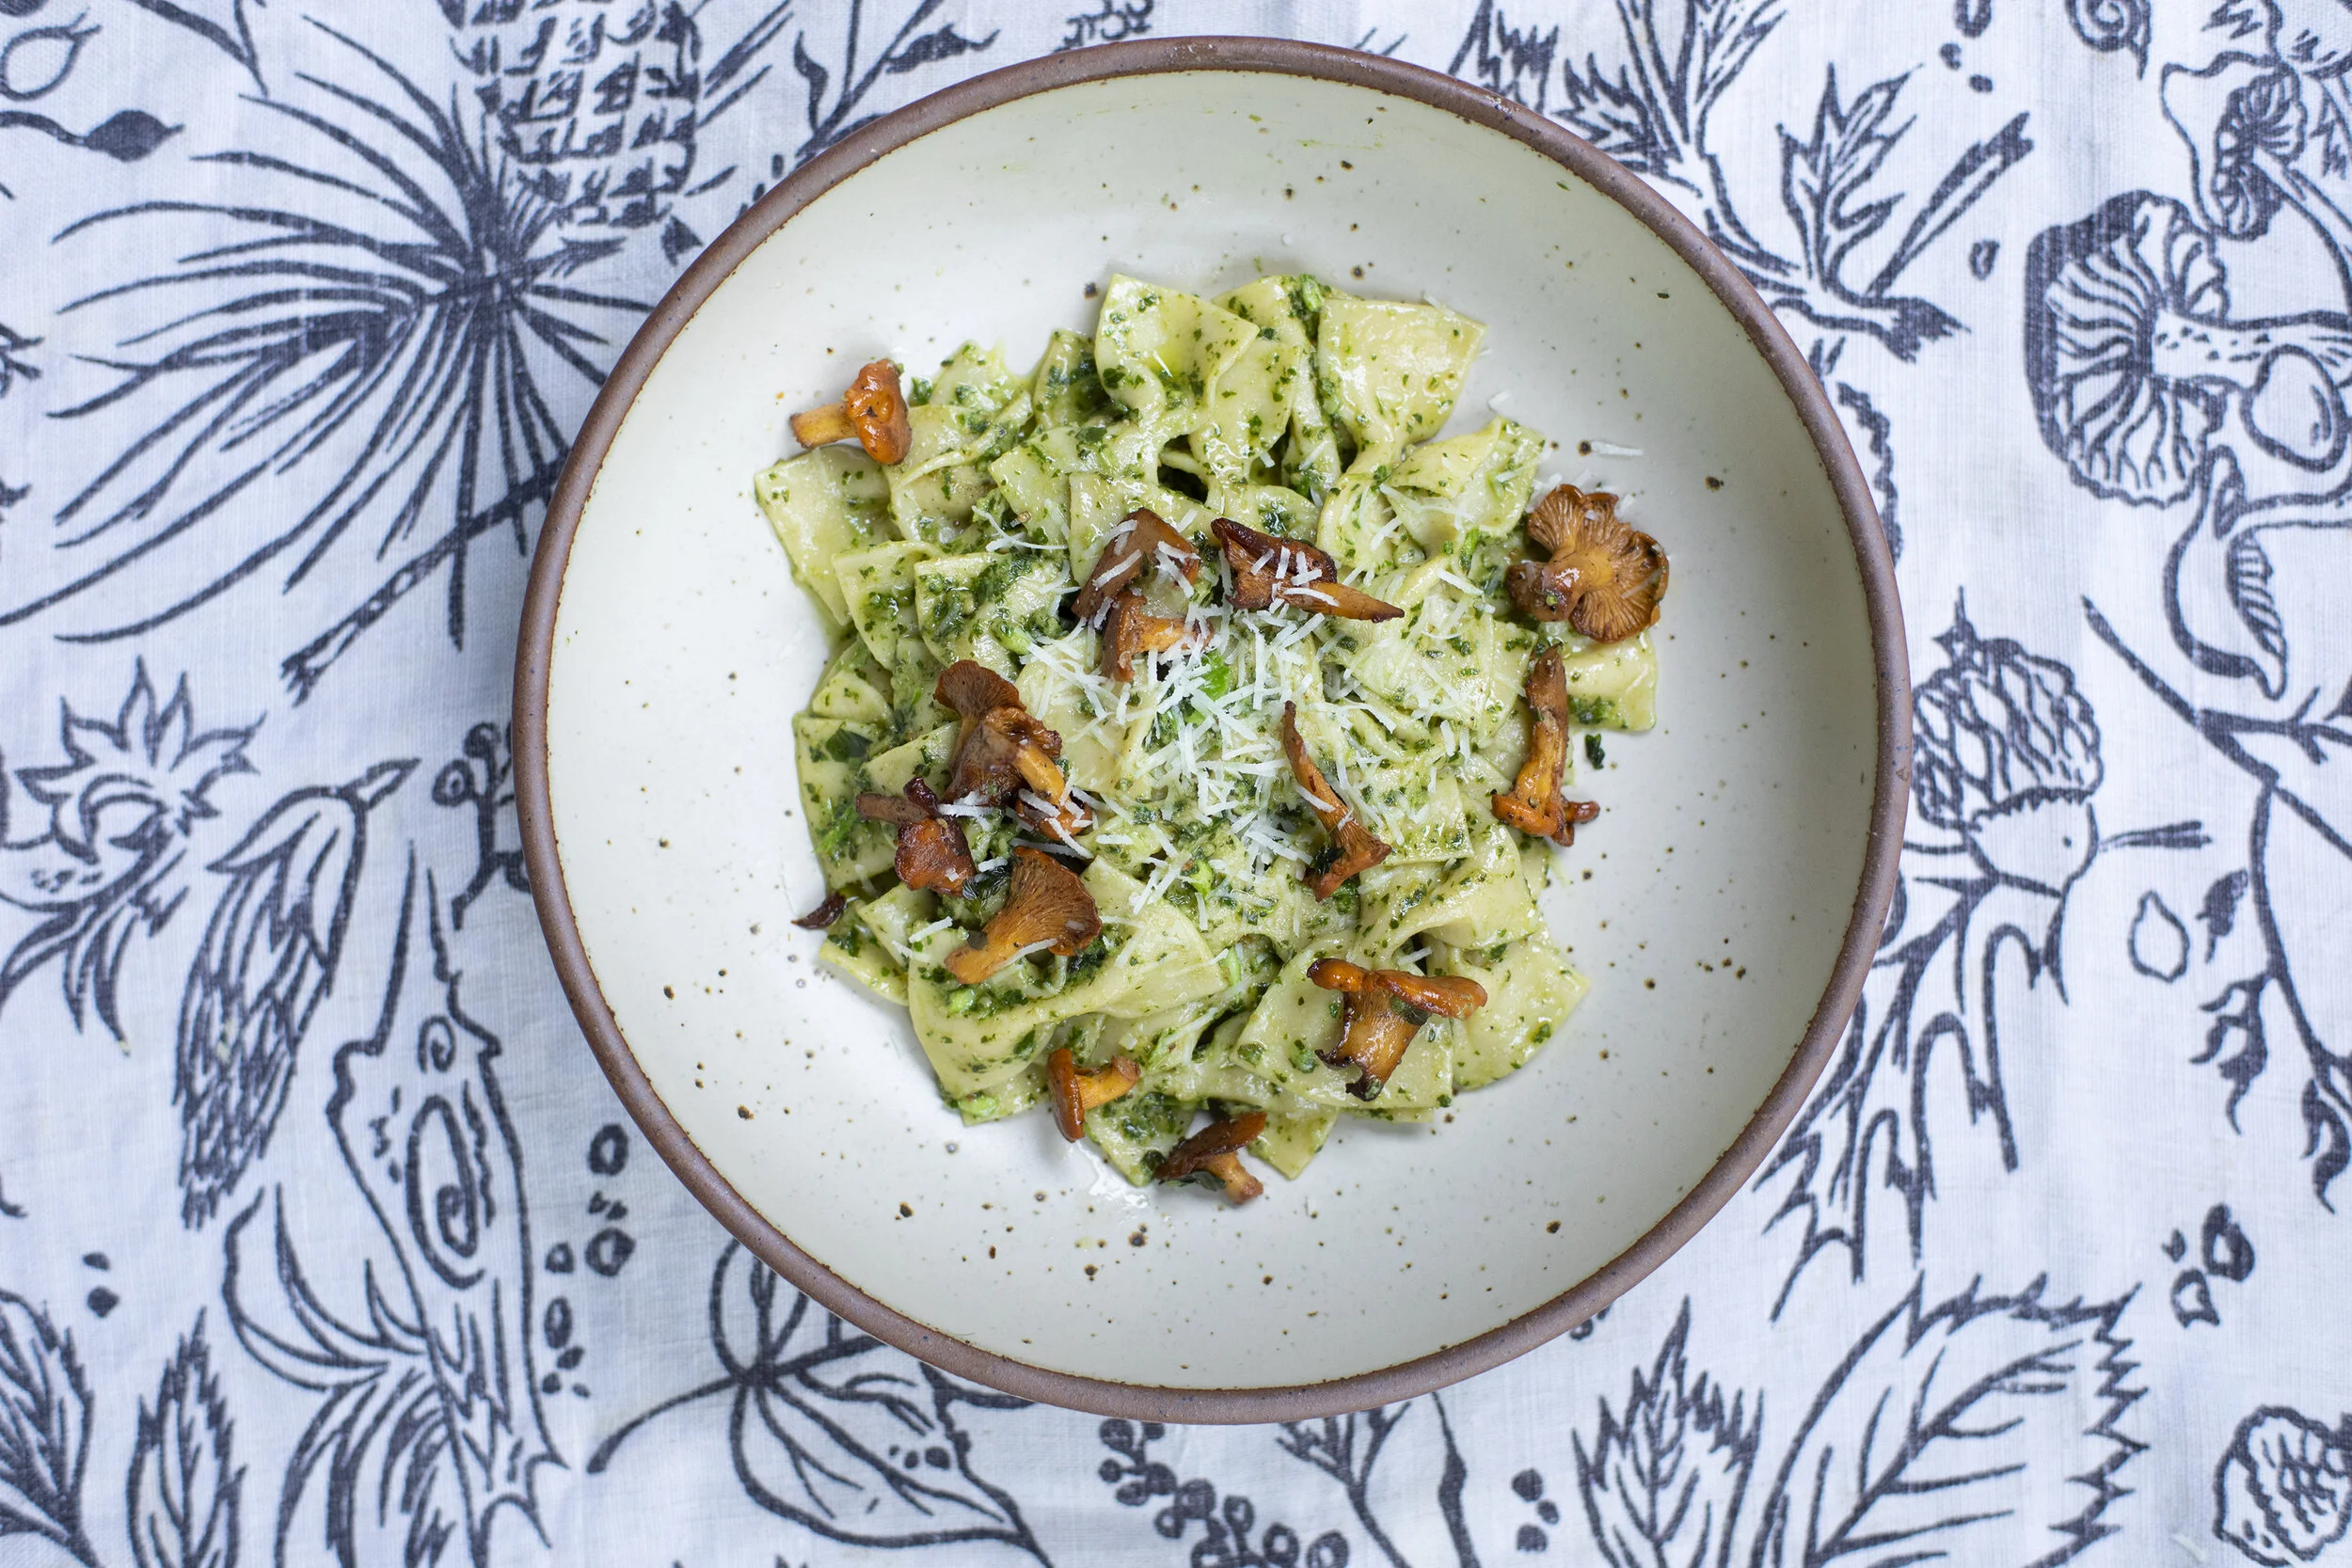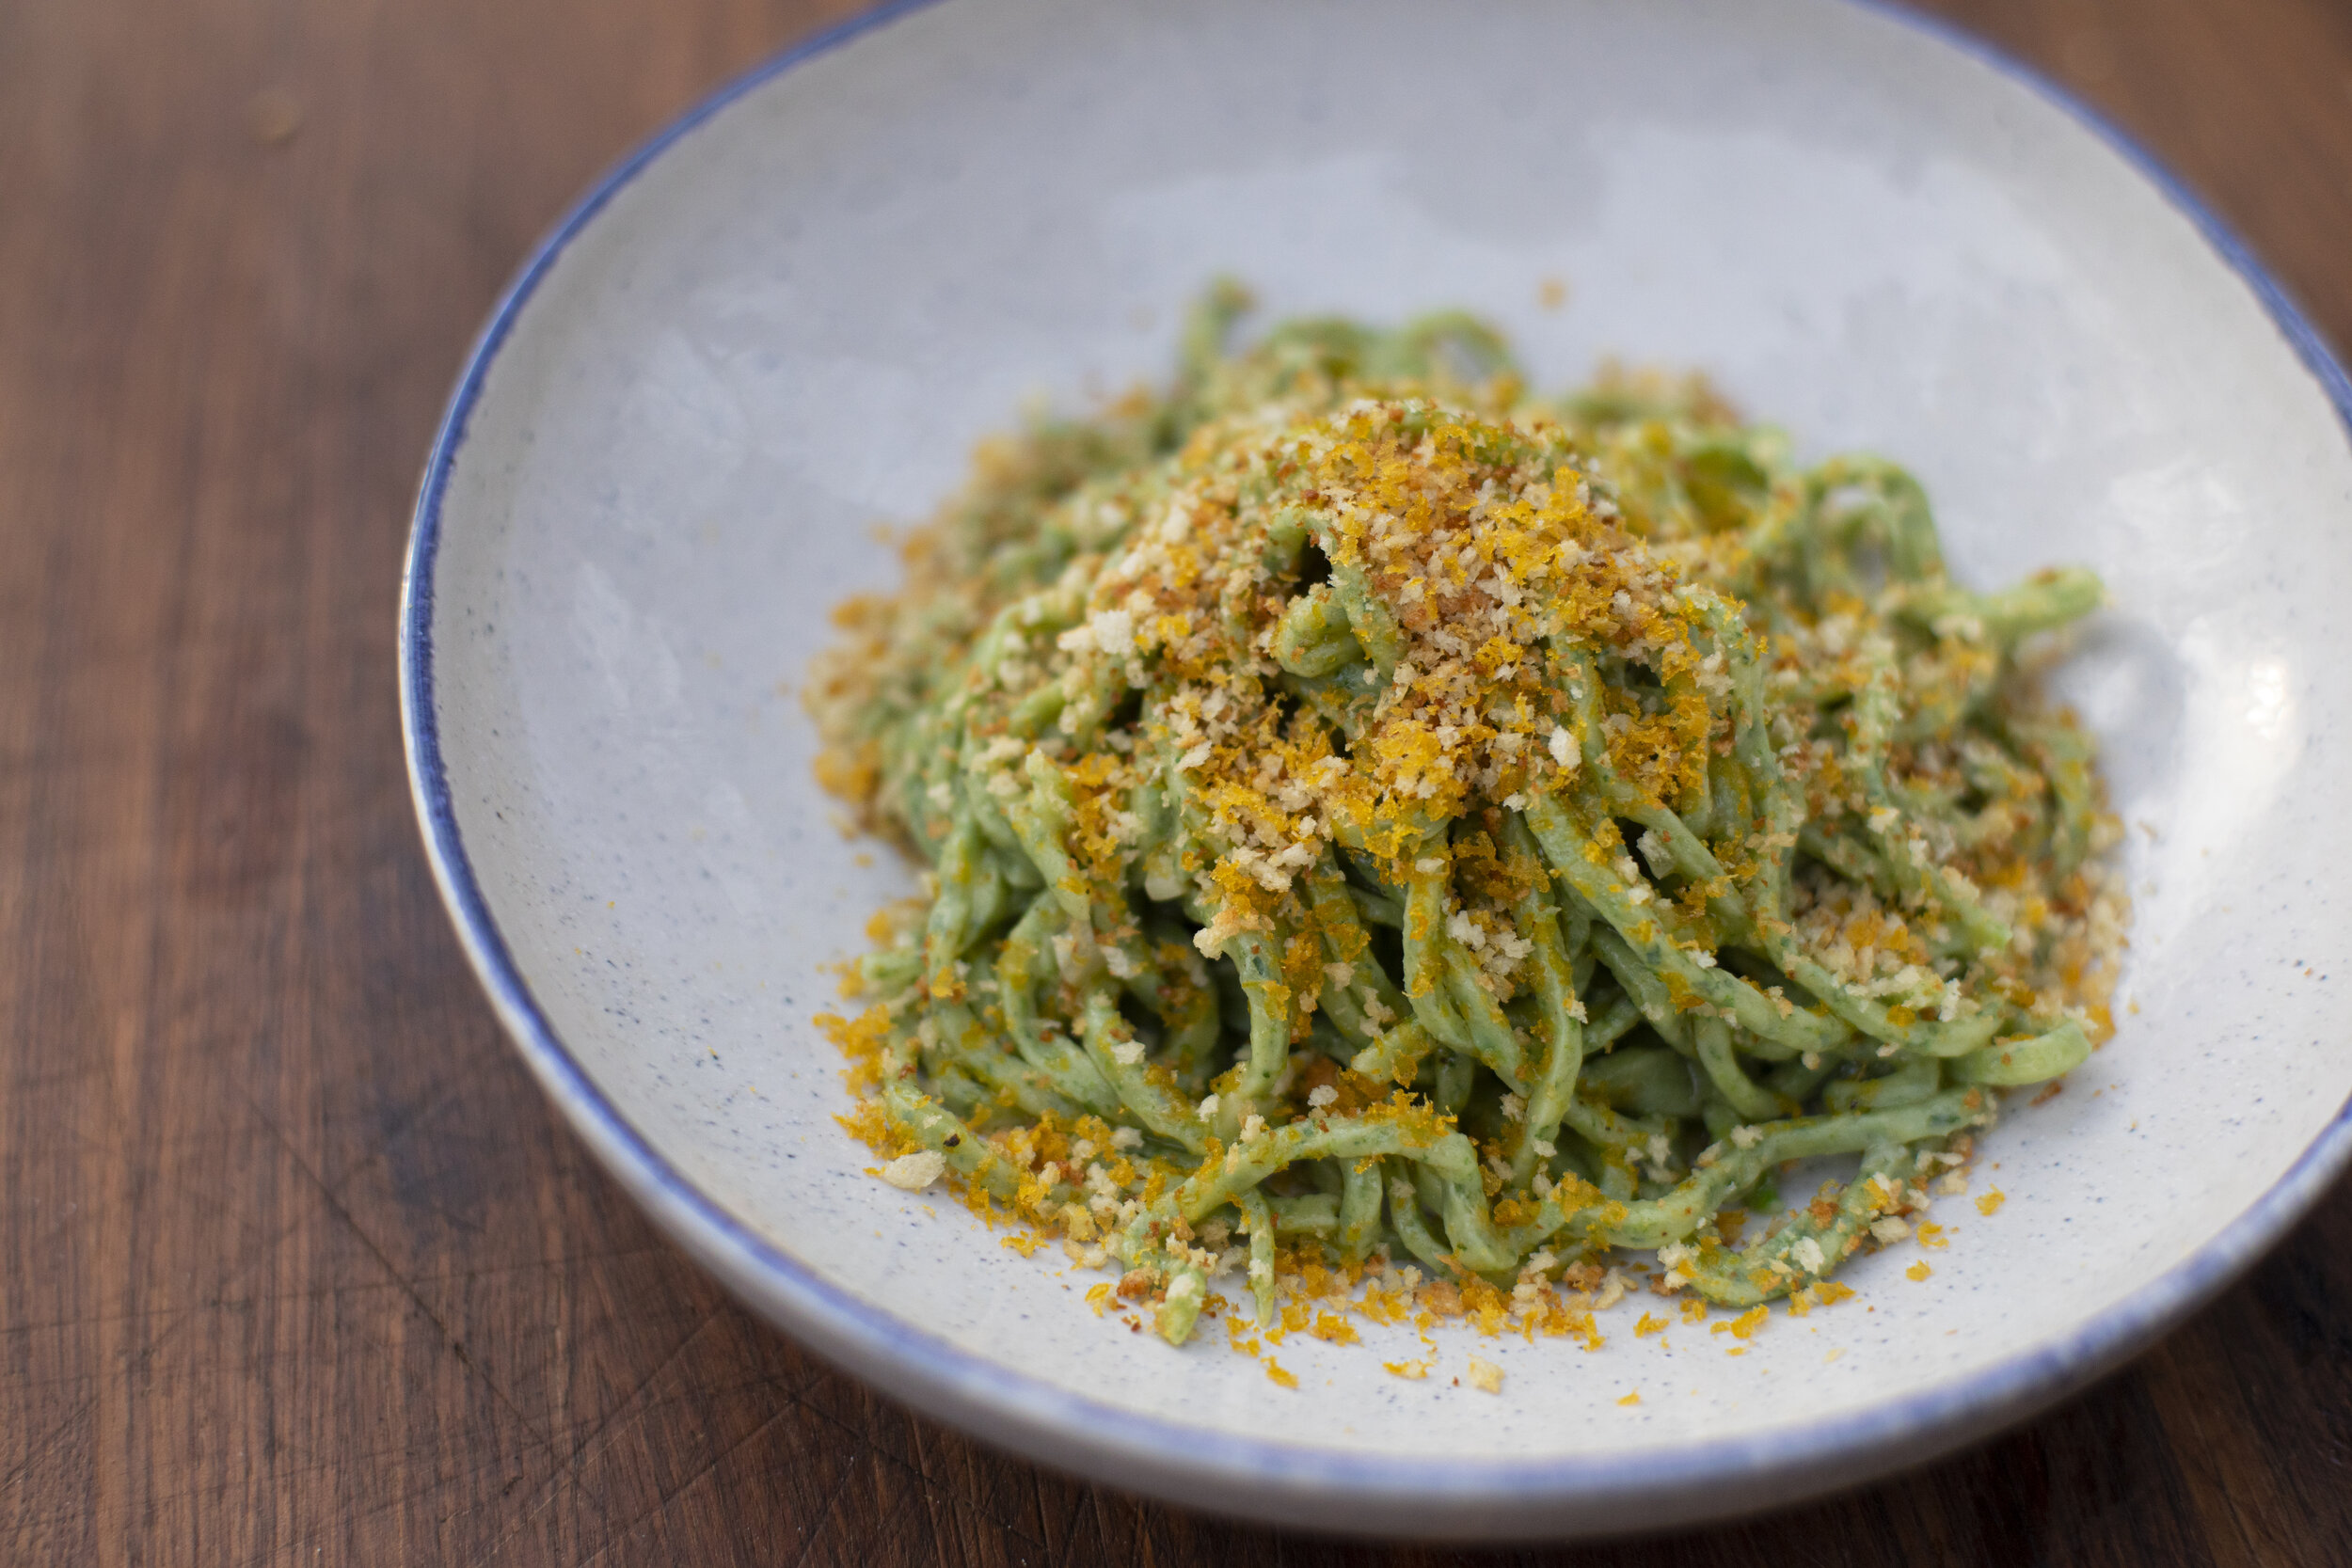
Pan Fried Stinging Nettle Gnocchi with Ramp Leaf Cream
There's an indescribable joy of witnessing the arrival of the spring ephemerals - crawling around in hidden corners, being velcroed to pricker bushes, and returning to the kitchen to scheme up something new. This one is really quite simple - delivering spring in all its fleeting glory. I hope you enjoy the video below as much as I enjoyed making it.


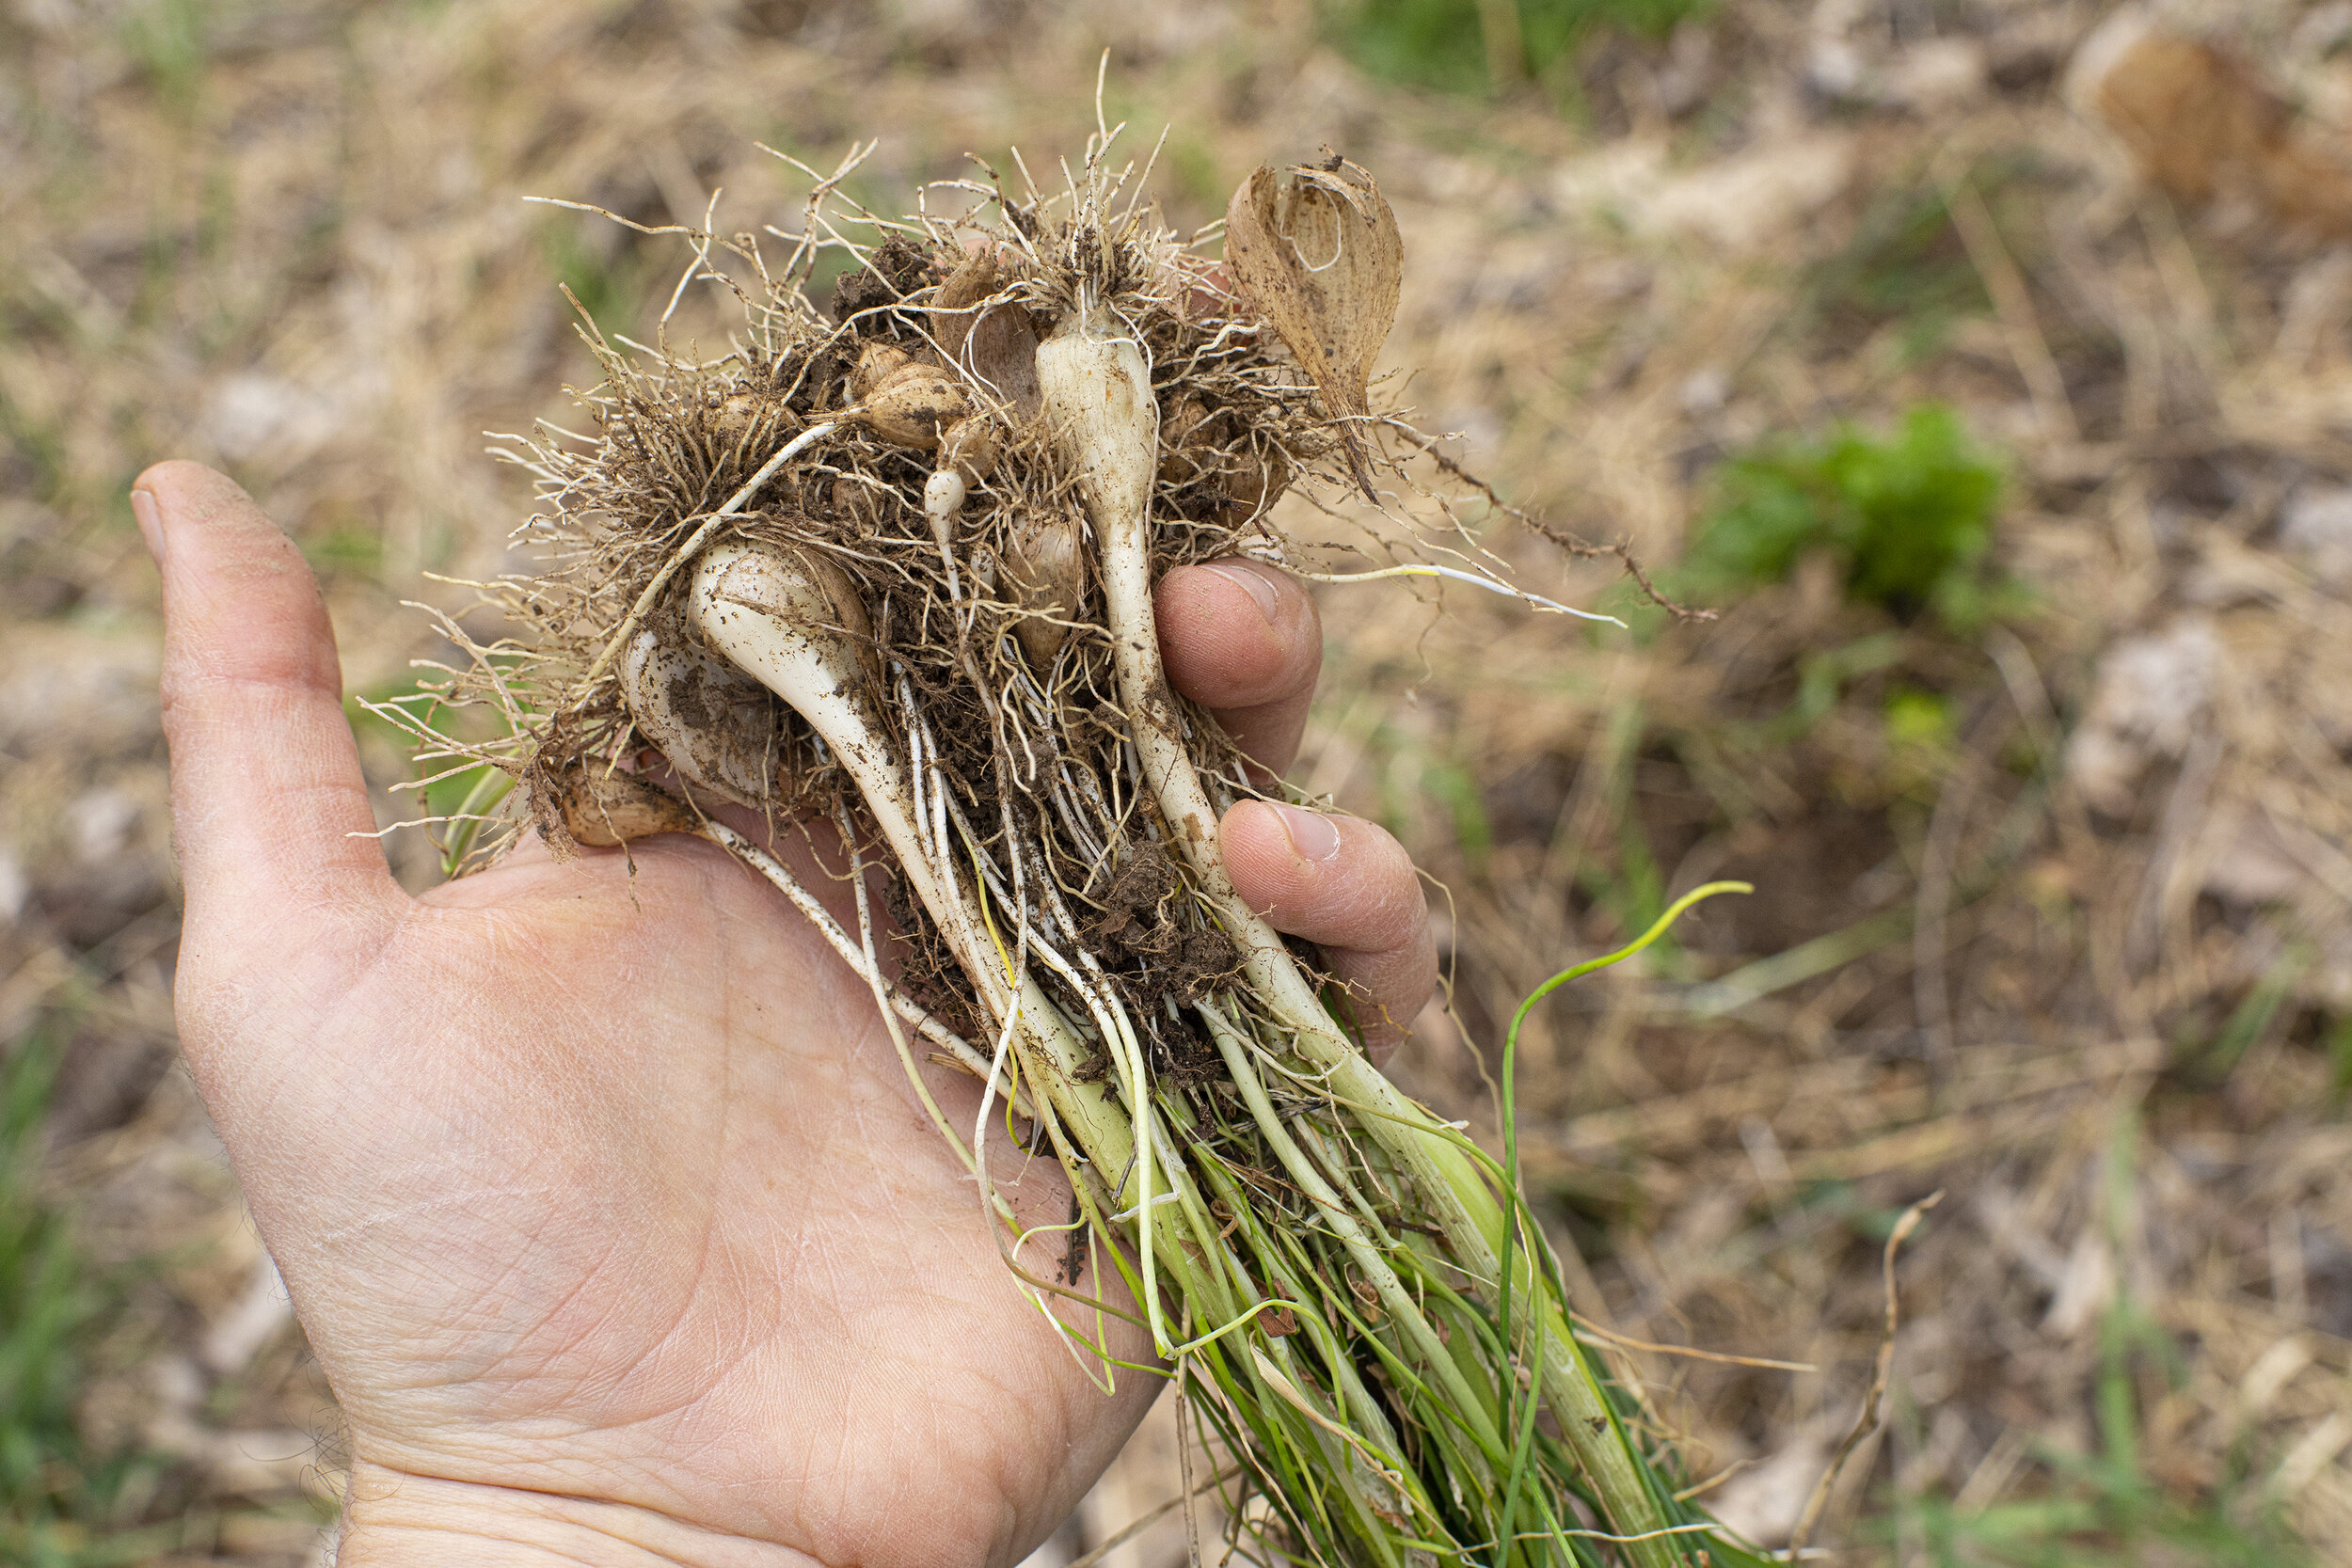
Ramps are one of those foods hotly debated in wild food circles. When purchasing, it's always good to be mindful of how they are being harvested as it's a slow growing plant that has been overharvested from its native ranges. Consider only harvesting the leaf, leaving the bulb intact - allowing the colonies to continue to grow back.
Ramp Leaf Cream Sauce
Ingredients
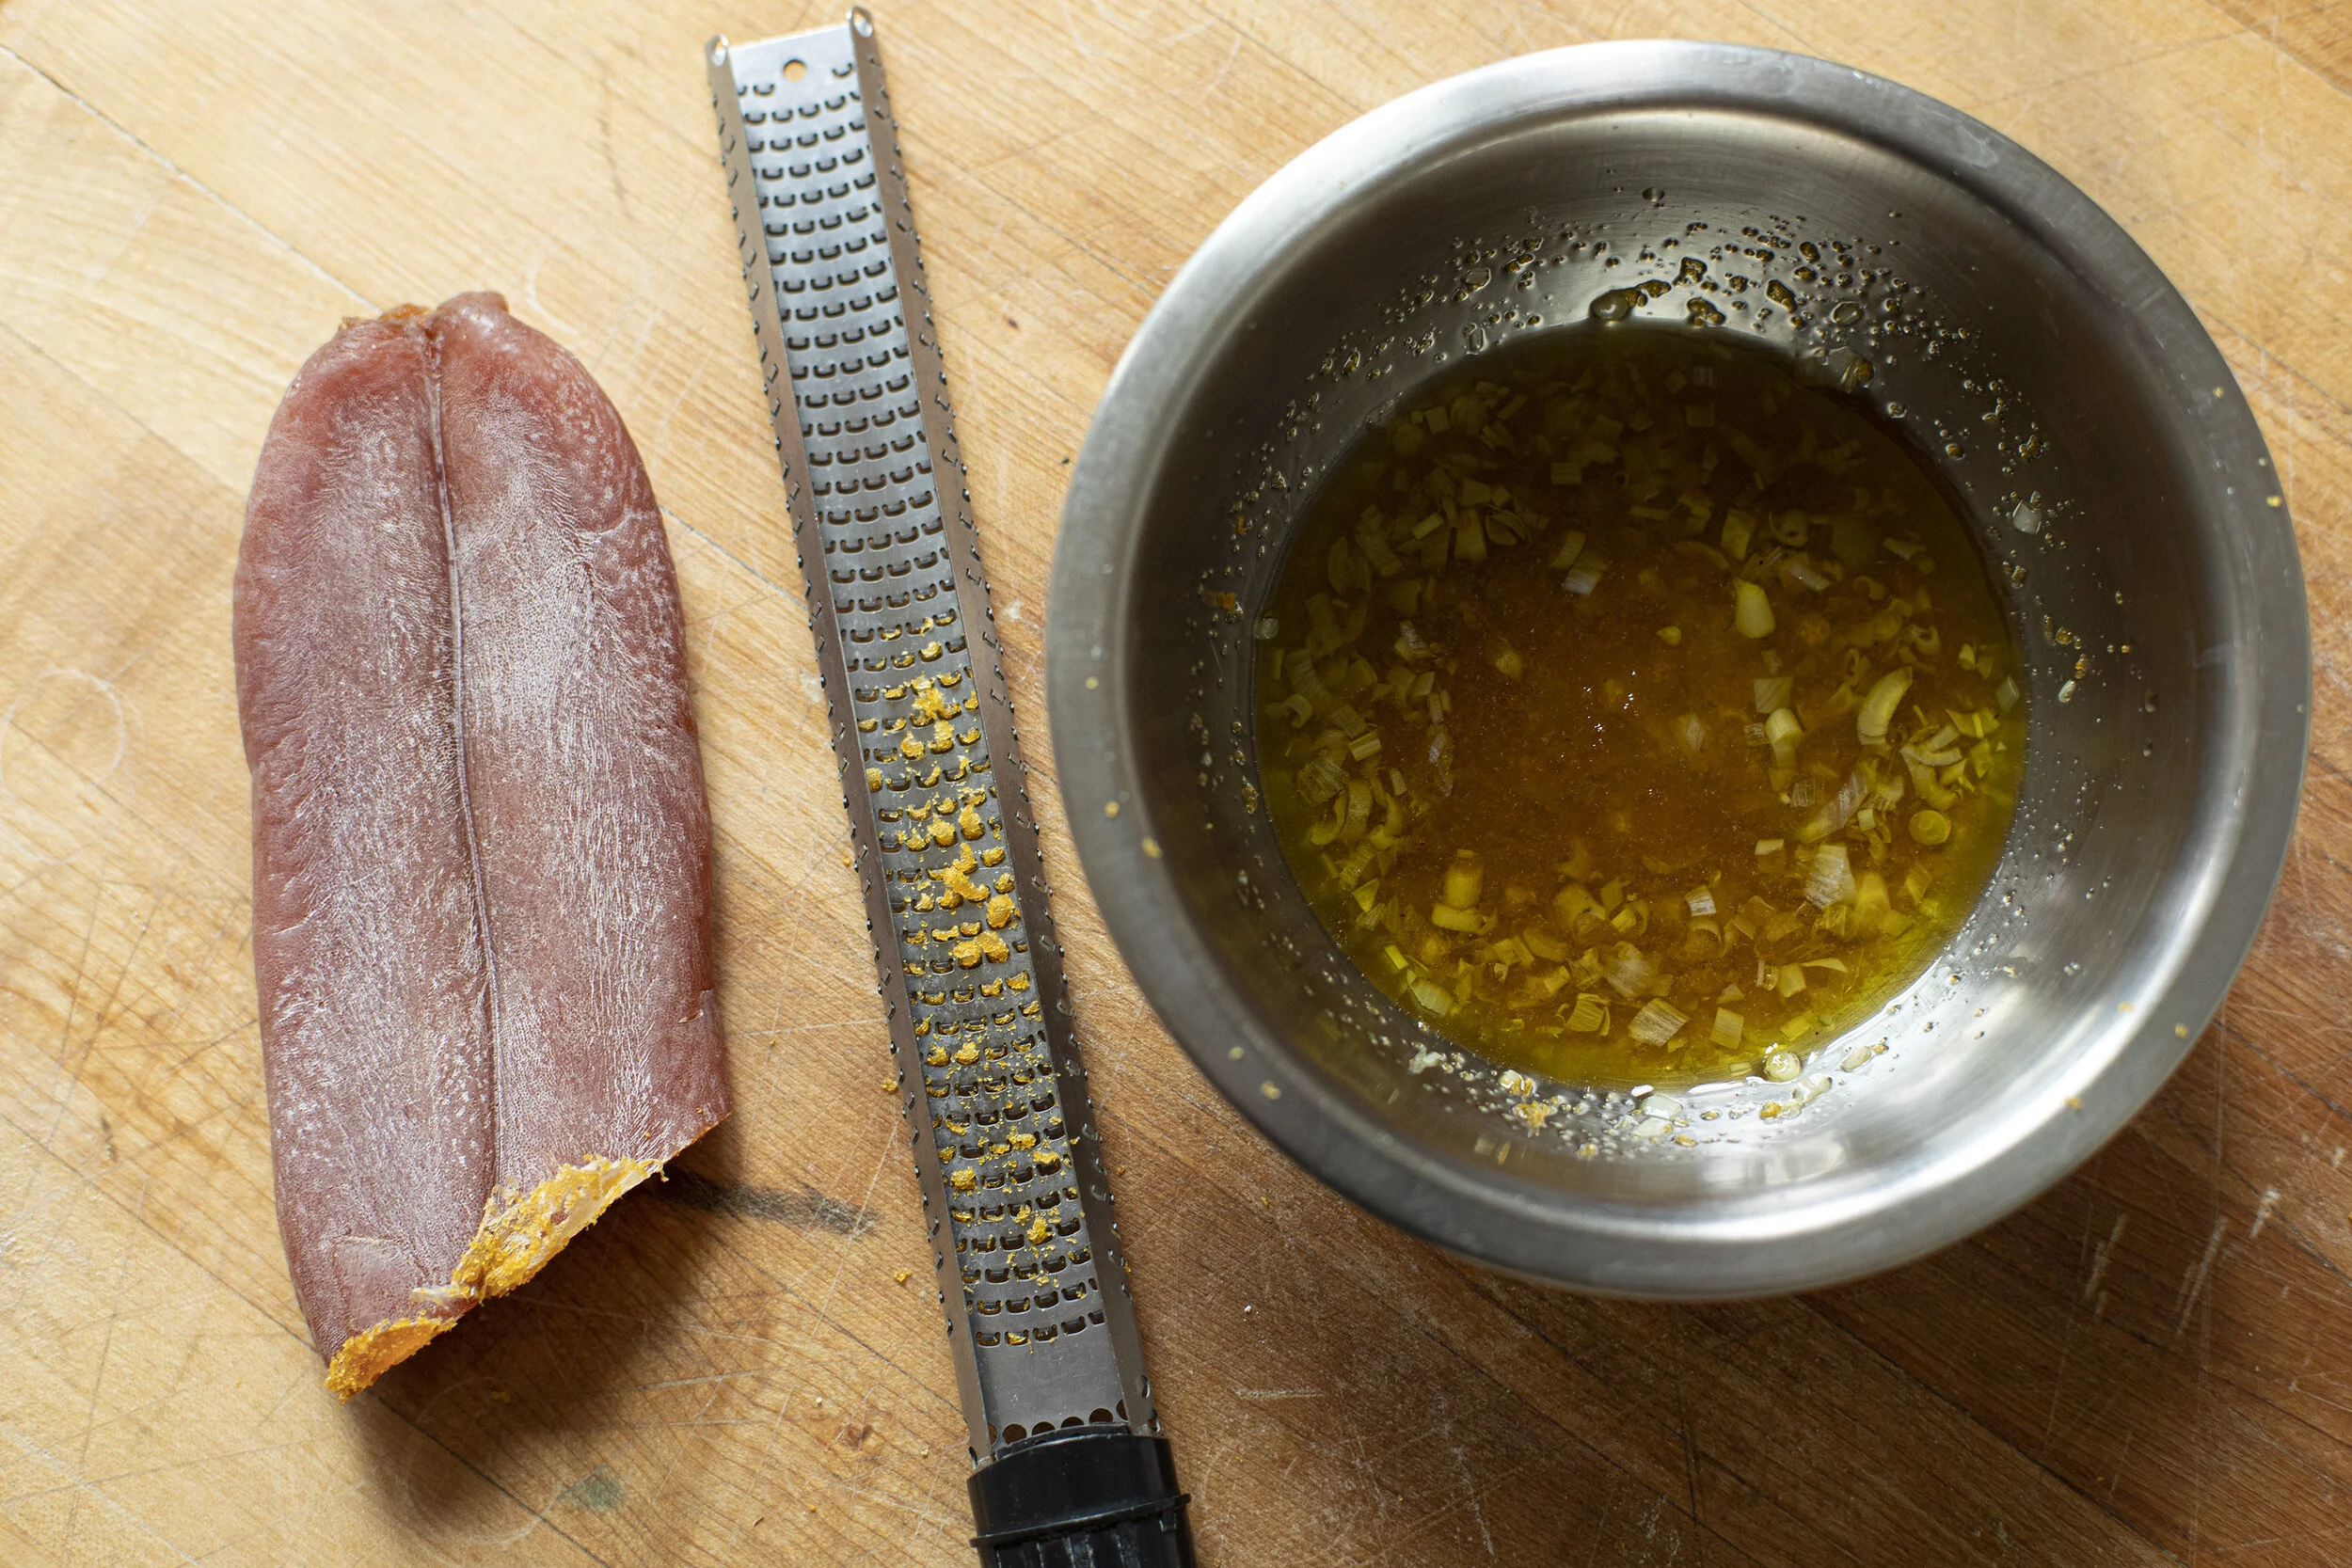
1 pint heavy cream
1 bunch of fresh ramp leaves (approx 8 leaves)
1/2 cup grated pecorino romano
3 tbsp butter
salt to taste
Directions
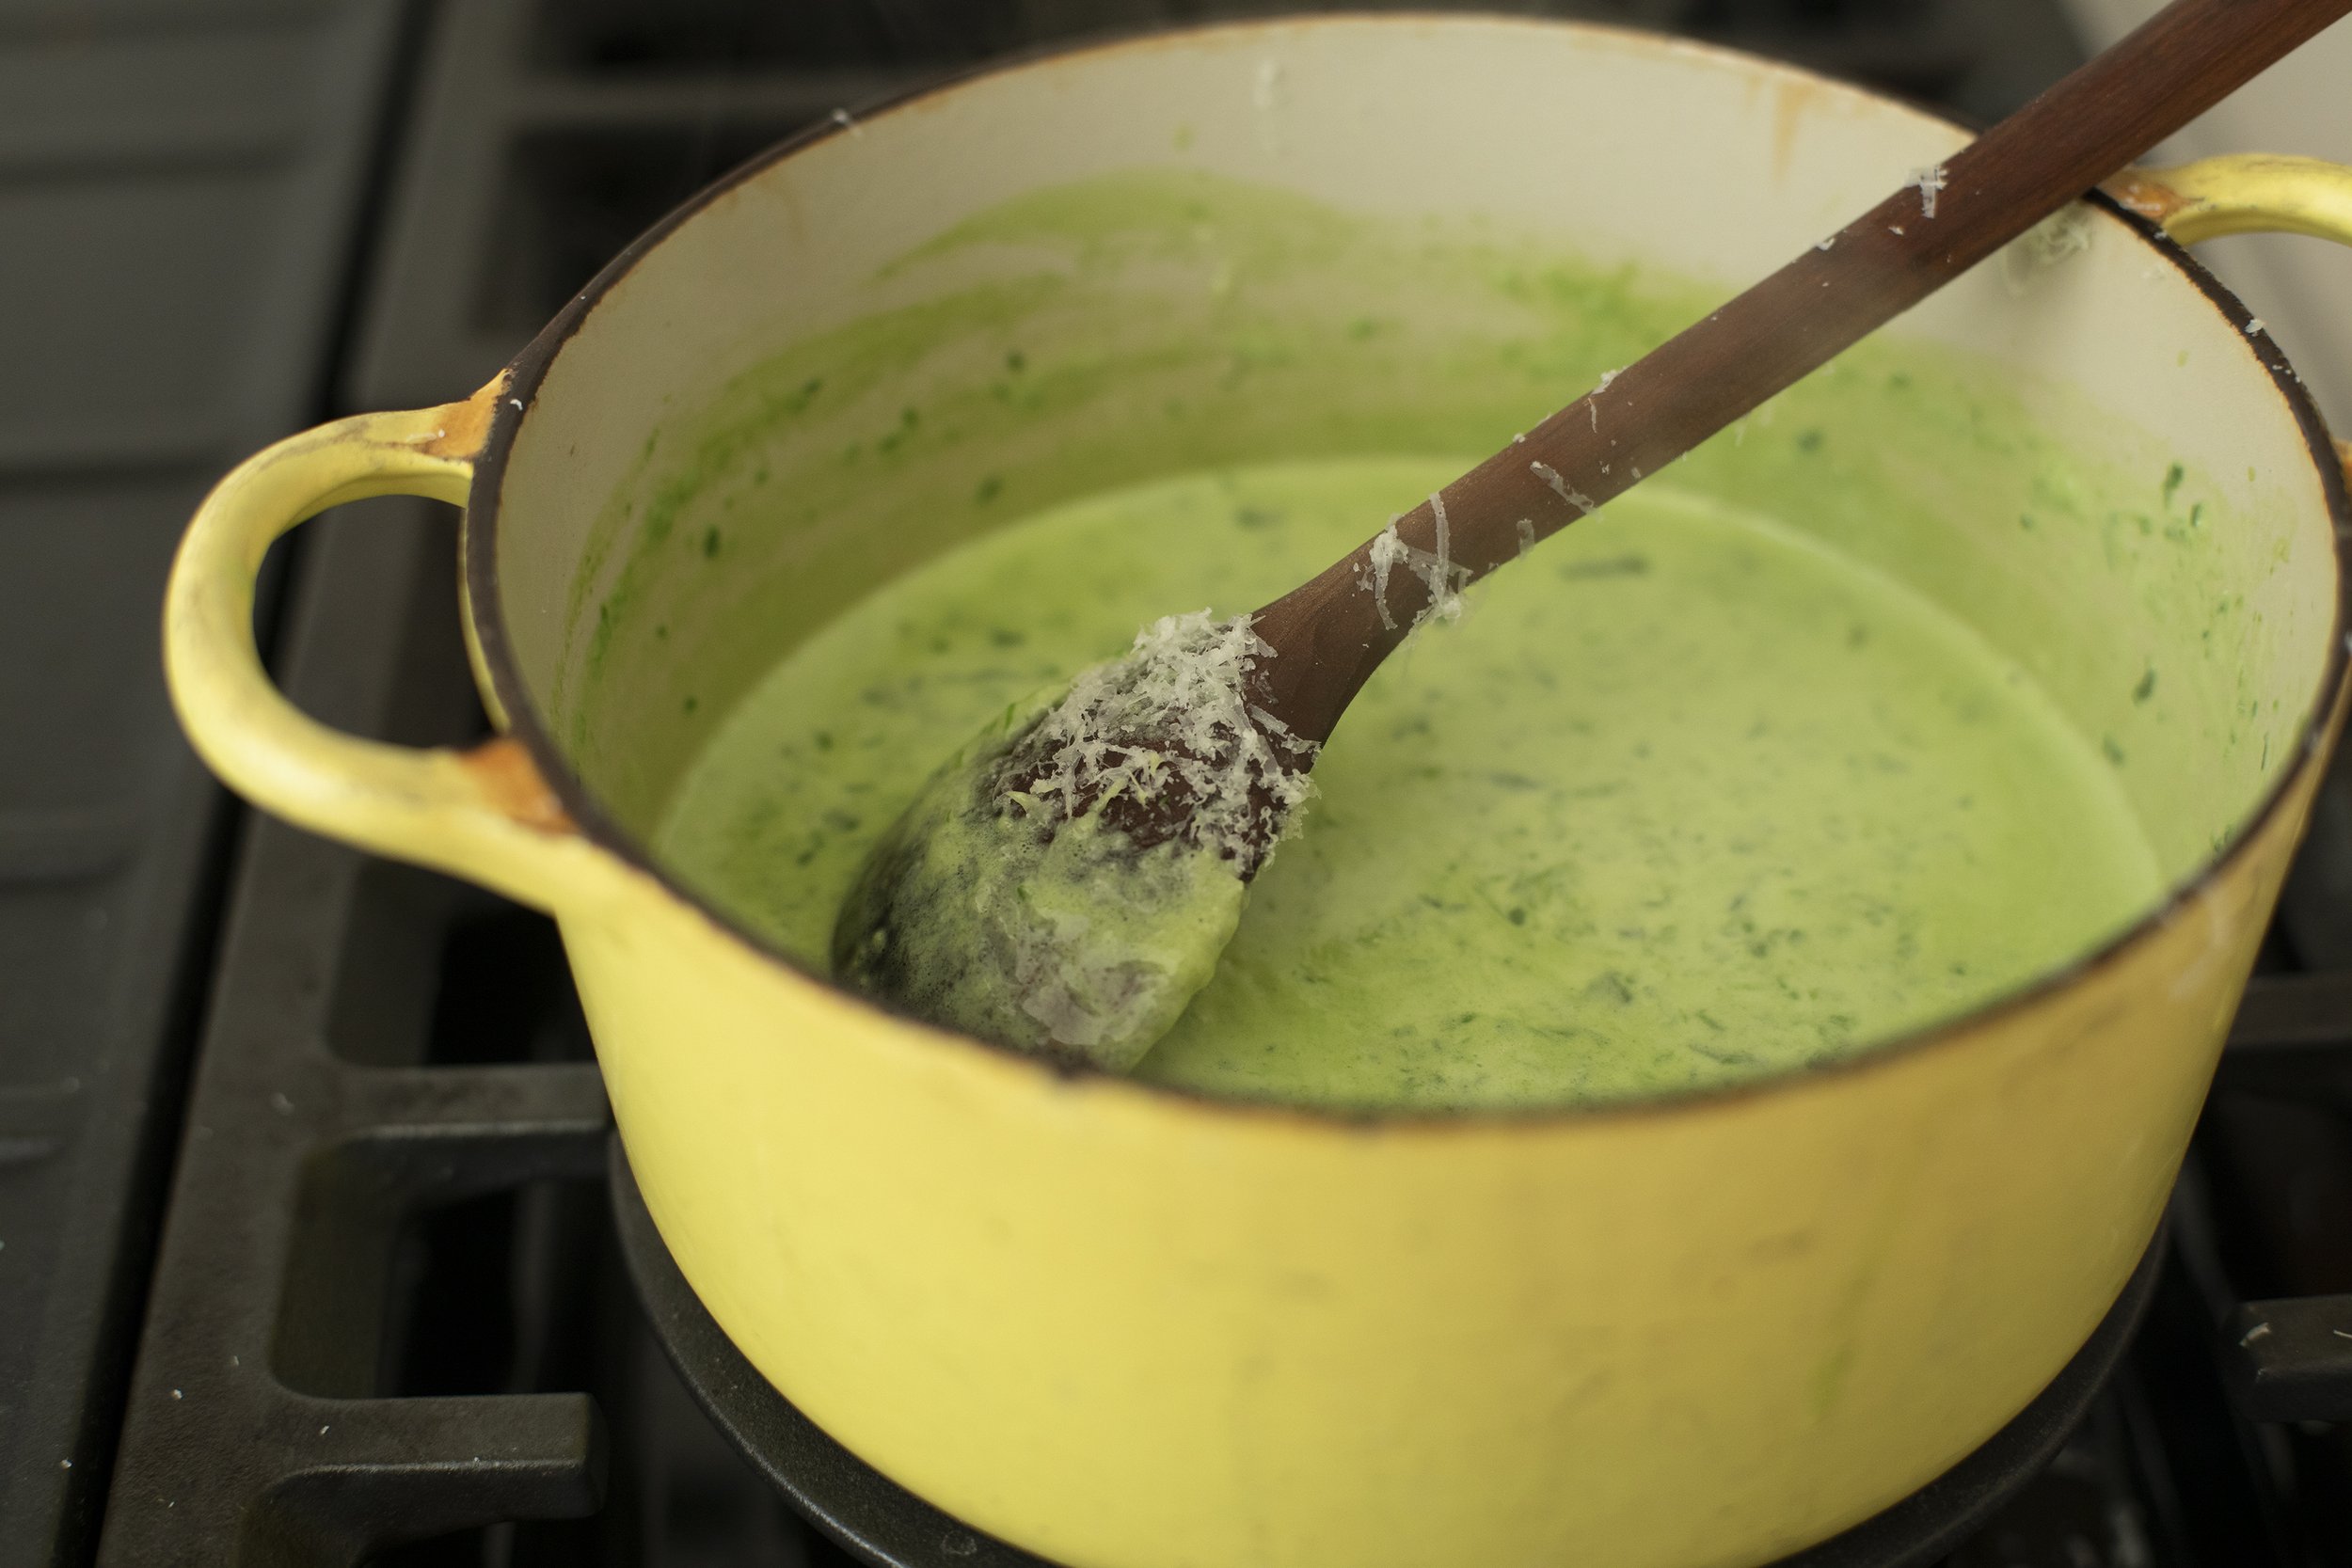
1. In a food processor, blitz together the ramp leaves and half of the heavy cream.
2. Transfer to a sauce pan and bring to medium heat.
3. When it comes to a simmer, add in the rest of the cream and bring back to a rolling simmer for about 5 minutes.
4. Add in the grated pecorino and butter and stir together.
5. Simmer on low for another 15 minutes, constantly stirring, as the sauce begins to thicken.
6. Remove from the heat and press through a fine mesh sieve. The resulting sauce is super silky, creamy, and delicious.
7. Keep on low heat until ready to serve.
Stinging Nettle Gnocchi
Ingredients
2 lbs russet potatoes
2 cups of flour (plus more for dusting)
5 oz stinging nettles (blanched, de-stemmed, blitz)
2 eggs (beaten)salt to taste
*makes about 6 portions


Directions
1. The nettles need to be handled carefully to avoid experiencing their stinging effect. Use tongs to transfer the nettles to a big pot of boiling water. Blanch for 45 seconds and immediately transfer to a bowl of ice water. After cool, you can now handle them. Remove any larger stems and run through a food processor until they form a crumbly paste.
2. Wrap the potatoes in foil and bake at 400F for about 1 hour or until fork tender. After they've cooled for about 5 minutes, but while they are still warm/hot, peel off the skins.
3. Using a potato ricer, press each potato out into a large bowl.
4. Add in all the remaining ingredients and use your hands to work everything together so that the nettles are evenly incorporated throughout. If the dough is feeling a bit sticky you can gradually add a little more flour until it isn't so sticky. Overworking the dough can result in gummy gnocchi. Kneading shouldn't take more than a few minutes.
5. Dump the dough onto a well floured work surface and cover with a towel.
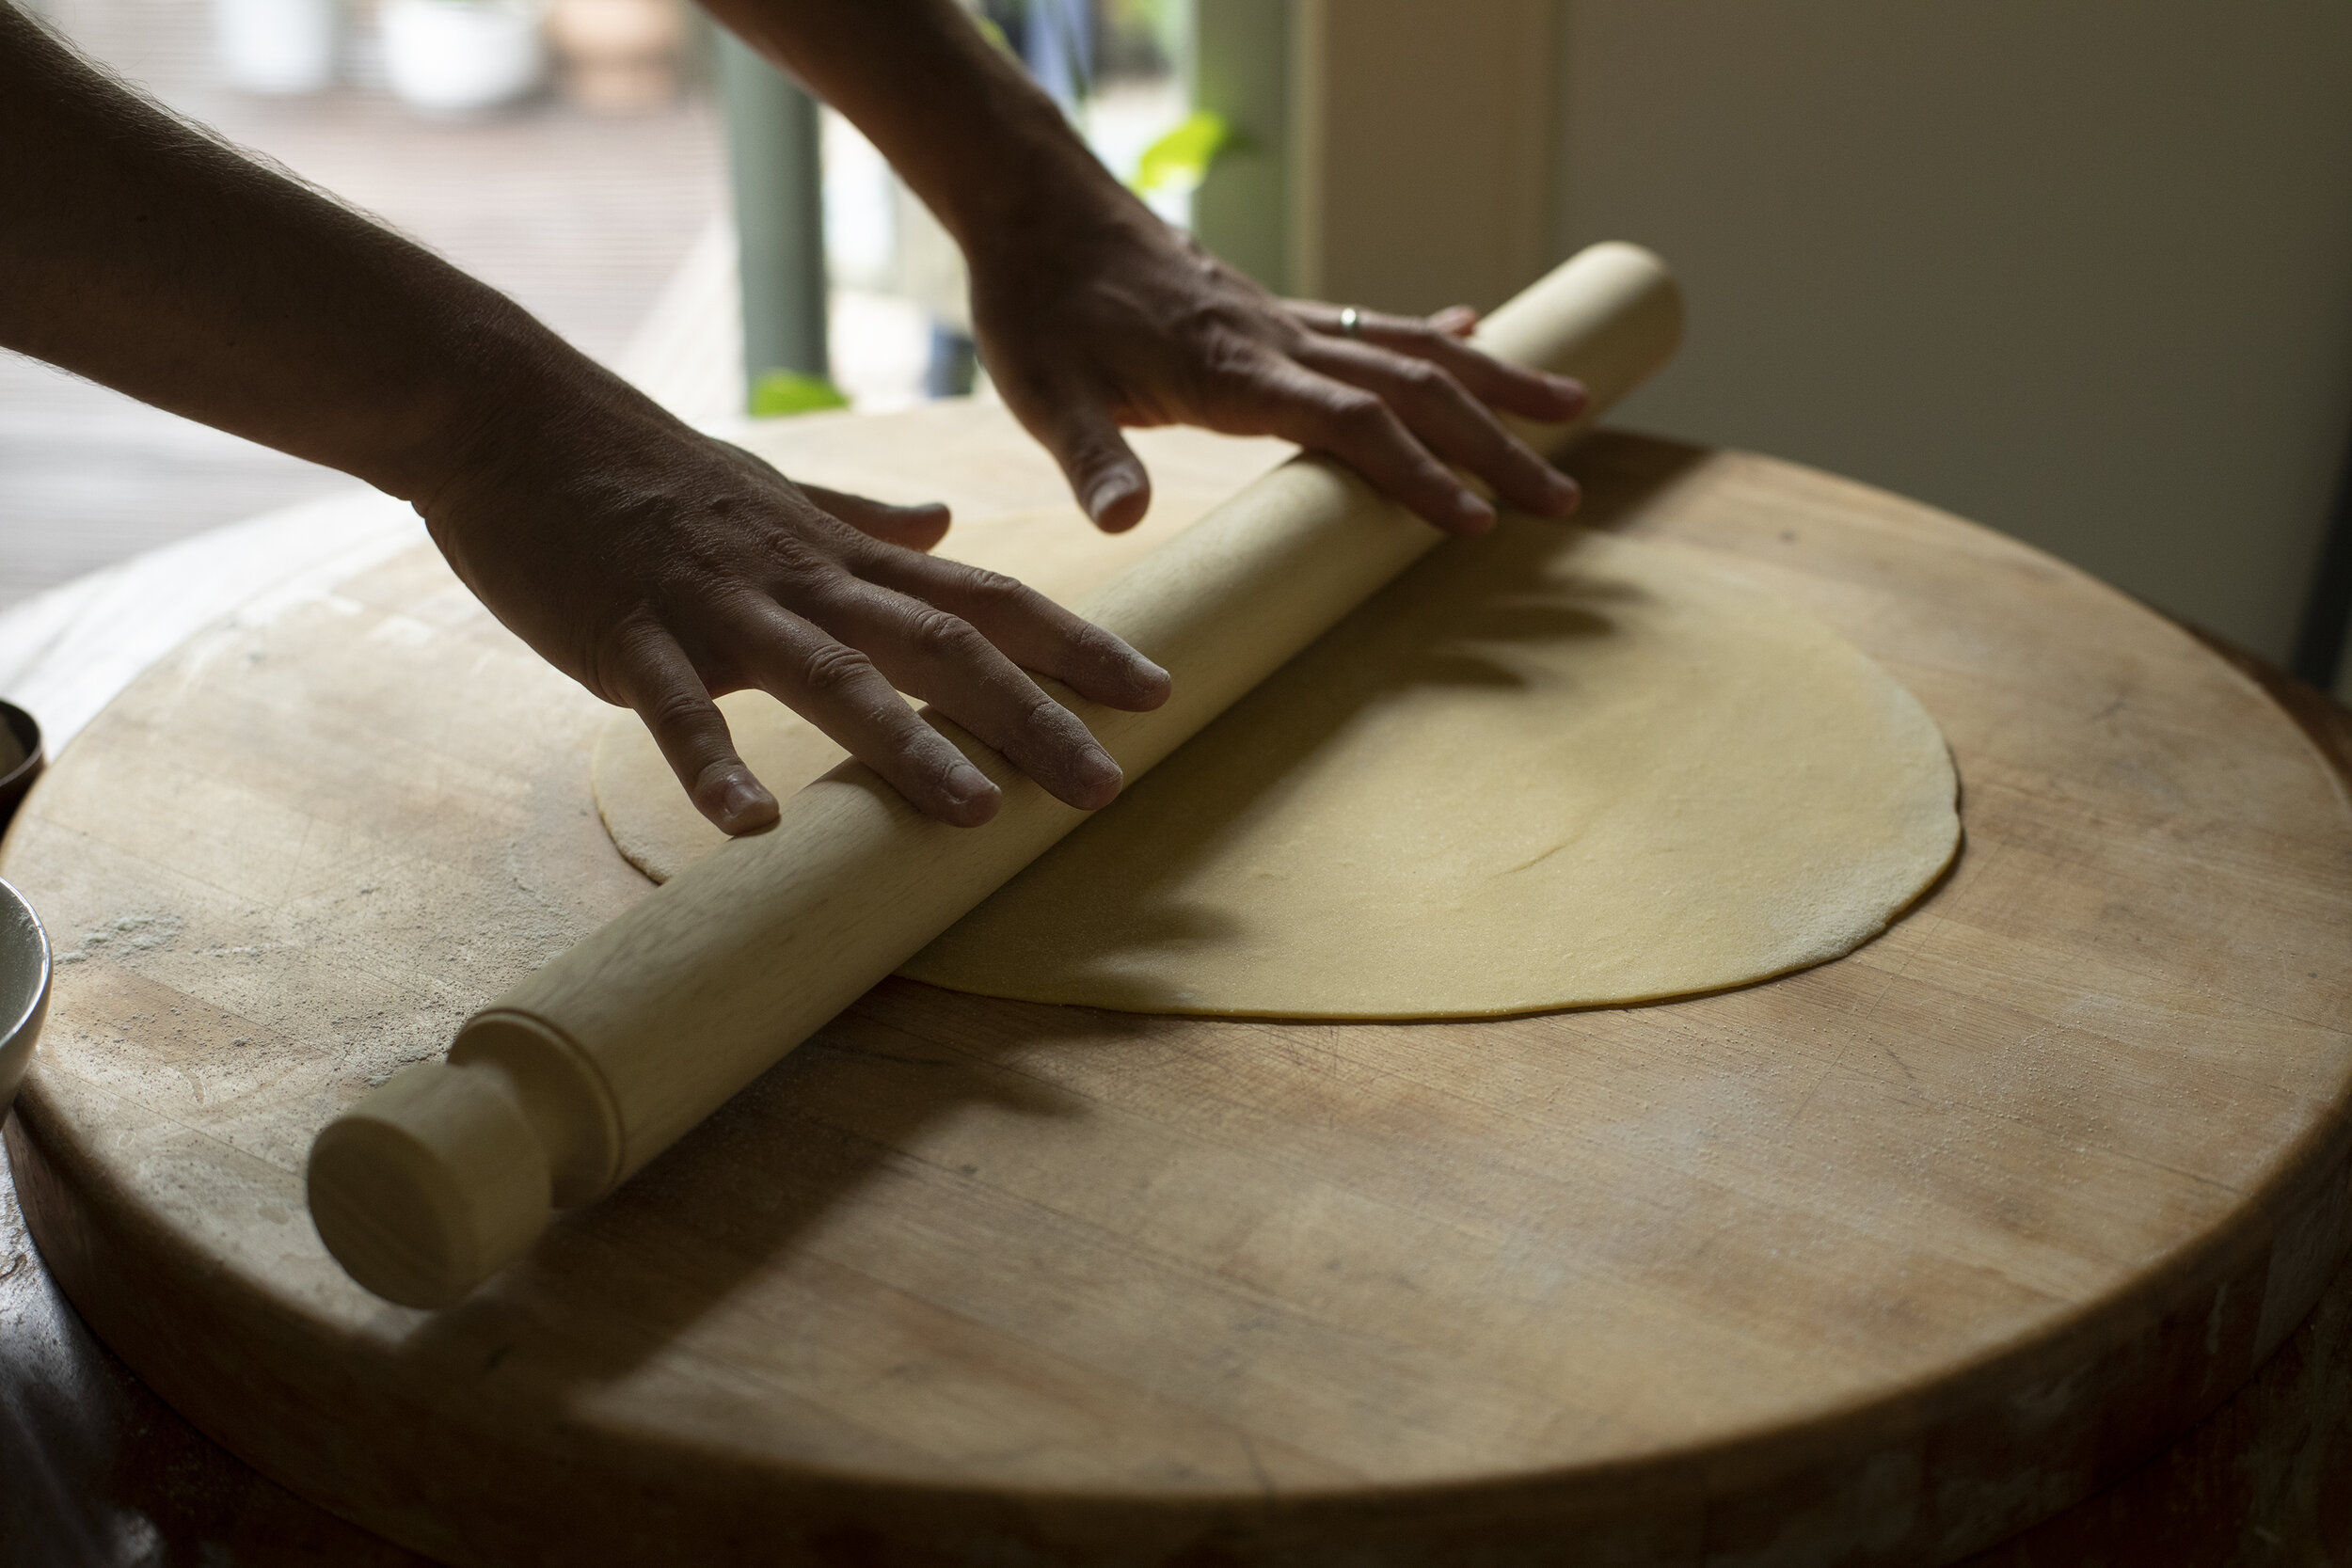
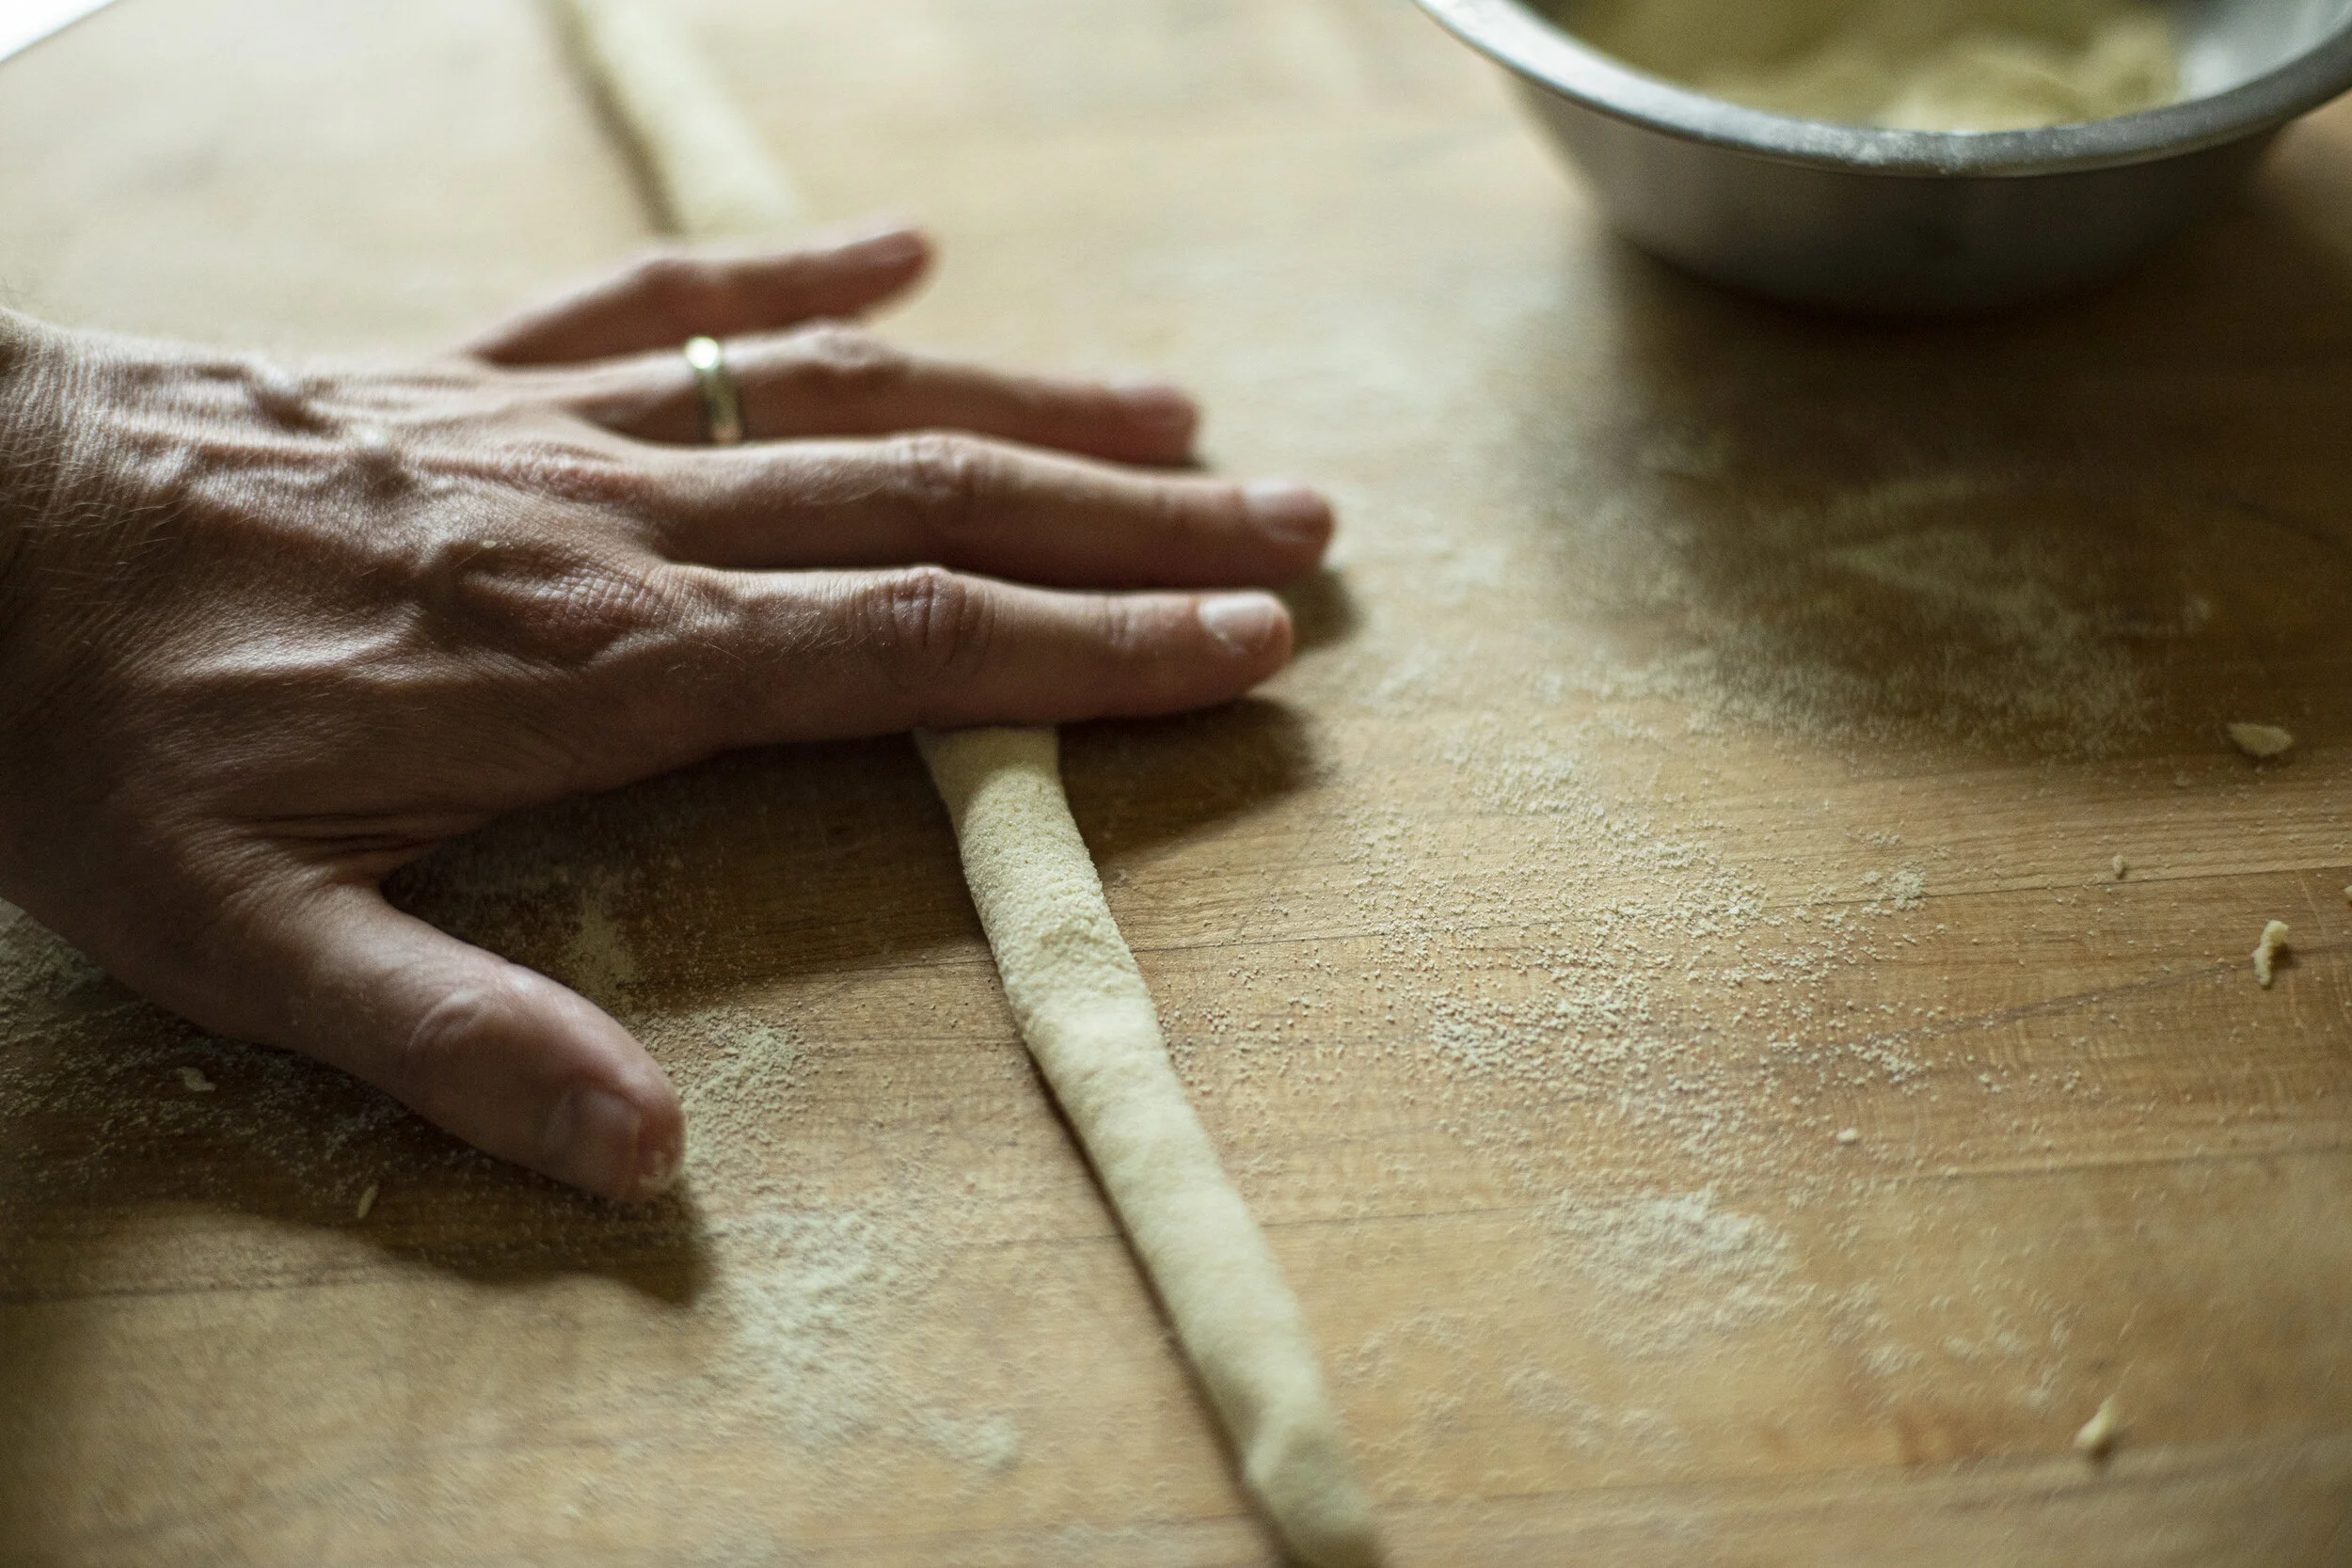
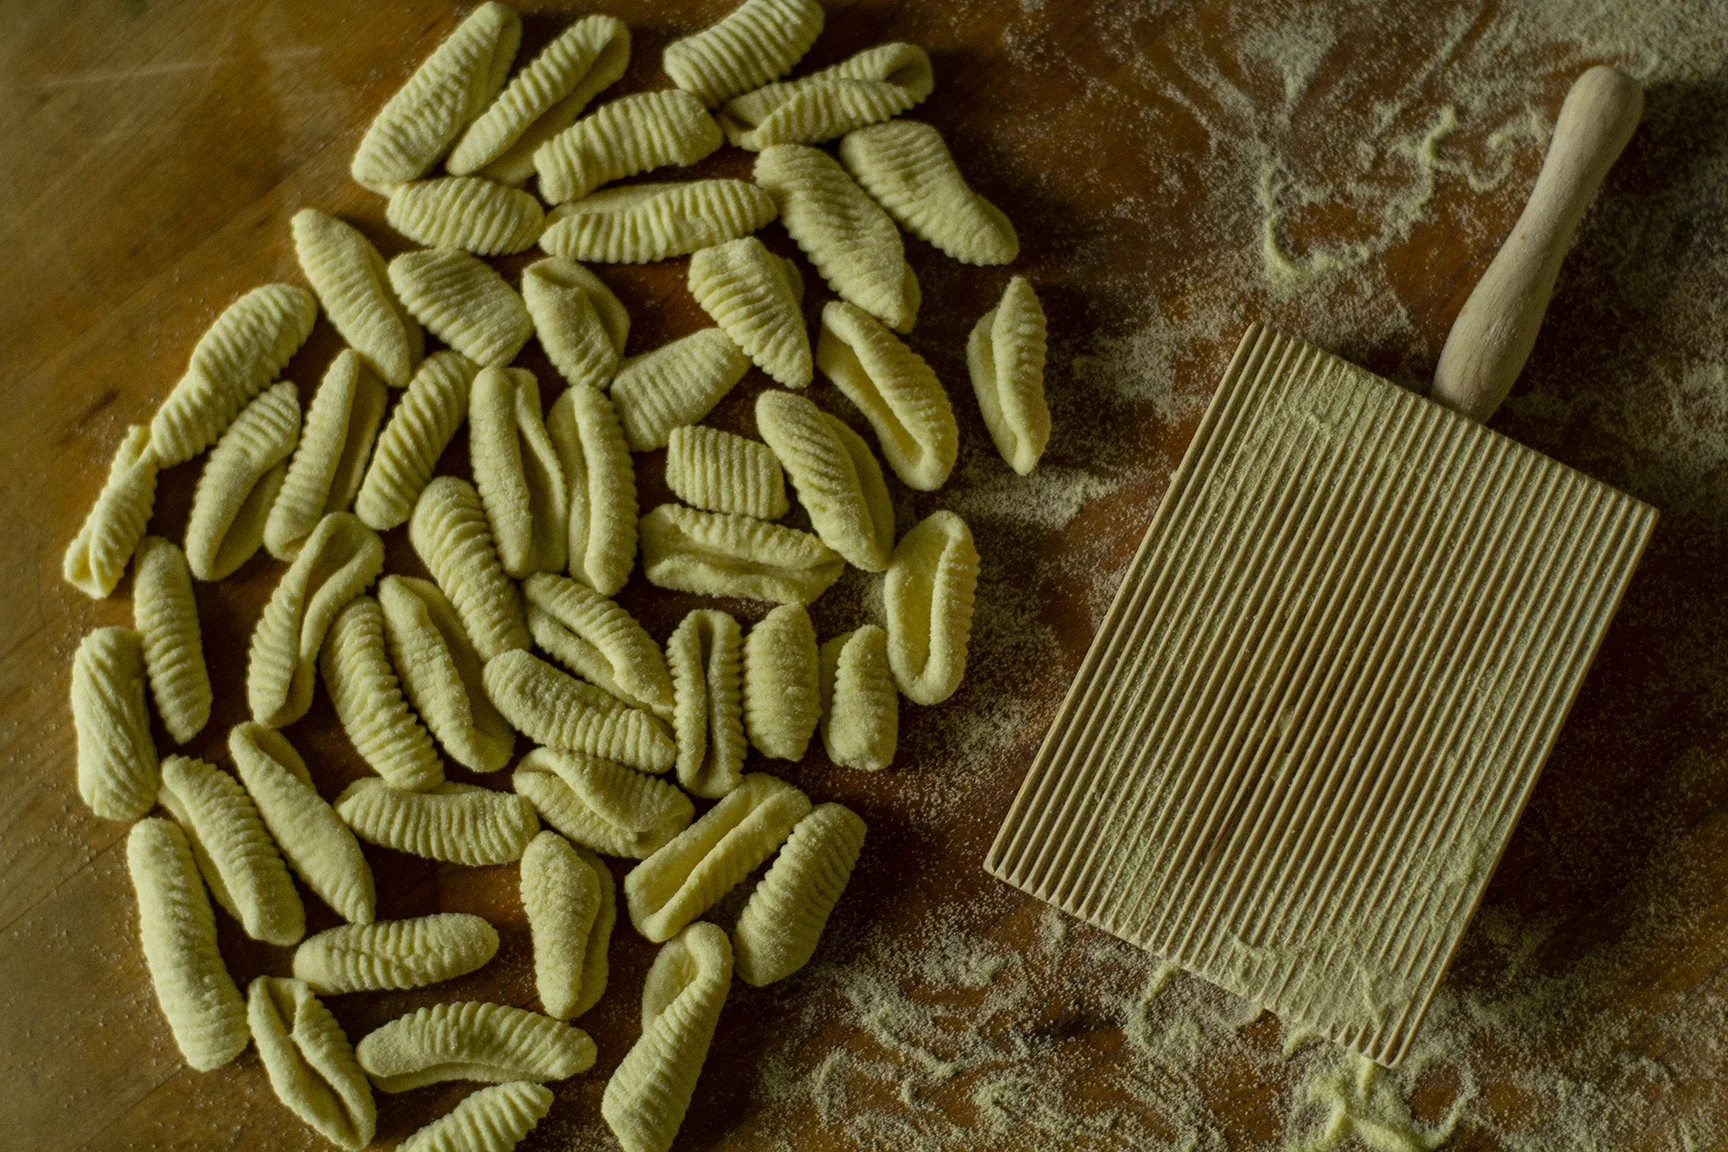
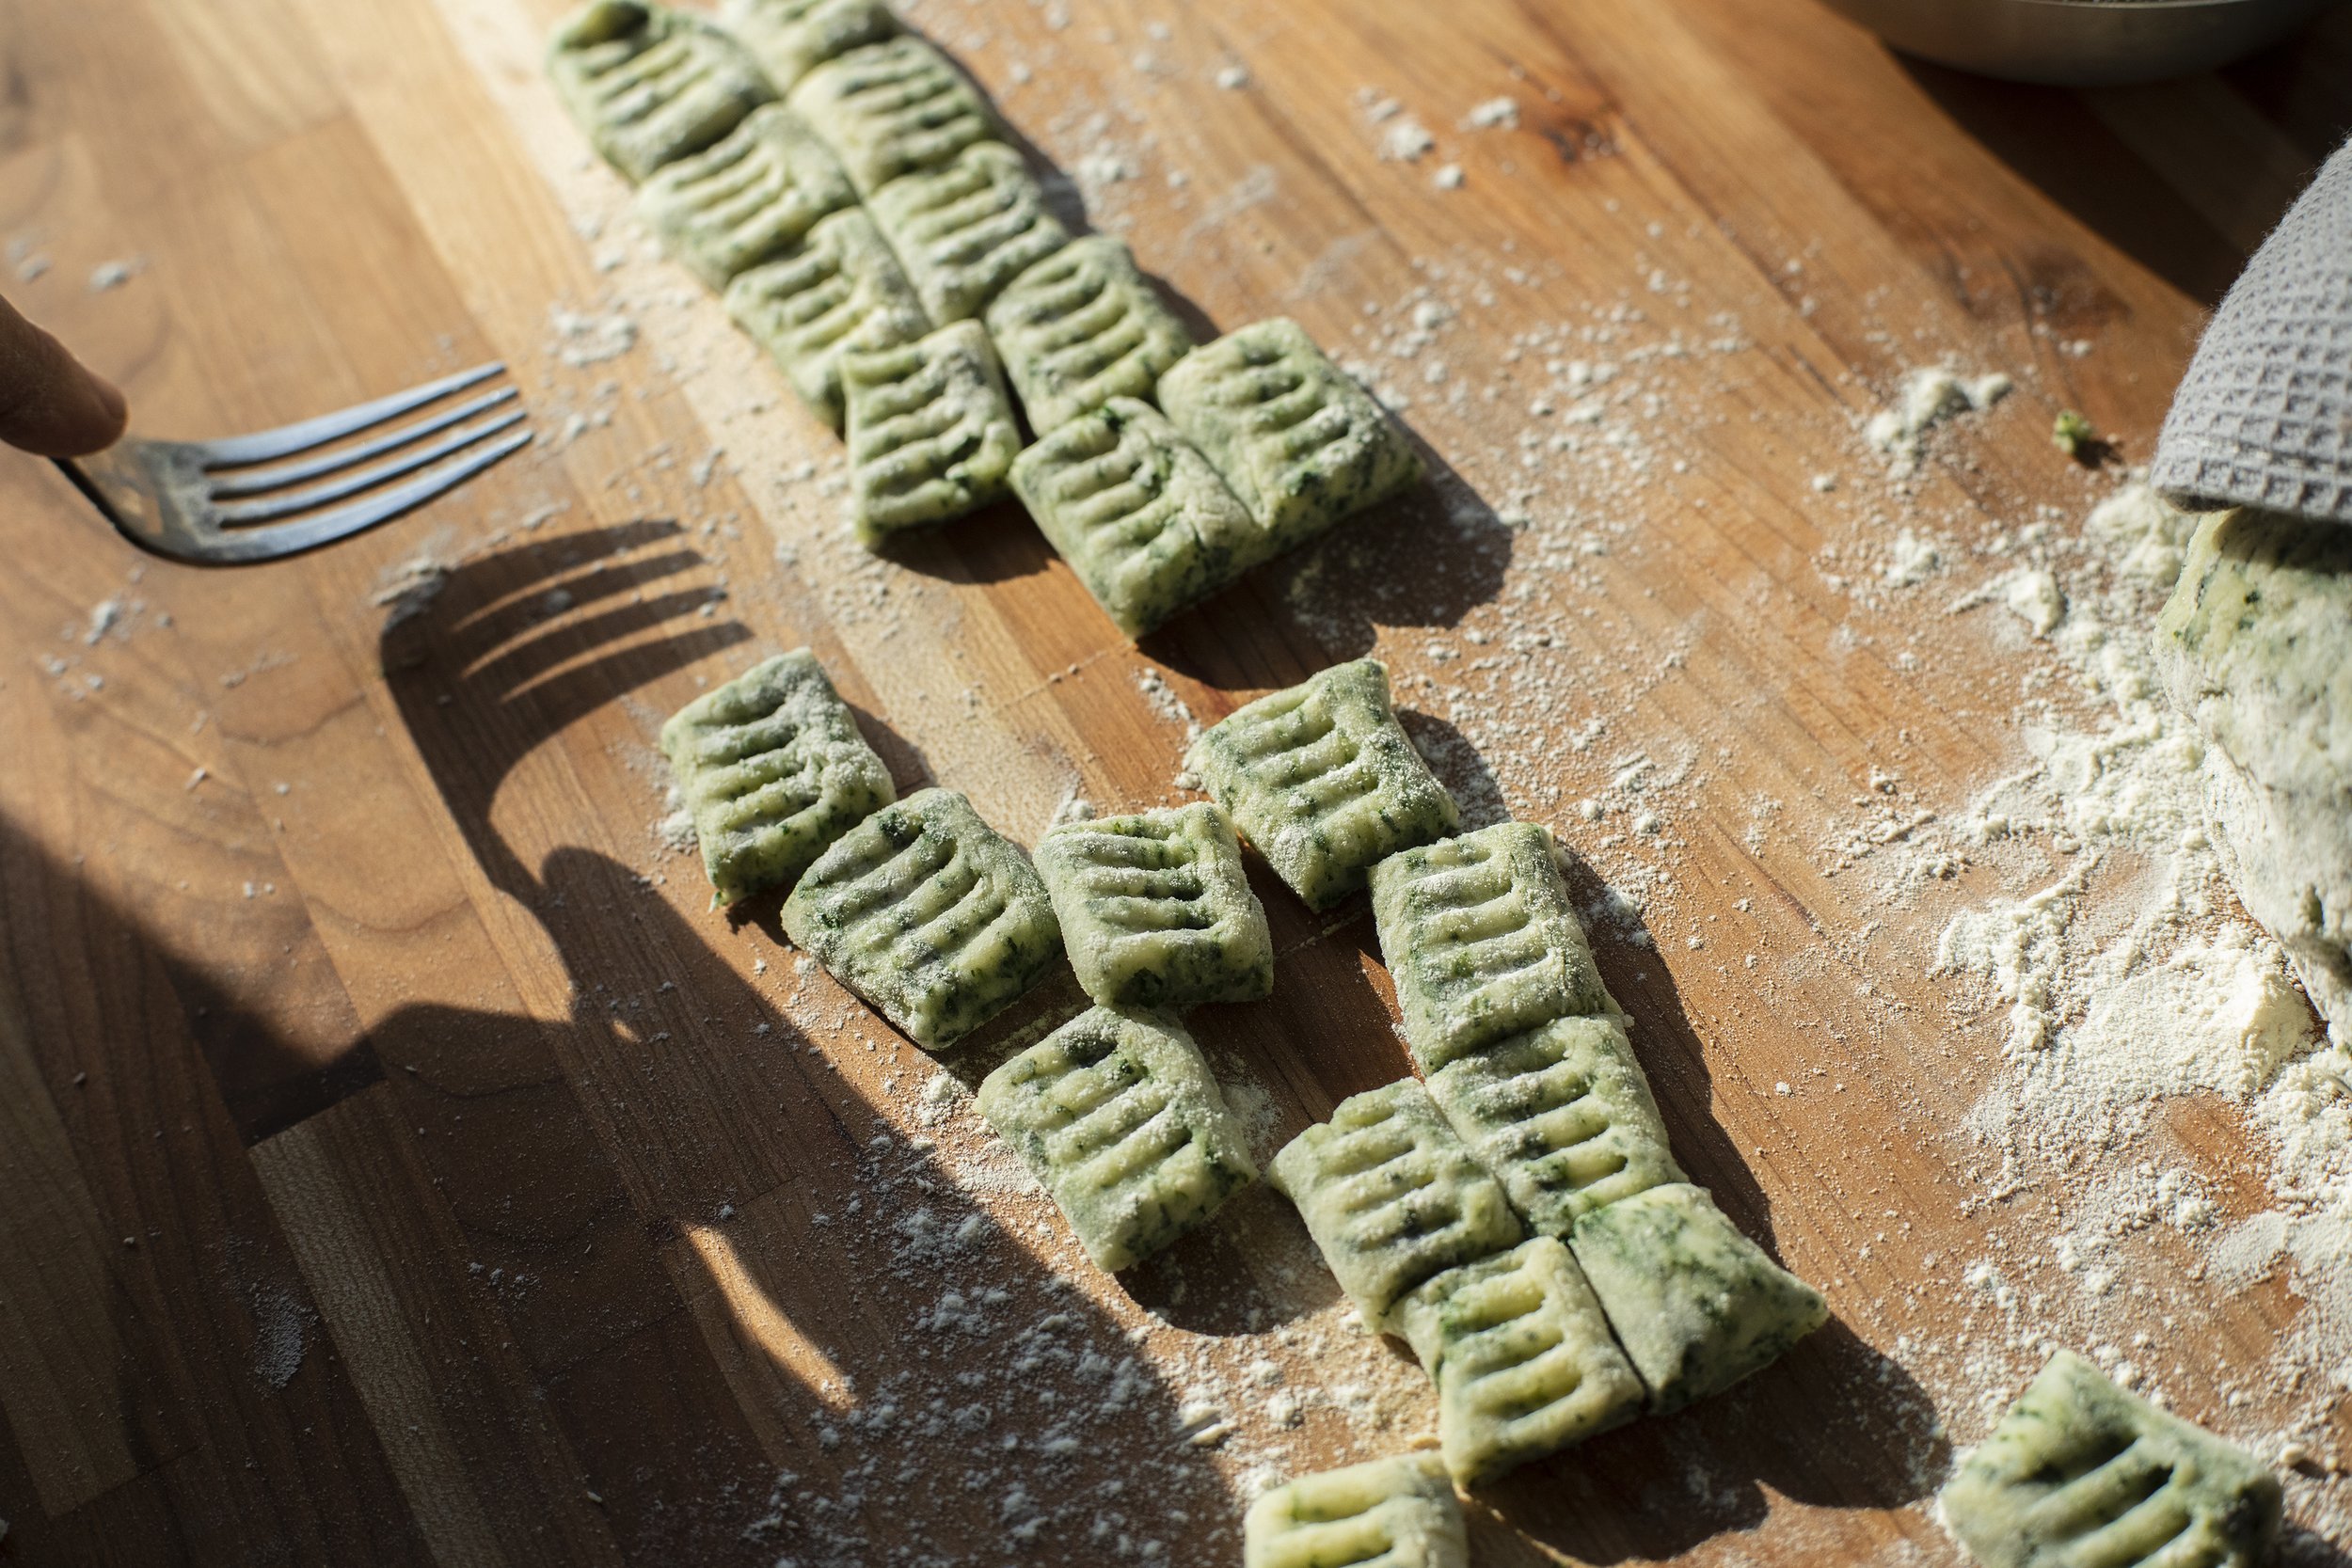
6. Rip off a handful of dough and begin rolling the ball out with your hands to create a long rope of rough about ¾ inch thick. Use more flour if it feels like the dough is sticky. Don’t overwork!
7. Using a knife or bench knife, cut each rope into approximately 1 inch pieces.
8. You could stop here, and transfer them to a tray dusted with semolina to prevent sticking.
9. Or you can continue with embellishing them a bit by using the tines of a fork to create the classic dimples and grooves you might often see. Carefully take each individual piece in your fingers, and with your other hand press the tip of your fork into the center of the gnocchi, and roll it gently to form the grooves. Now you can set it into your tray with semolina until ready to cook. If not cooking until much later they should be frozen immediately after making them.
10. Bring a big pot of water to boil. Cook the gnocchi for about 4 minutes until they float to the surface. Drain the gnocchi.
11. In a heavy skillet, melt butter and bring up to medium/high heat.
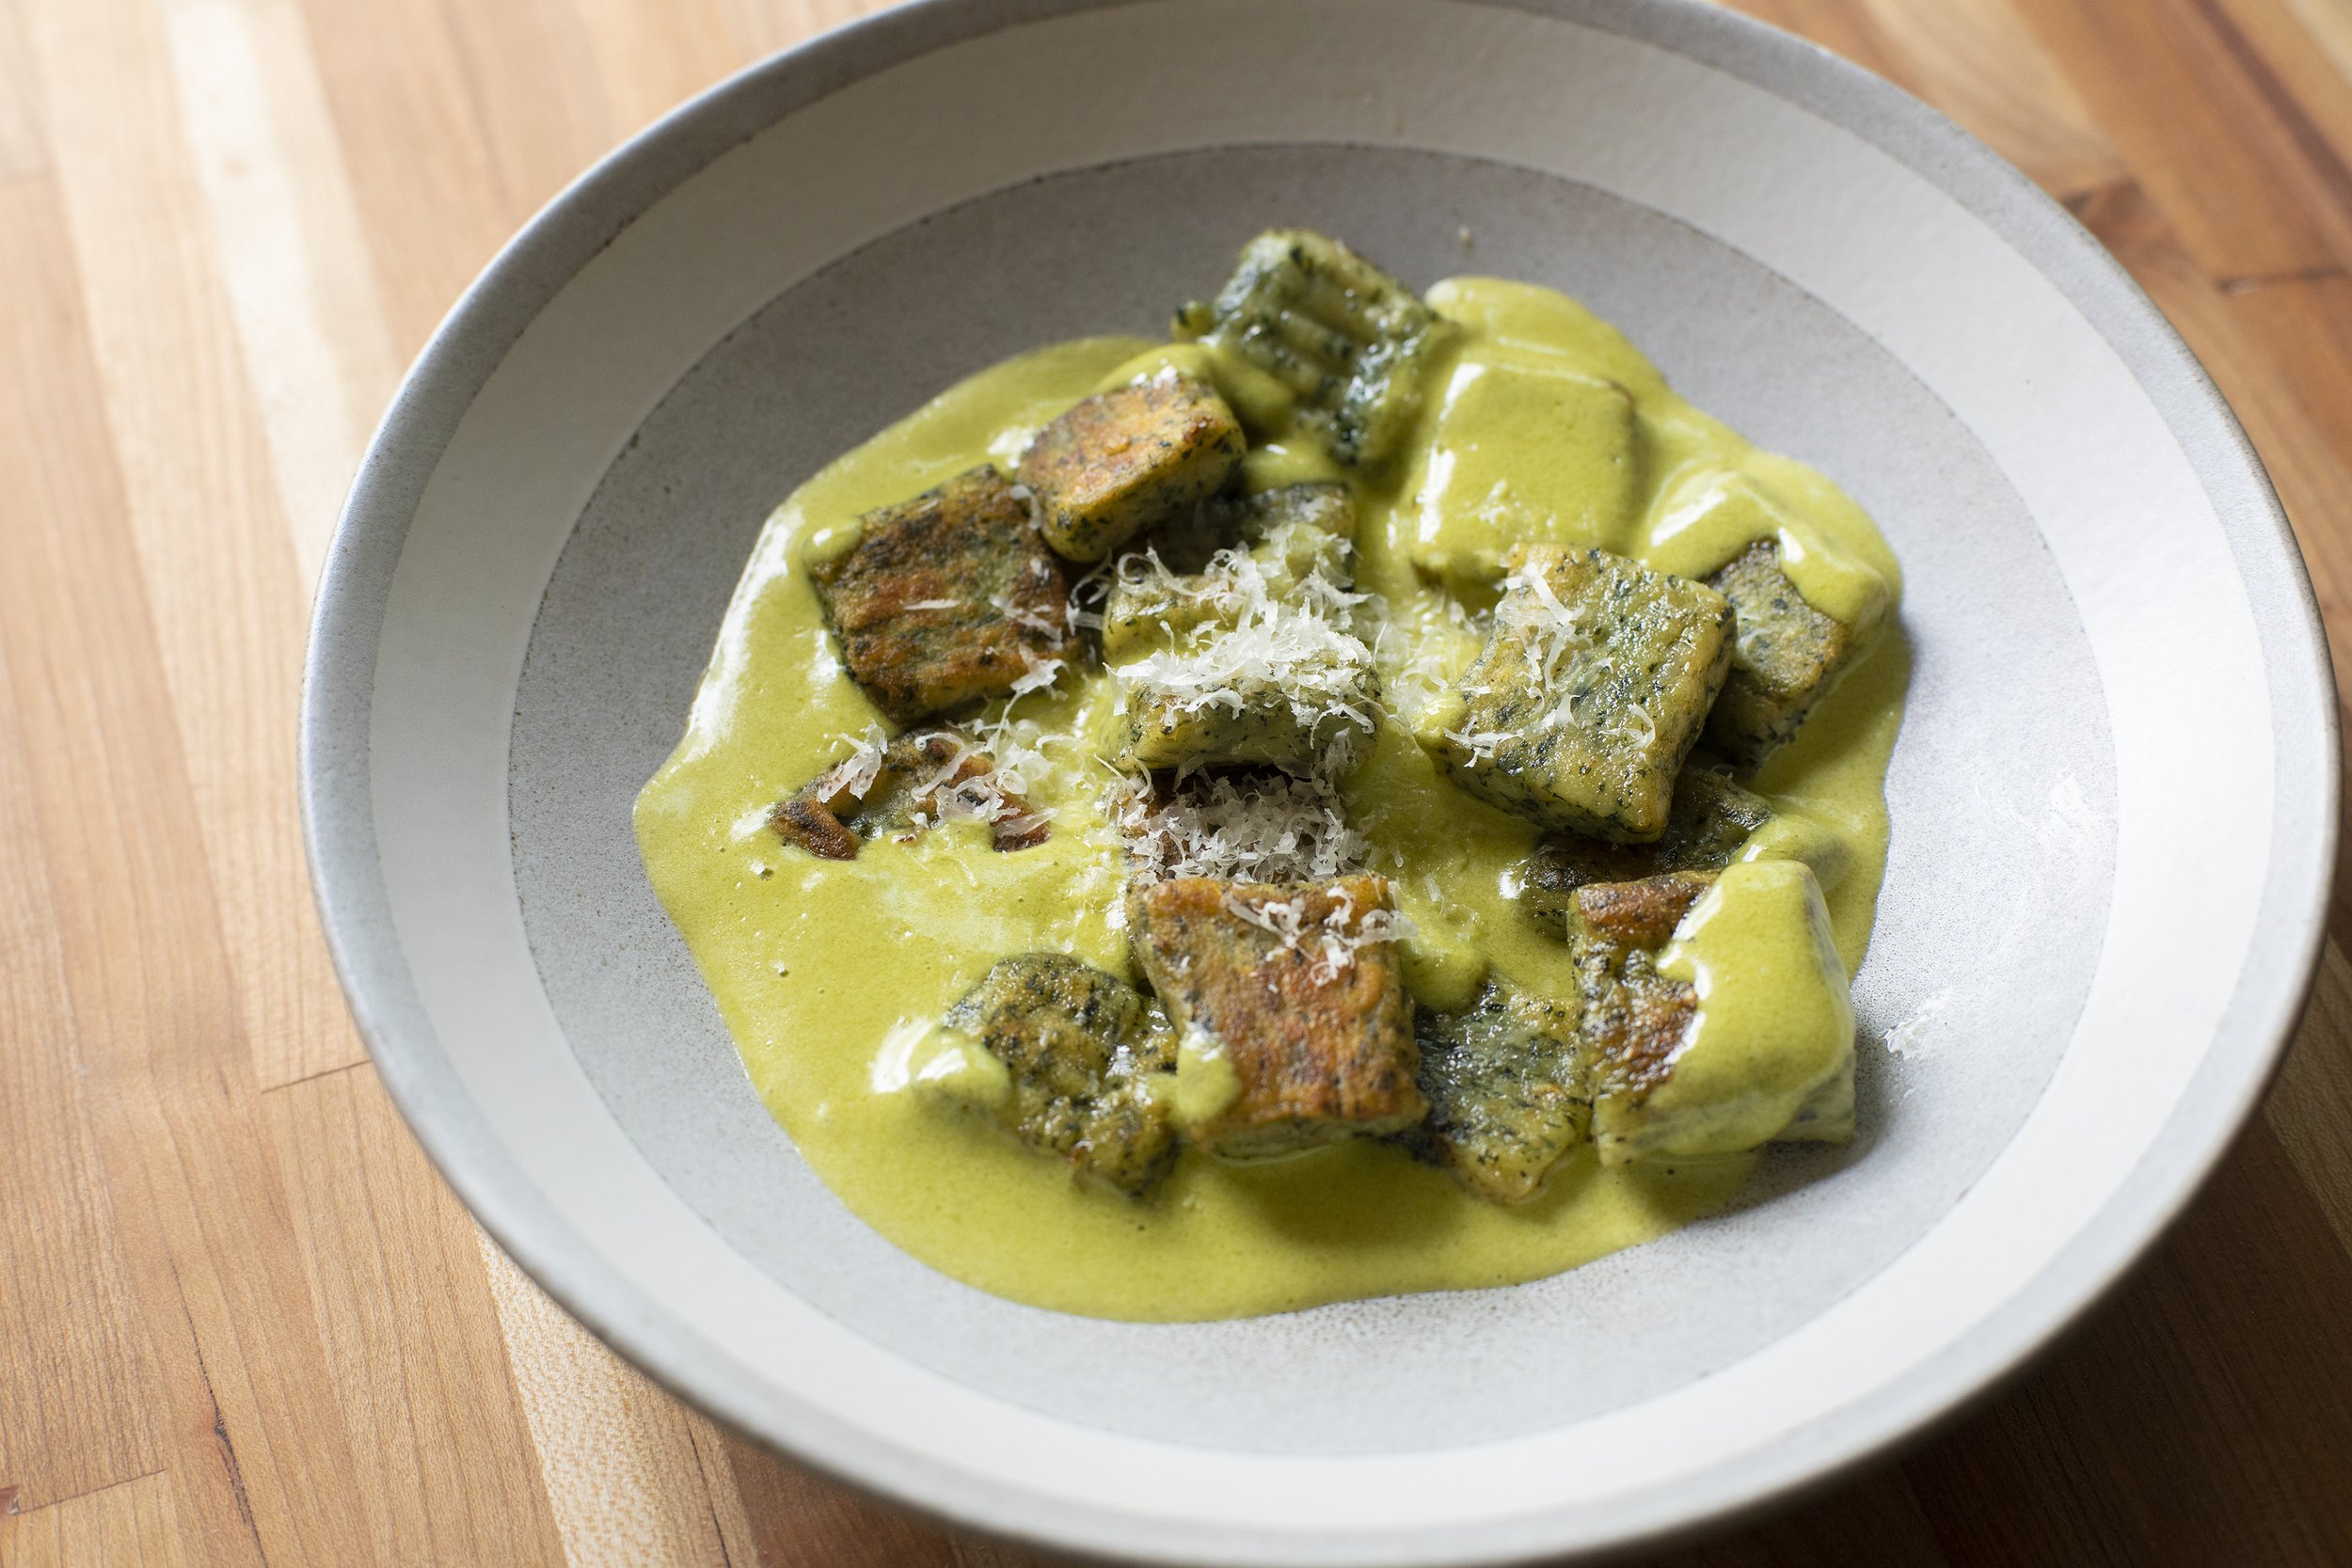
12. Transfer the boiled gnocchi into the hot pan and allow to crisp for about 3 minutes on each side. They’ll start to turn golden brown and form a nice texture on the shell, while the interior stays light and fluffy.
13. Transfer each portion of gnocchi to a bowl and drizzle on the cream sauce and finish with some black pepper and freshly grated parmesan.