Carbonara Inspired Pizza
Carbona is a simple dish. You have a limited amount of ingredients but you have to get the process right. The same goes for this pizza recipe which plays off of the same classics ingredients but reimagines them for the new format. Video of the process down at the bottom.
The egg yolks here are the biggest x factor and I did a lot of experimenting to get it right. I’ve been using a lot of salt cured egg yolks in the kitchen for garnishing toasts, salads, etc. They pack a lot of punch with their saltiness and umami. But for a pizza that requires a lot of egg, it ultimately ended up being a little too salty in combination with the guanciale. What I found worked best was a freeze + dehydrate method to get the same umami without an overload of salt. It also melds wonderfully into the hot pizza when grated right out of the oven. For anyone curious, the freeze-only method failed on multiple levels - it’s messy to work with, and doesn’t really add any worthwhile texture. If you think it would melt into a silky consistency, you’re wrong. It firms up and doesn’t add anything. The salt cured yolks are wonderful in more restrained applications. More about the simple process below.

Ingredients:
-Dough of your choice
-low hyrdation mozzarella (shredded)
-pecorino romano
-extra virgin olive oil
-black pepper
-cured egg yolk
-guanciale

Directions:
The egg yolk:
Separate egg yolk and white carefully and place yolk in a freezer safe container for at least two hours until frozen solid. Remove from the freezer and immediately place into dehydrator set to the temperature of 160F. It should take about 4 hrs until it is cured enough to grate with a microplane. Freezing helps the yolk keep it’s shape once the dehydration process begins.
Slice the guanciale very thin ribbons and cut into smaller pieces. On low heat, cook the guanciale until the fat renders out and it begins to crisp in the pan. Transfer to a small bowl and allow to cool. You can use bacon as a substitute here but guanciale is definitely preferred.
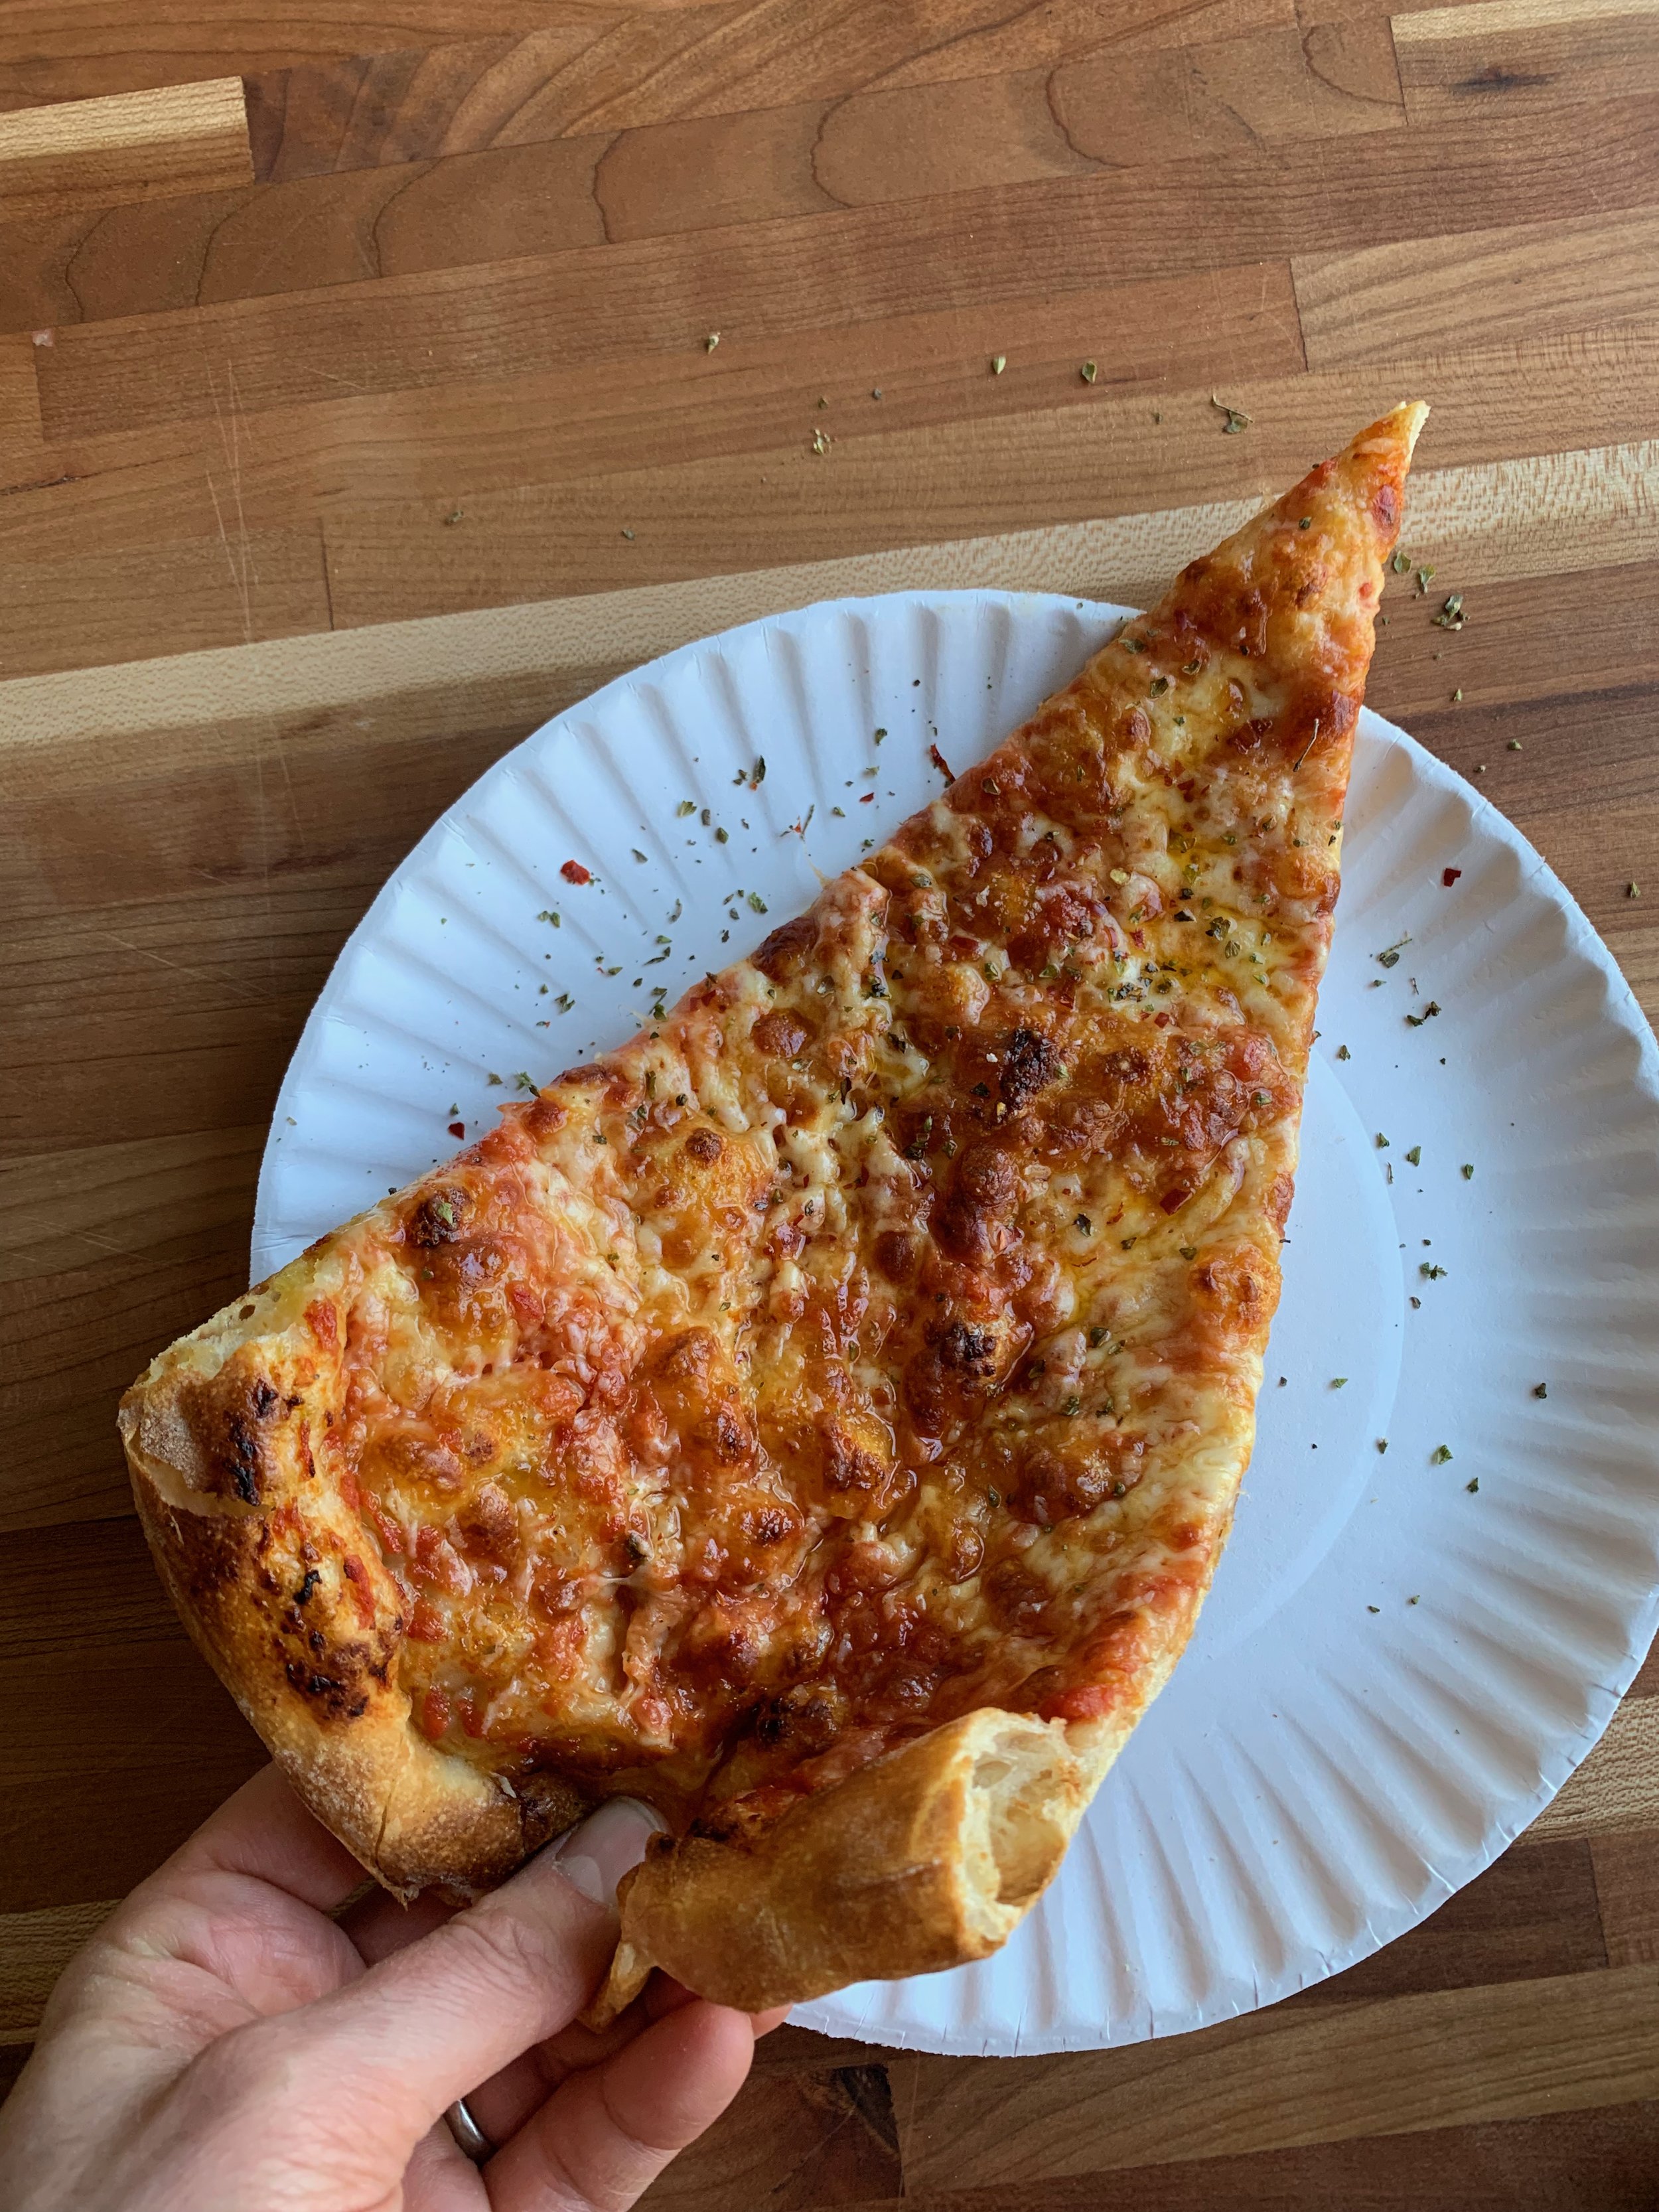
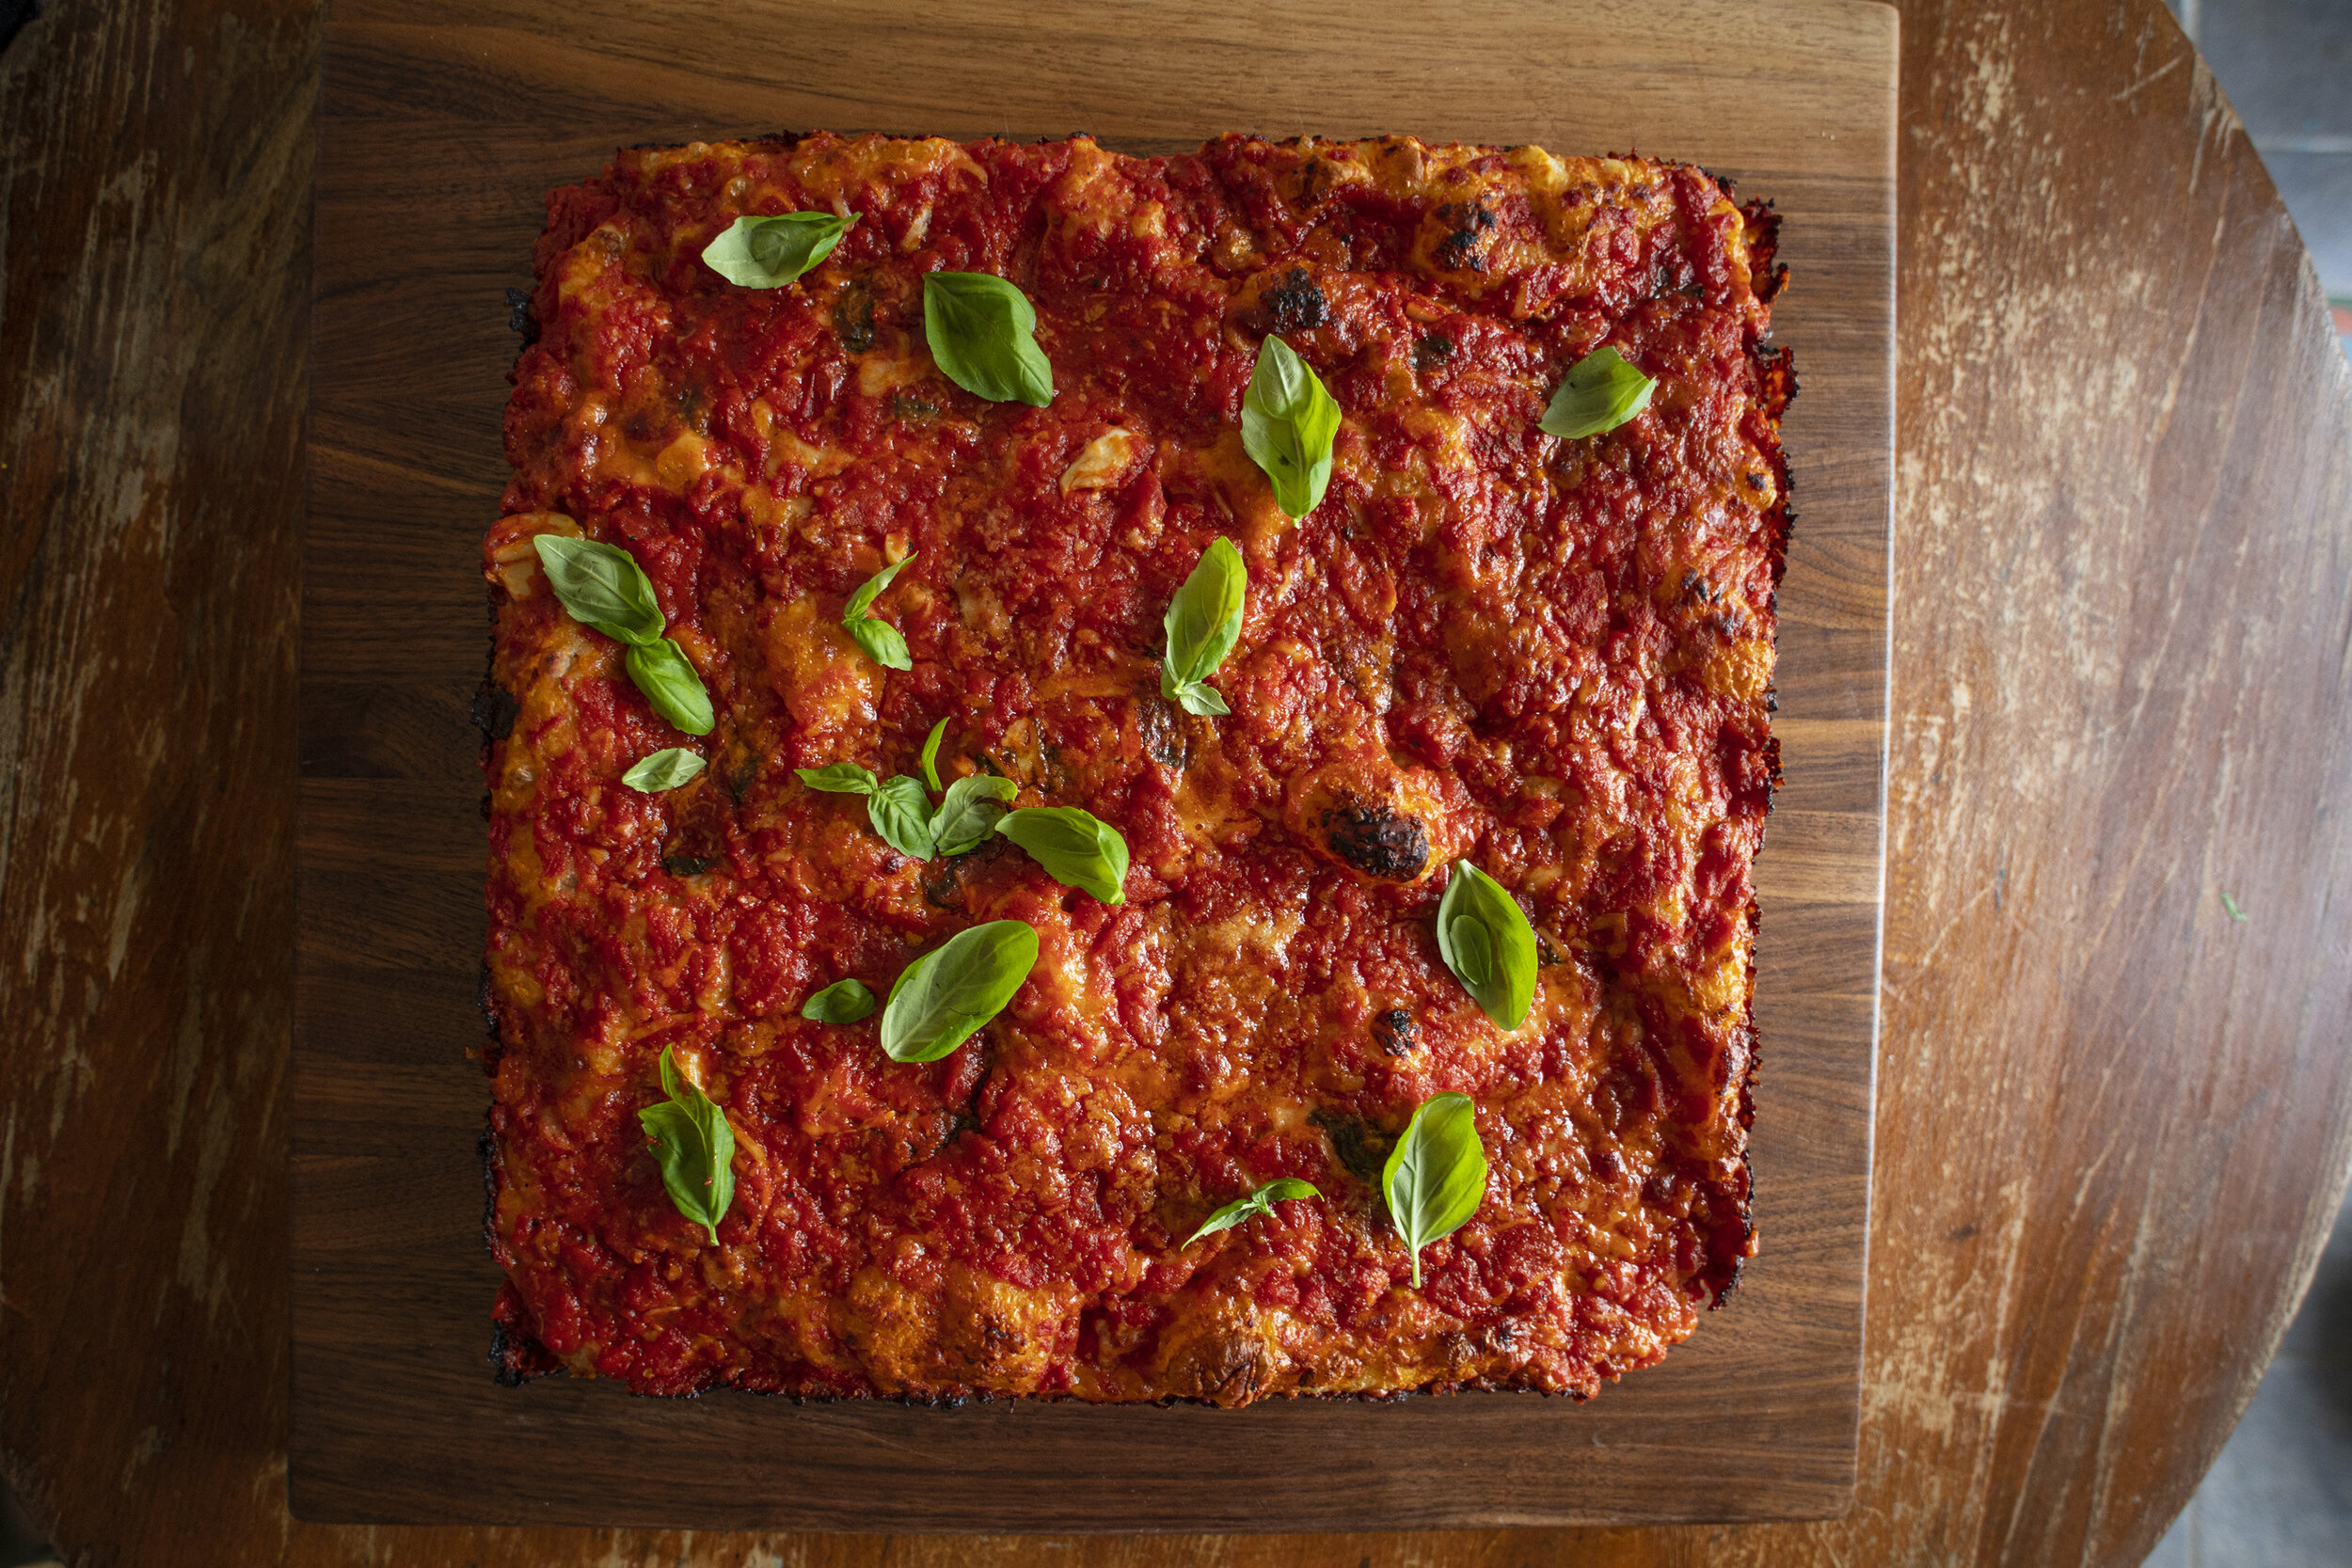
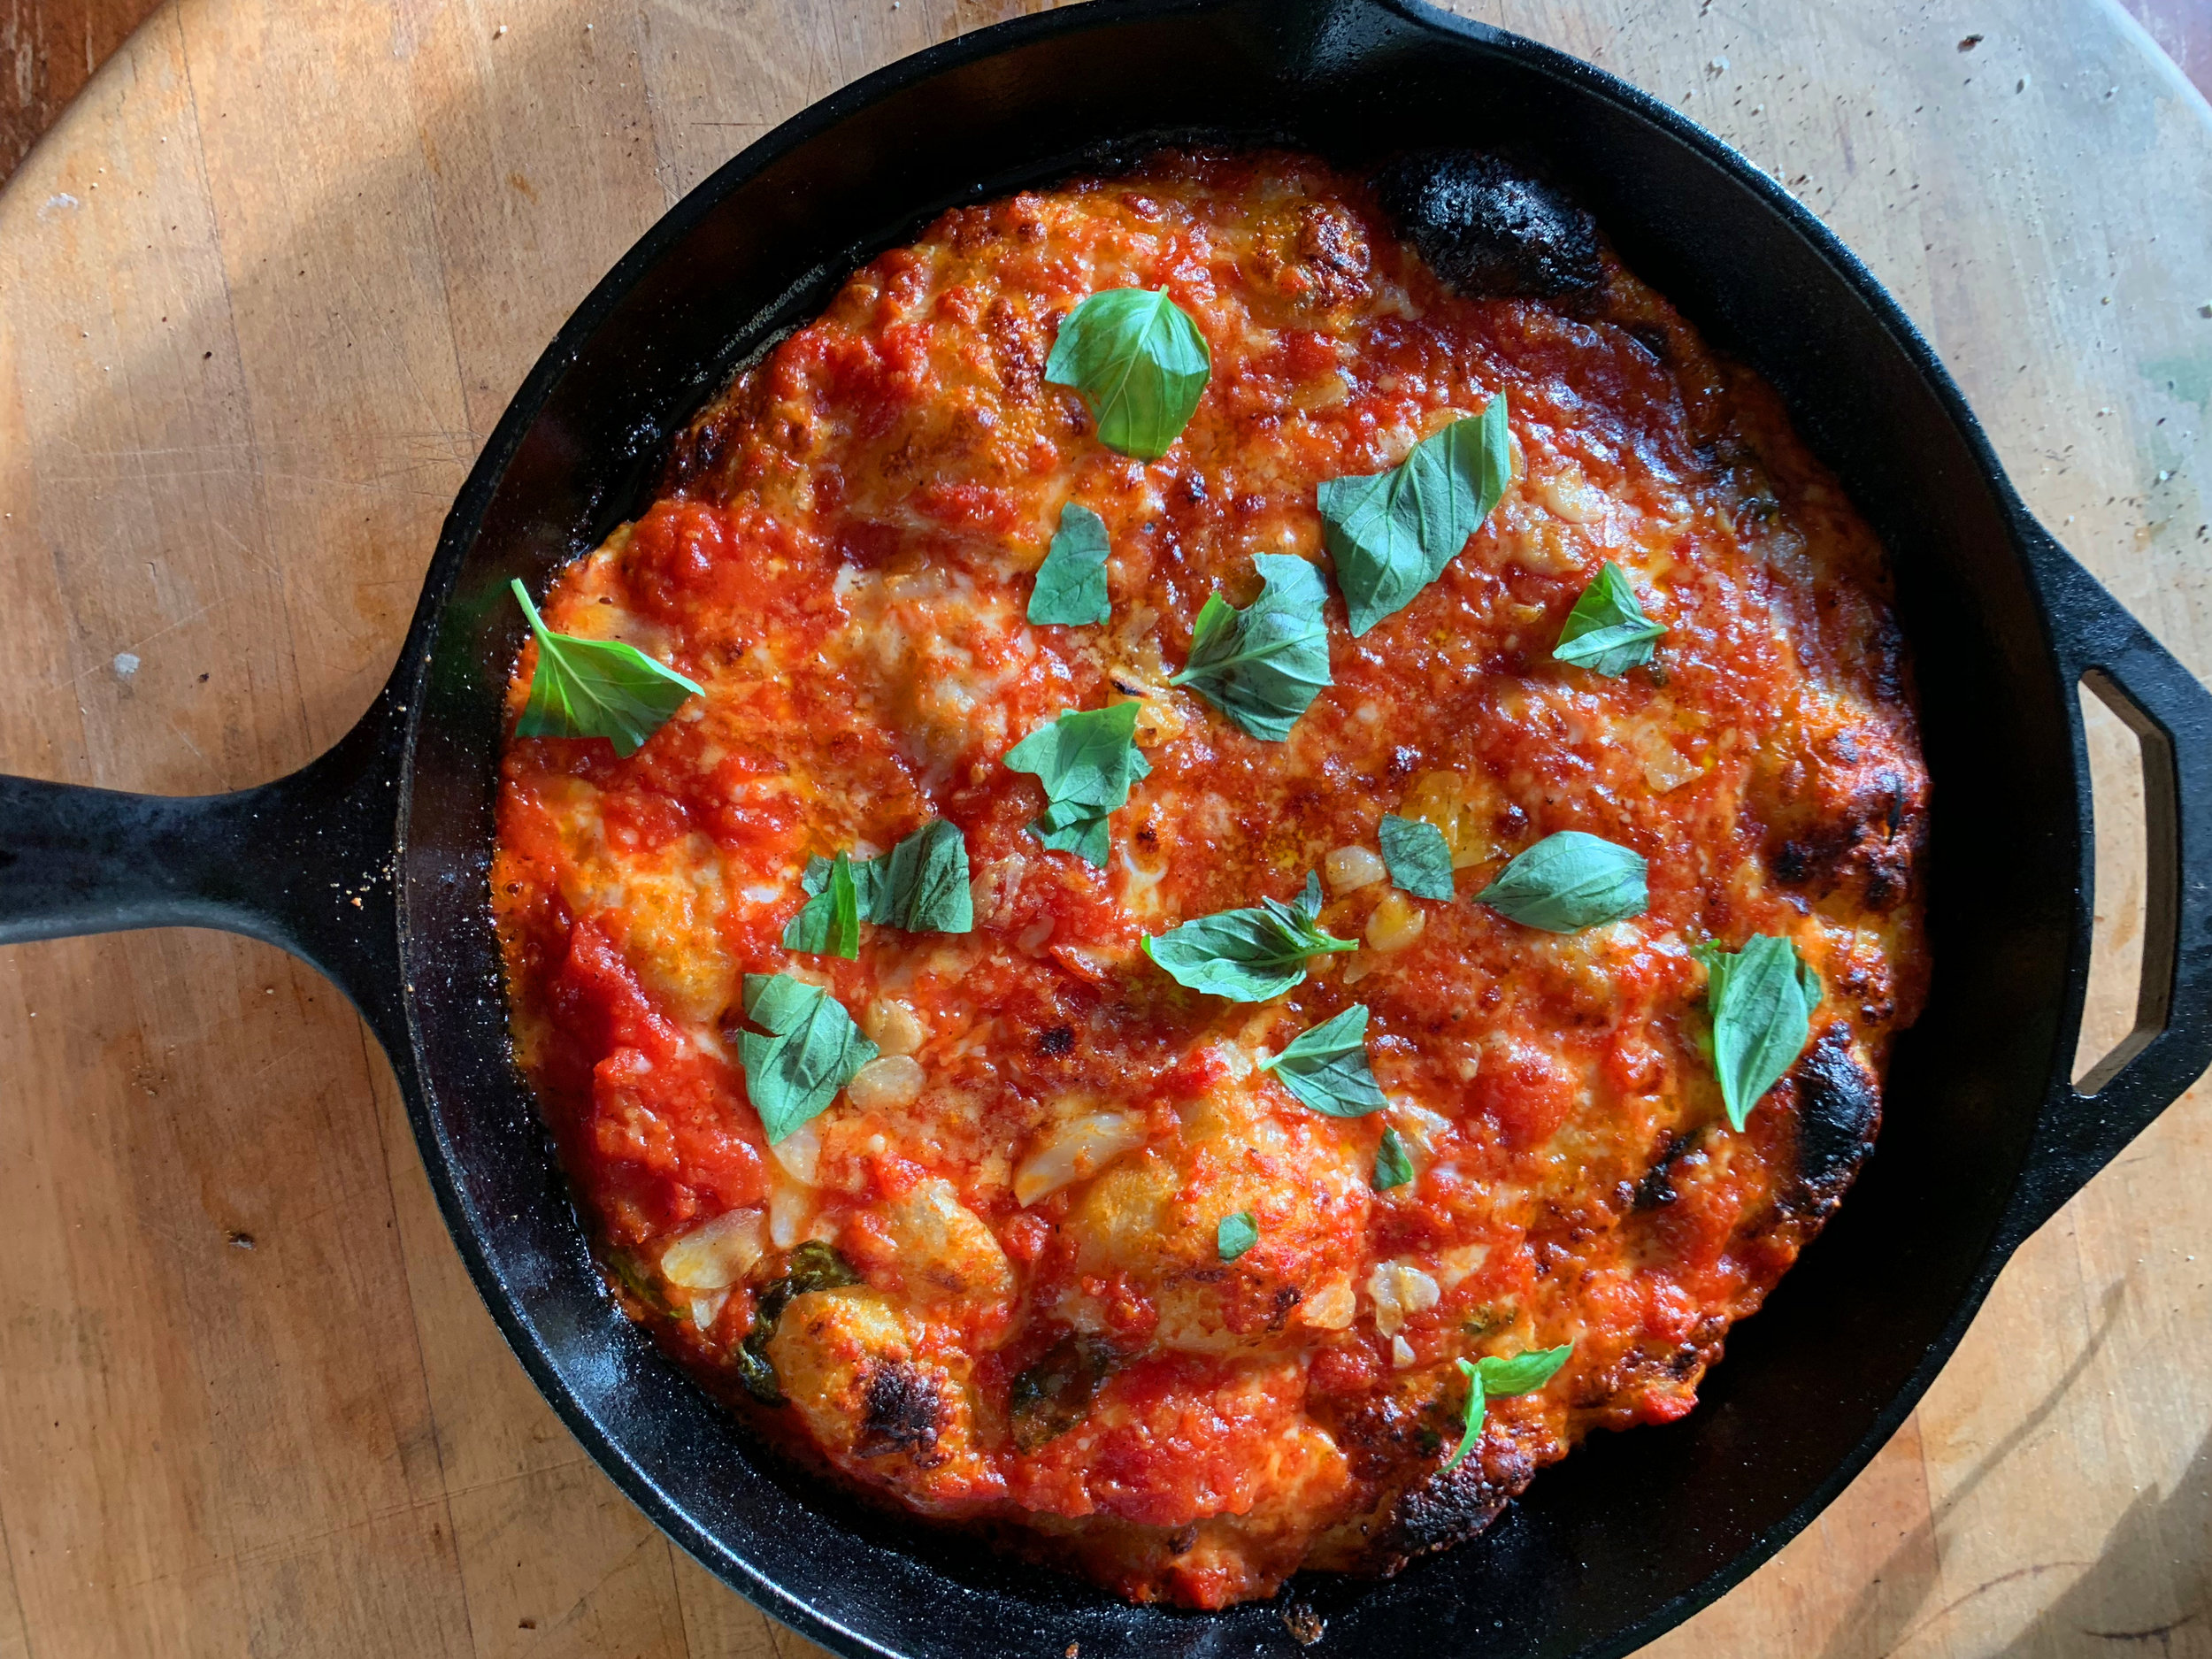
When your dough is fully proofed and has come to room temperature, stretch and shape on your working surface. Sprinkle a good amount of shredded mozzarella across the surface of the pizza. Grate a layer of pecorino across the top and hit it with some freshly cracked black pepper. Evenly distribute the guanciale across the surface and drizzle a little of olive oil. Carefully transfer to your pizza peel and put it into the oven. It’s winter and I’m baking this directly on a stone in a conventional oven at 500F (as high as I can get it). It takes roughly 7-8 minutes to complete.
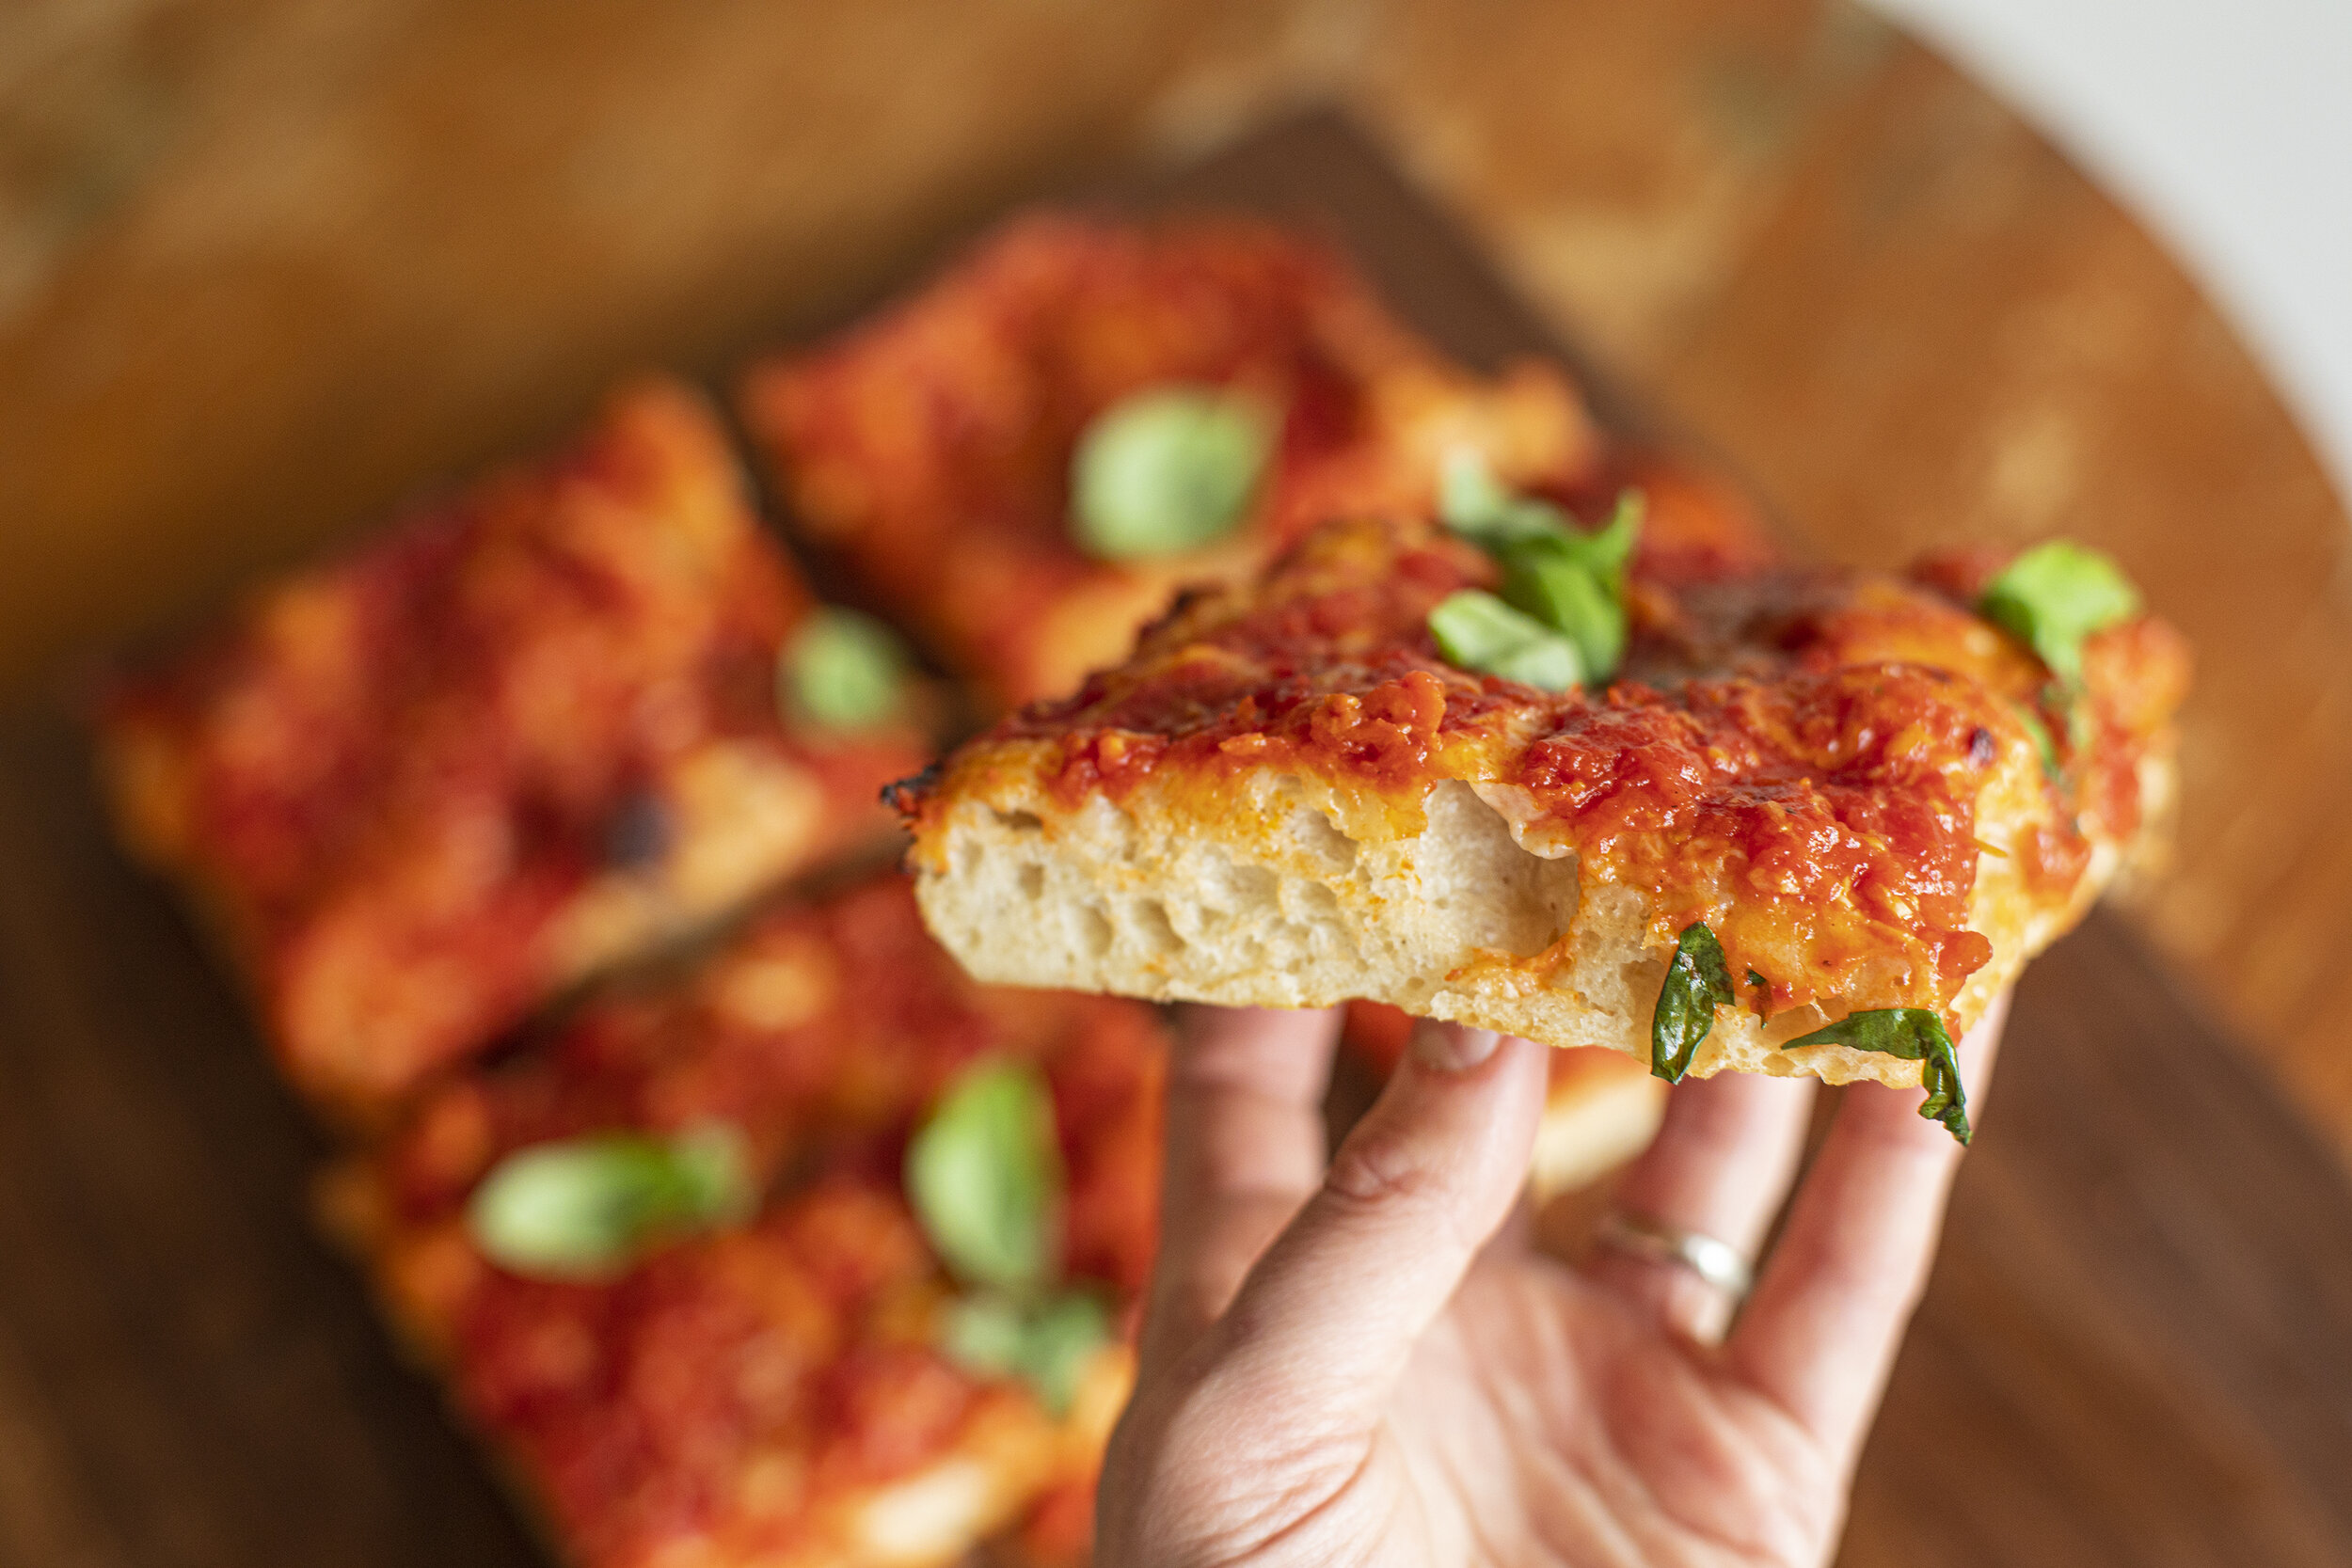
Remove from the oven and while it’s still hot, grate an entire egg yolk over the top. If done properly it will partially melt/dissolve into the hot cheese. Slice immediately and enjoy.