Savory Venison Pie

As another snow storm descends I was craving something decadent. This savory venison pie has been something I've been thinking about for a while and today was the perfect day to do it. It's essentially a venison stew, slow cooked for 4 hours until tender and then topped with a super flaky pie crust. To take it to the next level I threw in a big fat marrow bone which functions as a chimney for the pie as it steams in the oven. It also looks pretty impressive too. Hunting season officially ended yesterday so now I can shift my focus into more elaborate cooking projects. You could easily swap out the venison for beef or even lamb and it would still be an extremely delicious dish. Video of the process is below.

savory pie 1.jpg

The Filling (Stew)

Ingredients

3 pounds of venison (or other meat of choice), cubed into stew sized pieces

2 Leeks (finely chopped)

5 - 7 medium sized carrots (half finely diced and the other half chopped into larger pieces that you’ll add later)

2 - 3 ribs of celery (finely chopped)

4 cloves of garlic (minced)

1 cup of frozen peas

1 cup of white wine

5 leaves of fresh sage (finely minced)

Few sprigs of thyme

Flour

1-2 tbsp butter

4-6 cups of beef/chicken broth (homemade is best)

chopping veg.jpg

Directions:

  1. Bring a large dutch oven to medium heat on the stove top. Add some olive oil to cover the bottom.

  2. Brown your meat in batches and set aside in a pan.

  3. Add butter to the pot. Once it melts sprinkle in a few tbsp of flour. Stir constantly and scrape up any bits of meat stuck to the bottom of the pan. The roux will start to darken over the next few minutes.

  4. Add the chopped celery, finely diced carrots, garlic, leeks, thyme, and sage. Saute for a few minutes until softened.

  5. Add the white wine and cook down for a few more minutes.

  6. Return the meat back to the pot and set to a low simmer.

  7. Add in the warmed broth, cup by cup, until it comes up to almost the top of the meat. You do not want to fully submerge the meat. Simmer on low, uncovered, stirring frequently for the next 3-4 hours until the meat is tender. As the liquid cooks down, you should add more broth periodically to maintain a consistent level in the pot. As the stew cooks, you can prepare the pie dough.

  8. After about 3 hours, add the larger pieces of carrots and allow to cook for at least another 10-15 minutes.

  9. Add in the frozen peas. Remove from the heat and allow to cool for at least 30 minutes.

making dough.jpg

The Pie Crust

I’m using a Smitten Kitchen recipe for my pie dough which uses the following ingredients.

Ingredients

8 tbsp butter

1 cup of all purpose flour

1/3 tsp sea salt

1/4 cup cold water

1/2 tbsp granulated sugar

I followed her recipe and was very satisfied with the results.

before top.jpg
before bake.jpg

The Final Pie

Ingredients:

1 marrow bone

Egg wash

Directions:

  1. Set your oven to 375F.

  2. Place the marrow bone in the center of your pie dish.

  3. Fill the remaining area of the dish with the stew all the way up to the top of the dish.

  4. Roll out your pie dough so it is a few inches larger than the pie dish you’ll be baking in.

  5. Using a knife make an X in the middle of the dough slightly larger than the diameter of the marrow bone.

  6. Carefully slip on the dough so that the marrow bone slides through the X and use your hands to shape the dough over the surface of the edges of the dish. Pinch the rim all the way around and let the excess dough hang over the edges like a skirt.

  7. Use a fork to press around the entire circumference of the dish.

  8. Using a sharp knife make a few X’s in the surface of the dough to allow for additional steaming.

  9. Brush on the egg wash all over the dough. Make sure to get the sides as well.

  10. Bake for about 40 minutes until the crust is golden brown and flaky.

  11. Allow to cool for about ten minutes before serving.

plated venison stew.jpg

Venison + Ramp Sausage with Creamy Polenta

We made it through another week. Tomorrow might be one of those days filled with dread and anxiety, but right now is filled with the simple comfort of a big plate of creamy polenta, venison + ramp sausage, and a fried farm egg. This dish transports me back to the table with my parents and grandparents and hits on all the nostalgic notes that you could ask for. Video of the process is below.

sausage and polenta.jpg

The Sausage

I use about 40% pork fat to mix with the ground venison in this recipe.

2.8 lbs freshly ground venison

1.1 lbs ground pork fat

10 grams dehydrated ramp powder (recipe can be found here)

Dried chili flakes to taste

15 grams salt

2 tsp fennel seeds

15 grams brown sugar

Natural hog casings

Instructions

  1. Mix together, by hand, all of your filling ingredients in a large bowl.

  2. Carefully slide the sausage casing up onto the stuffing tube. Insert whatever joke you want here. Leave the end untied to allow air to pass through. You’ll tie it off at the end.

  3. On the slowest setting, carefully feed the sausage mixture down into the hopper. You’ll want to work slow and steady, and pause whenever you have any complications. The goal is to have a uniform filling all the way through the casing, without it being packed too tight where the casing will break apart or burst. If you’re attempting this recipe, you’ll likely have made your own sausages before.

  4. When you’ve finished stuffing your sausage now it’s time to tie your links. I typically will make small batches, so I’ll tie each link individually, gently applying pressure with my fingers where I want there to be a break, and then twisting it around to create a nice clean break between links. There are much more elegant and efficient ways to do this and lots of great Youtube videos from professional butchers who can help visualize this process.

  5. Heat up some olive oil in a skillet and brown the sausage on all sides. Transfer the sausage to a pot of simmering red sauce to continue cooking for another 20 minutes. My classic red sauce recipe can be found here.

ramp powder.jpg
links.jpg
crushing tomatoes.jpg

Creamy Polenta

1 cup coarse cornmeal

1/2 stick Butter

1 cup cubed provolone cheese

1 cup whole milk

2 - 3 cups chicken stock

Salt

Instructions

  1. Bring 1 cup of milk and 2 cups of stock to a simmer and add the cornmeal.

  2. You’ll need to constantly stir the polenta to ensure it doesn’t stick to the bottom of the pan.

  3. Add in the butter and cubed provolone and keep stirring until it melts. Add salt to taste.

  4. If it starts to feel a little too thick, add some reserved stock to thin it out. Keep adding more stock to maintain the right creamy texture. In total it will take about 30 minutes start to finish.

Venison Reuben on Poppy Seed Rye

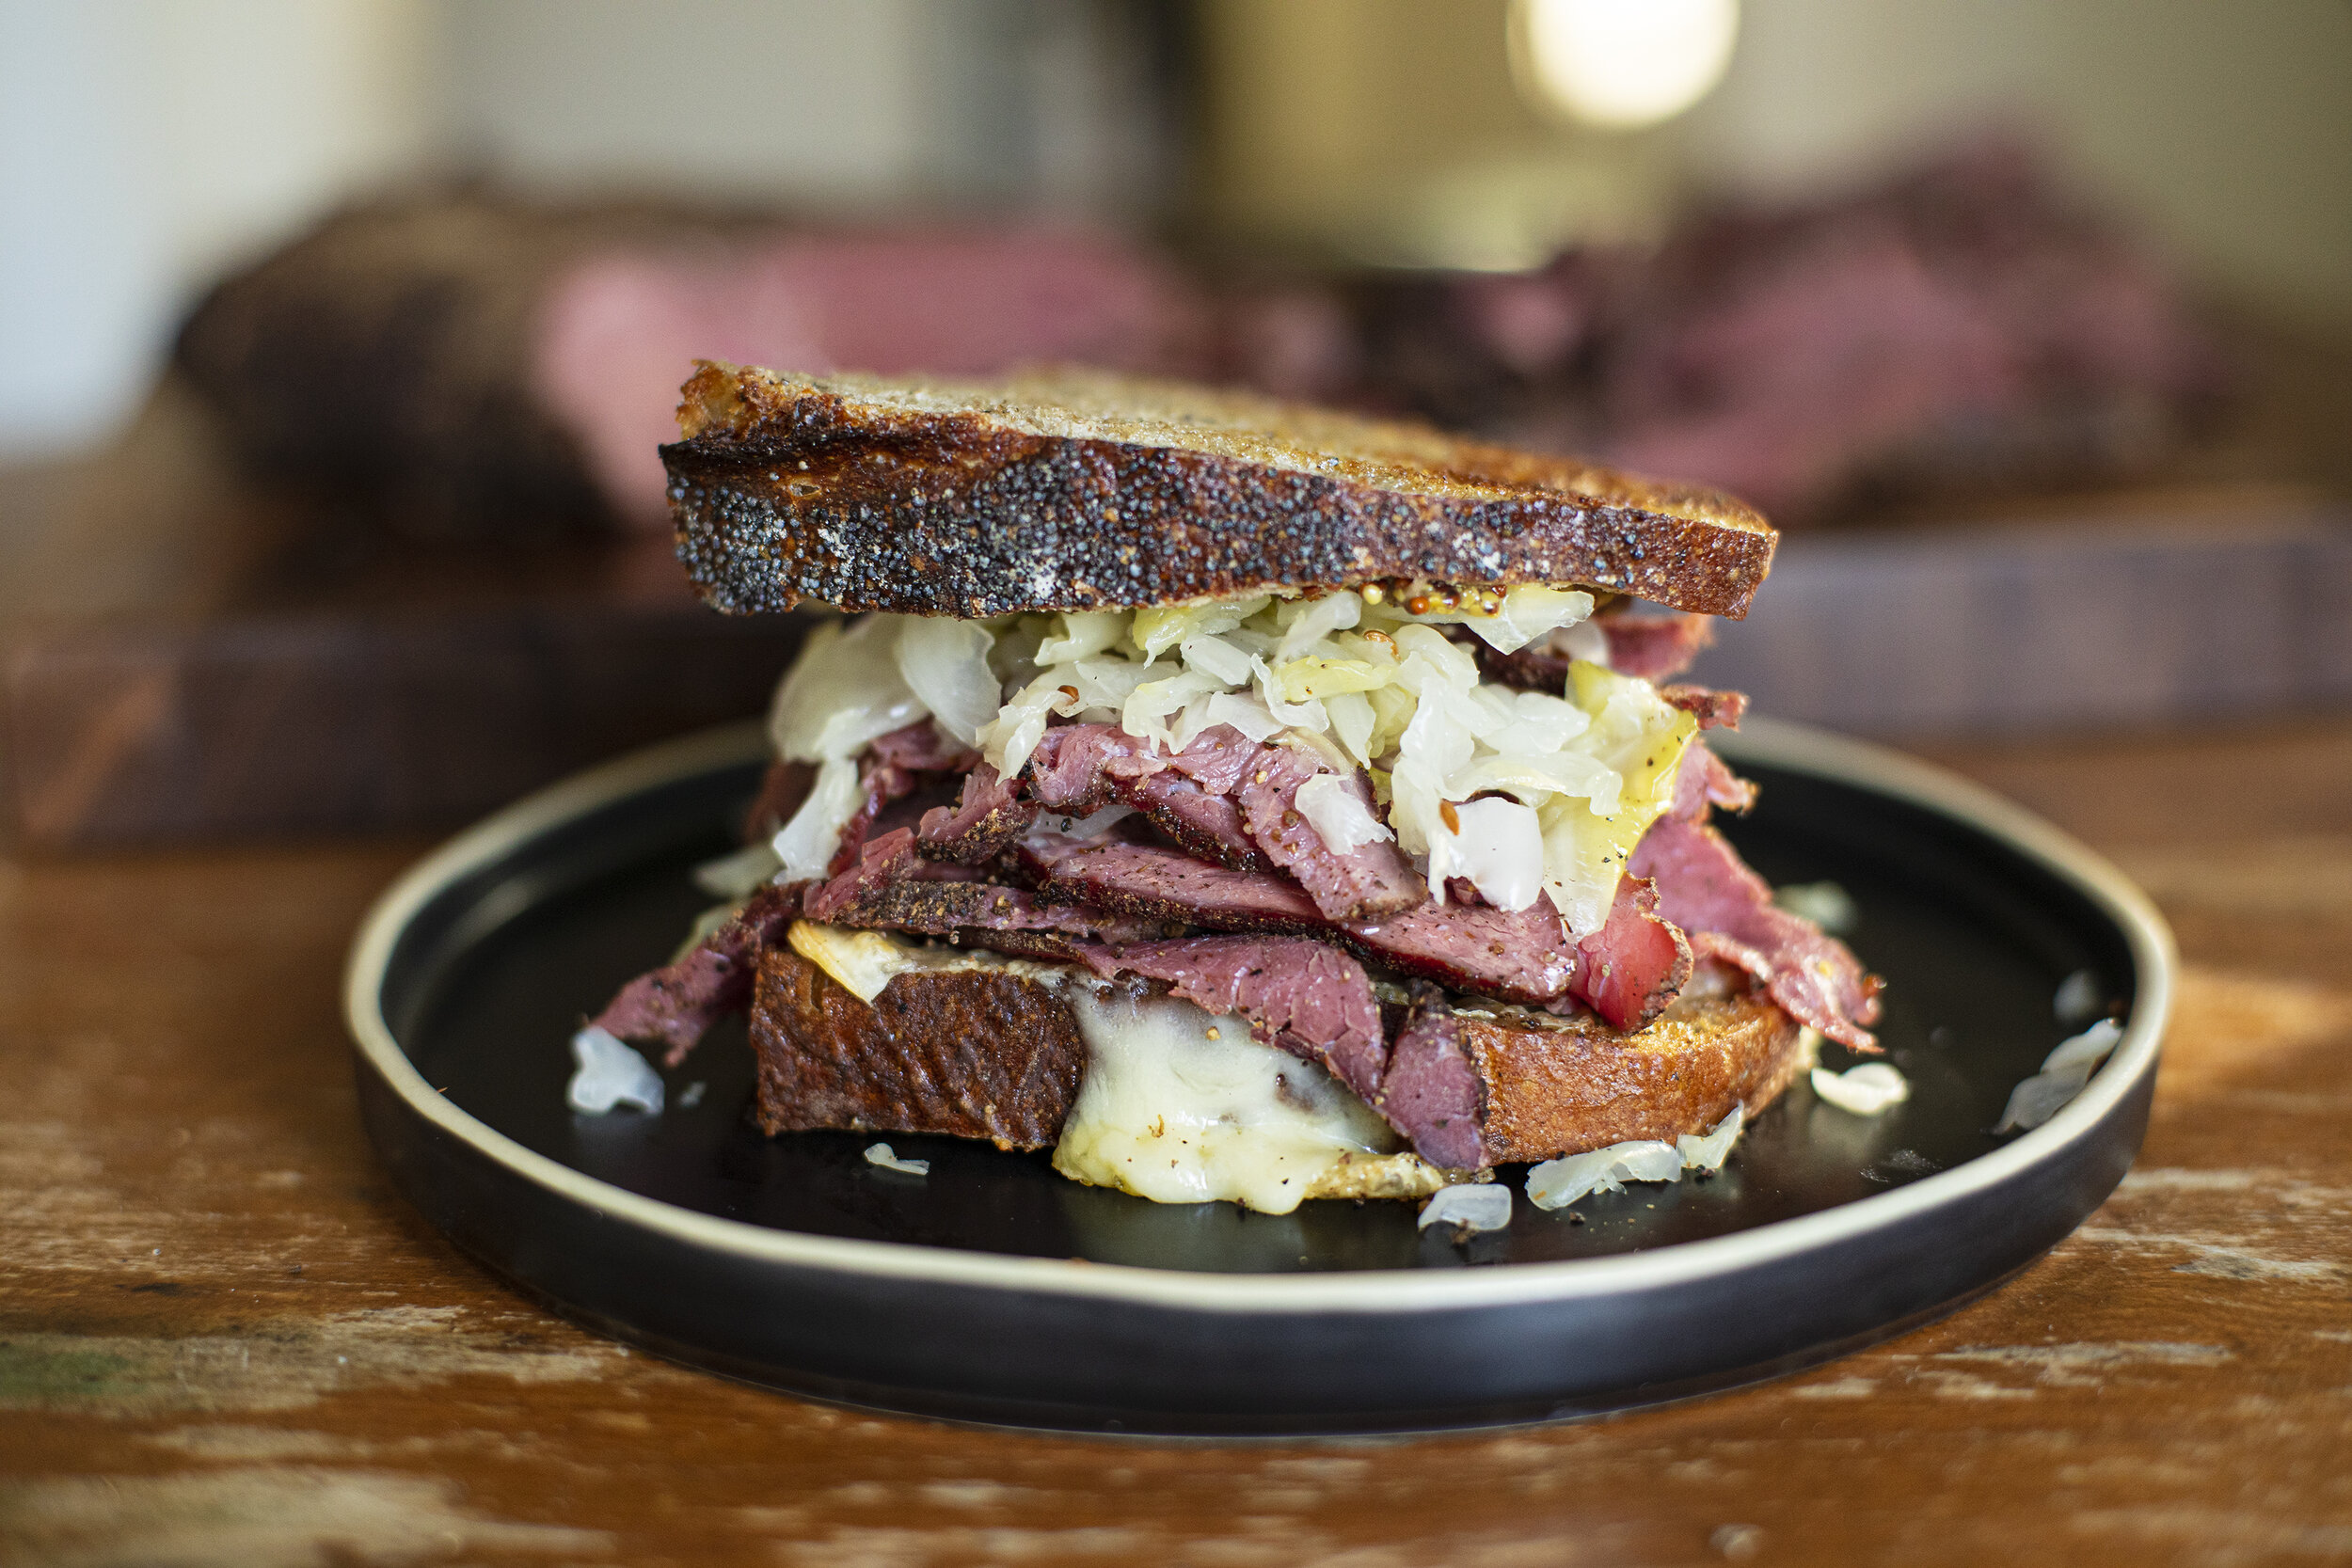
On the surface, this is just a sandwich. But a lot of labor and love went into the making of it. Months spent scouting the woods trying to find the perfect position. Cumulatively, there were probably dozens of miles walked. Early mornings watching the sun rise and light up the ice encrusted tree canopy as my feet felt like they were going to freeze. Then there was the harvest and the subsequent months of planning how to do justice to every pound of meat. Six more weeks for the sauerkraut and the fine tuning of the sourdough poppy seed rye. Six days for the cure on the pastrami. Three hours in the smoker. And just a few minutes to devour it. Was it worth it? I don’t regret any minute of it. 

Video of the process below.

pastrami sandwich.jpg

The Pastrami

First off I want to credit Hank Shaw for the basis of this recipe. For the most part I followed the fundamentals of his recipe but just tweaked a few ingredients and temperature/timing in the smoker. The cut I used for this recipe was the bottom round, cleaned and trimmed. 

Ingredients

The Cure

A 2 - 4 pound piece of venison (single muscle works best)

Kosher salt (2% of the weight of the meat)

Instacure No. 1 (0.25% of the weight of the meat)

1/4 teaspoon celery seed

1/4 teaspoon caraway seed

1 teaspoon sugar

1/4 teaspoon crushed juniper berries

The Dry Rub

3 tablespoons ground black pepper (1 tbsp per pound)

3 tablespoons coarsely ground coriander (1 tbsp per pound)

1/4 cup dry sherry

packing spices.jpg

Instructions

  1. Weigh your piece of meat. In a spice grinder, mix together all of the ingredients for the cure. Measure your salt and curing salt carefully based on the percentages listed above. 

  2. Using your hands, pack all of the spices and salt onto the meat, massaging it into ass nooks and crevices of the meat. Make sure all sides are equally coated. Transfer into a large ziplock bag, airtight container, or vacuum seal. The meat will now cure in the refrigerator for 4 - 6 days. Hank’s general rule is 2 days per pound of meat. 

  3. Remove the meat and rinse it off in a bowl of cold water to remove the bulk of the cure. Pat the meat dry and place back into the refrigerator uncovered for another 30 mins up to a day. 

  4. Using the spice grinder again, blend together the peppercorns and coriander spinkly it across the bottom of a baking tray, reserving some more to sprinkle on top.  

  5. Place the meat in a bowl and pour the dry sherry all over it and massage it into the meat. 

  6. Transfer the meat, coated in sherry, to the tray of spices and carefully work it around the dry rub so it is coated on all sides. Pack more of the dry rub on top with your hands until every part of the surface is covered. 

  7. Set your smoker temperature to 250F and smoke the meat for 2 - 3 hrs until the internal temperature reaches 145F. Allow the meat to cool and slice very thinly.

sliced pastrami.jpg
rye bread.jpg
saurkraut.jpg

The Sauerkraut

This is a pretty ubiquitous recipe that makes for a simple but delicious kraut. 

Ingredients

1 head of green (or red) cabbage

2% of the weight of cabbage in kosher salt

Caraway Seeds

Instructions

  1. Peel the outer leaves from the cabbage. Wash thoroughly. 

  2. Thinly slice cabbage and weigh it on a scale.

  3. Measure exactly 2% the weight of the cabbage in salt.

  4. In a large bowl using your hands mix together the salt of the cabbage. Massage it. Crush it with your hands until all the liquid from the cabbage starts to be extracted. Continue massaging for 5 - 10 minutes.

  5. Add in a sprinkling of caraway seeds. Mix together again.

  6. Pack all the cabbage and it’s juices into your fermentation vessel of choice. Use the outer leaves as a protective layer on top of the kraut and weigh it down with a glass weight or similar. 

  7. Allow to ferment for 4 - 6 weeks in a cool and dark area of your house. After 4 weeks you can transfer it to the refrigerator. 

  8. That’s it.

Venison Chili

The recipe makes an amazingly tender chili using venison chuck slowly simmered over 4 -5 hours.

venison chile.jpg

4 lbs chuck stew meat

1 large diced onion

4 cloves diced garlic

1 large diced red pepper

tomato paste

4 -5 cups of chicken stock

cumin

paprika

chili powder

spicy dried chilies

plum vinegar (or similar)

brown sugar

red wine

Salt and pepper the meat and brown on all sides. Set aside. Reduce the temperature in your pot and gently saute the onions, garlic, and red pepper until softened. Add 8 oz of tomato paste, 1.5 tsp cumin, 1 tsp paprika, 1 tsp chili powder, dried chilies to heat preference, a few tsp of plum vinegar, 1 tbsp brown sugar, 1/2 cup red wine, and a few cups of chicken broth and bring to a simmer. Add the browned meat back into the pot. The liquid should not completely cover the meat, and you’ll want to keep an eye on this as it cooks for the next few hours, adding more as necessary. Simmer on low for about 4 hours until the meat is fork tender. Without 20 minutes left to cook, add cooked red kidney beans and stir.

Allow to cool for a few minutes and serve with avocado, freshly chopped scallions, sour cream, shredded cheese, and pickled onions. Perfect for serving with homemade cornbread.

Sourdough Brioche Ravazzata with Venison Ragu

I was recently turned on to Ravazzata, a traditional street food found in Palermo. The experience is like what would happen if an arancino and a sloppy joe had a baby. There are both fried and baked versions but I opted to go with a baked version for my first attempt using a sourdough brioche recipe inspired by Artisan Bryan. The ragu is mostly traditional, with the exception of swapping out beef for ground venison.

open ravazzata.jpg

The filling

1 lb ground beef (or venison)

Half of a yellow onion, finely diced

3 cloves of garlic, finely minced

6 oz tomato paste

1 cup of frozen peas

Salt and pepper to taste

Cubed provolone, caciocavallo, or your cheese of choice

Saute the onions and garlic in some olive oil for a few minutes until soft. Spoon in the tomato paste and work into the mixture. Add just a little more olive oil if you find it hard to work with but it is important that the ragu stays on the drier side to make filling the ravazzata easier. After sauteing a few more minutes add in the ground meat and keep turning until it browns evenly. Add in the peas and cook for a few more minutes, turning frequently. Add salt and pepper to taste. Set aside to cool and put it into the refrigerator to firm it up before filling.

ragu.jpg

The dough

250g Bread flour

250g All purpose flour

250g active levain

115g cold water

170g unsalted butter

175g eggs (approximately 3-4 eggs)

150g sugar

15g salt

I based the recipe off of a sourdough brioche recipe from Artisan Bryan and made a few modifications to make it more savory and less aromatic. I think it will take a few more iterations to get it perfect, but I was pleased with how it turned out for a first attempt.

dough.jpg

2pm Day 1

Cube the butter. Mix all of you dry and wet ingredients into a mixer/kitchenaid. Start off on the slowest setting and gradually increase the speed. The dough is going to be really wet and sticky but try to avoid adding more flour. Mix for about 10-15 minutes to properly develop the dough. 

Transfer to a lightly oiled bowl or container and allow to rise at room temperature for about 6 hours. Transfer to the refrigerator and cold ferment overnight for about 10 hours. 

7am Day 2

Remove dough from the refrigerator and allow to soften a little for about 20 - 30 mins so it’s easier to work with. Gently flour your work surface and remove the dough from the bowl. Gently dust the top of the dough. Now divide the dough into individual bun size balls (approx 130g each). These will proof with the filling for another 4 hrs.

filling.jpg

Assembly

Using your fingertips gently press each ball down to form something that looks like a large pancake. The edges should be slightly thinner than the middle as they will be folded up over onto each other after filling. Fill each dough round with a few spoonfuls of ragu and top each with the cubed cheese. Gently bring up the edges of the dough, around the ragu, and use your fingers to seal it together. Flip the whole thing over so that the smoother bottom now becomes the top, and transfer to a parchment lined baking tray gently dusted with semolina. 

Brush each bun with an egg wash and sprinkle a generous amount of sesame seeds all over the top surface. Set aside and proof for another 4 hours at room temperature.

finished buns.jpg

Baking

Set your oven to 400F. Bake for 30-35 minutes until light to medium brown depending on your preference. Best enjoyed while still hot.

Sourdough English Muffin Breakfast Sandwich

egg porn shot.jpg

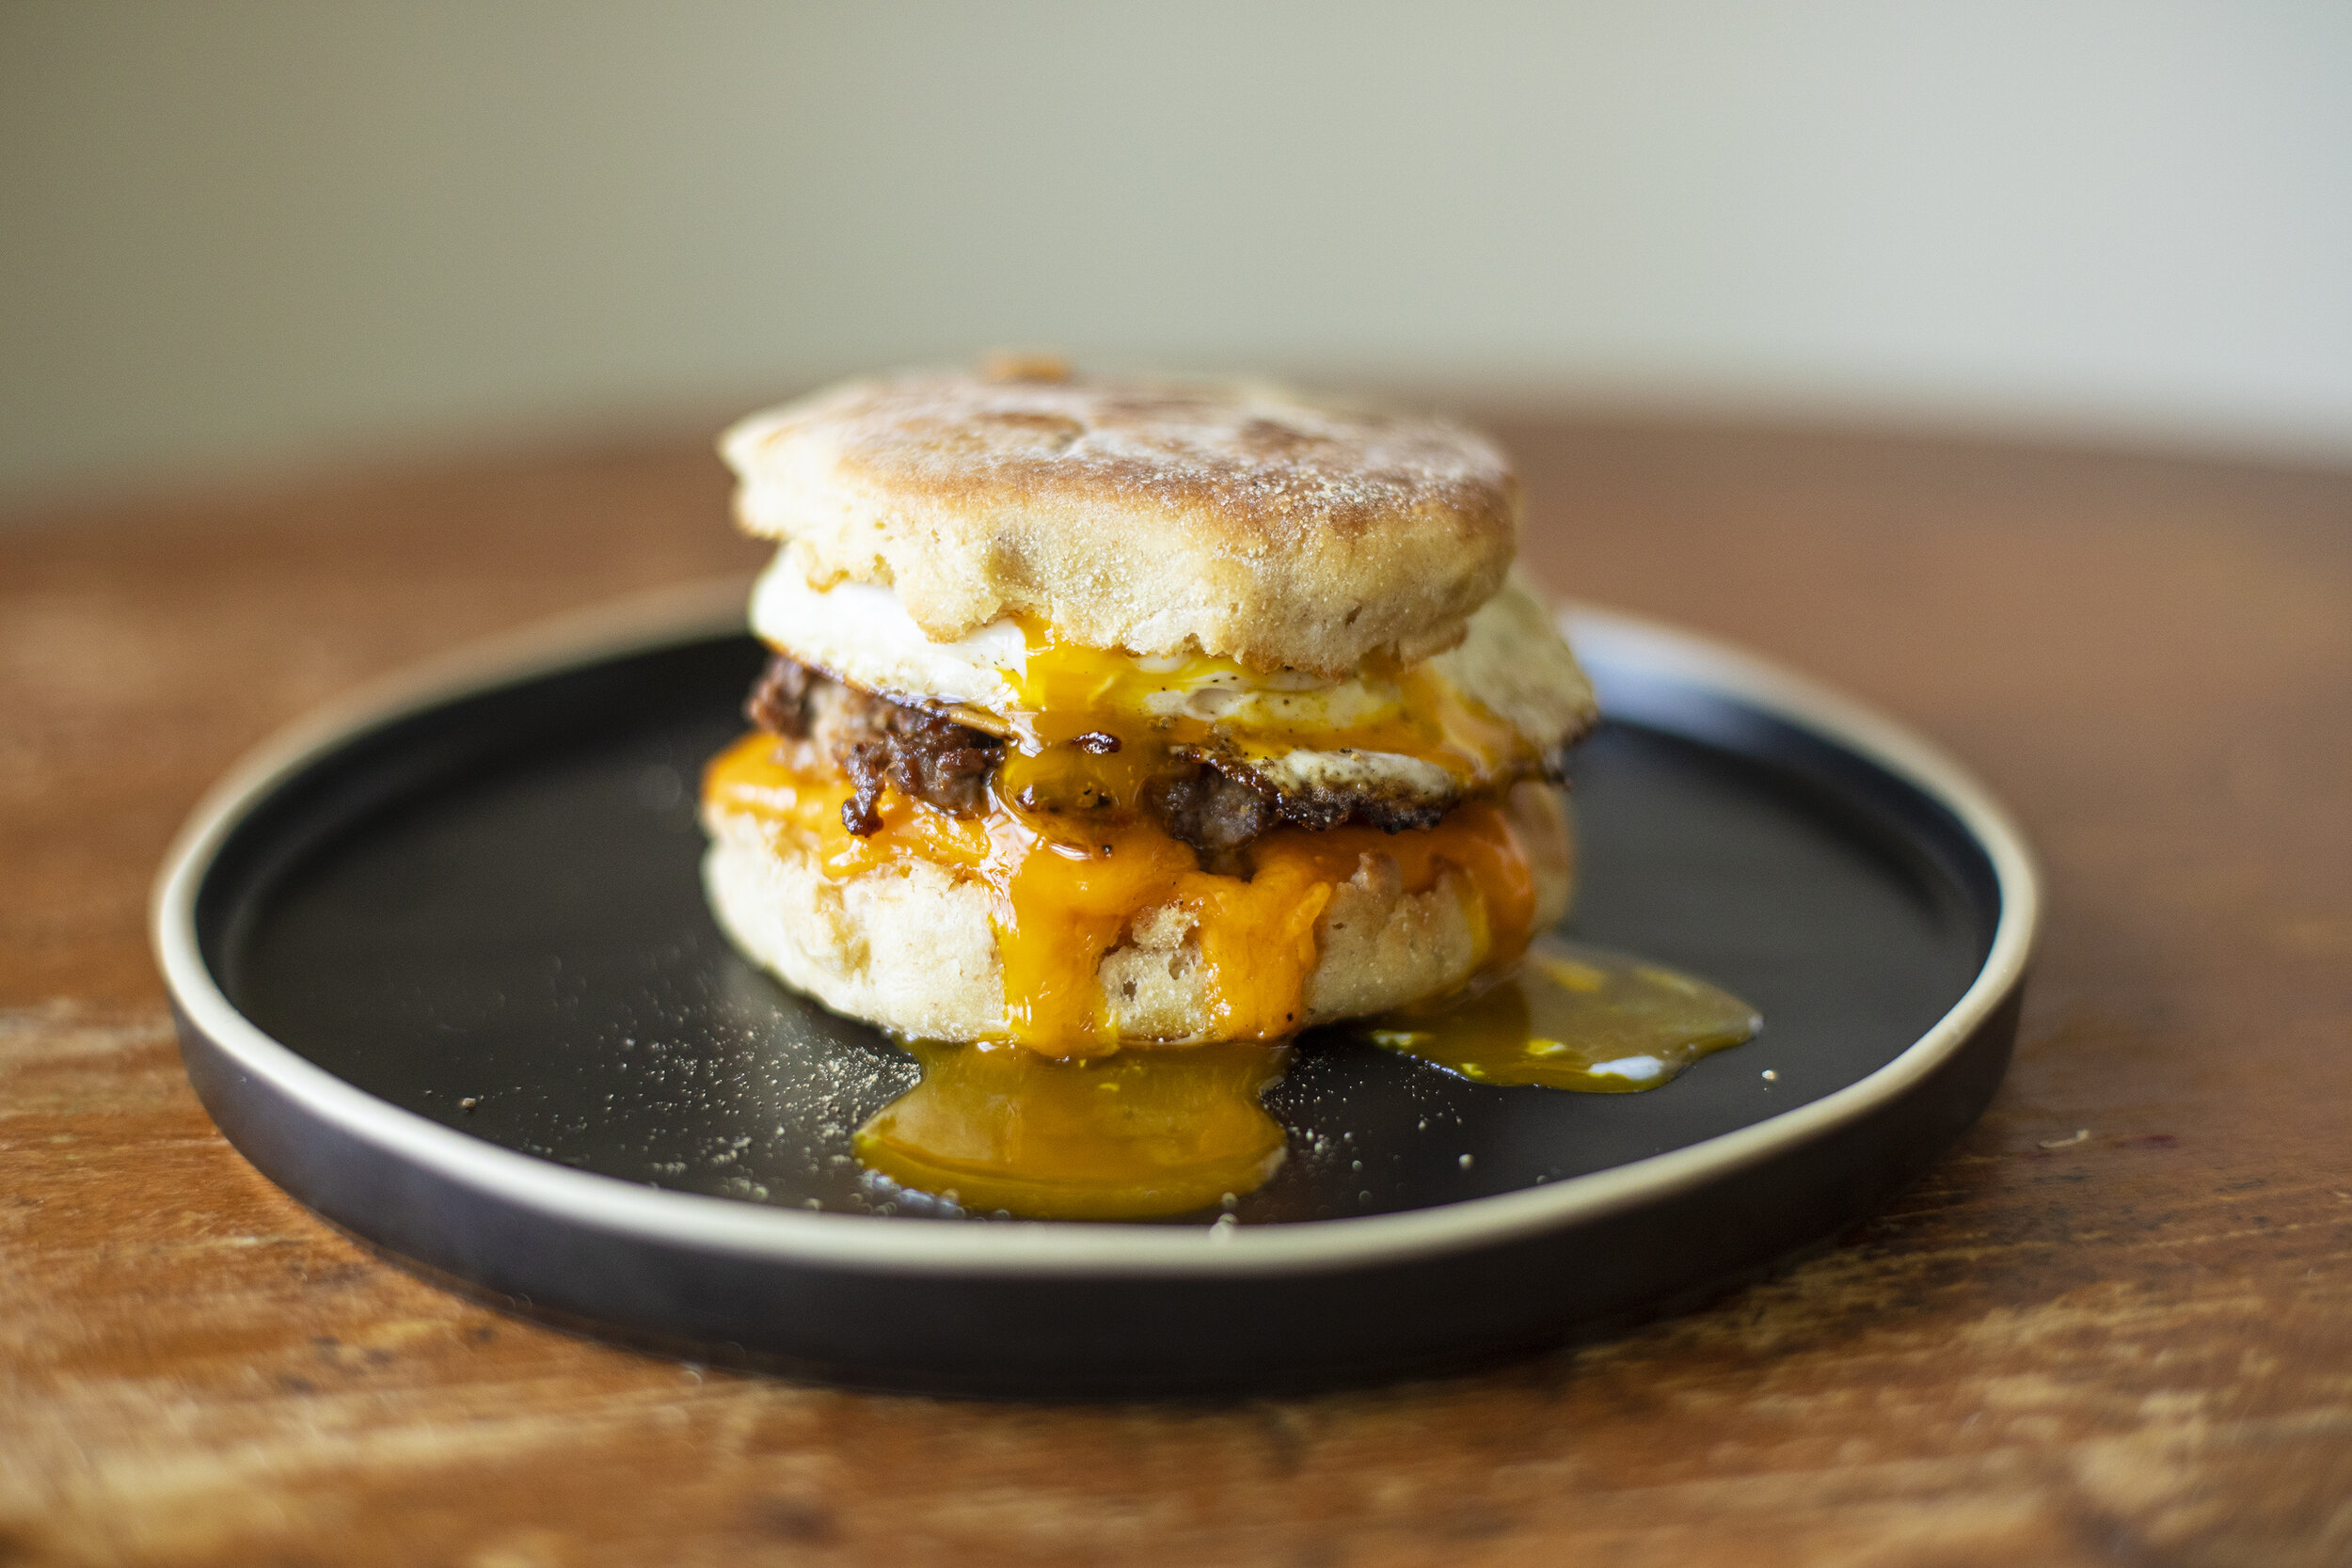
This might look like an ordinary breakfast sandwich, but this thing has a lot going on. Sweet and spicy venison + pork sausage patty, melted cheddar cheese, and a fried egg on top of a homemade sourdough English muffin. This is my version of Thomas’ English Muffin where I tried to replicate the textural experience with a naturally leavened dough. They’re super easy to make once you have an active starter and dare I say better than the original. Video of the process below.

The Sourdough English Muffins

Day 1 Evening

Make your sponge with 110 g active starter, 260 g bread flour, 276 g whole milk and set out to rest overnight at room temperature for approximately 8 hours.

hand in dough.jpg
punch outs.jpg
in skillet.jpg
crumb shot.jpg

Day 2 Morning

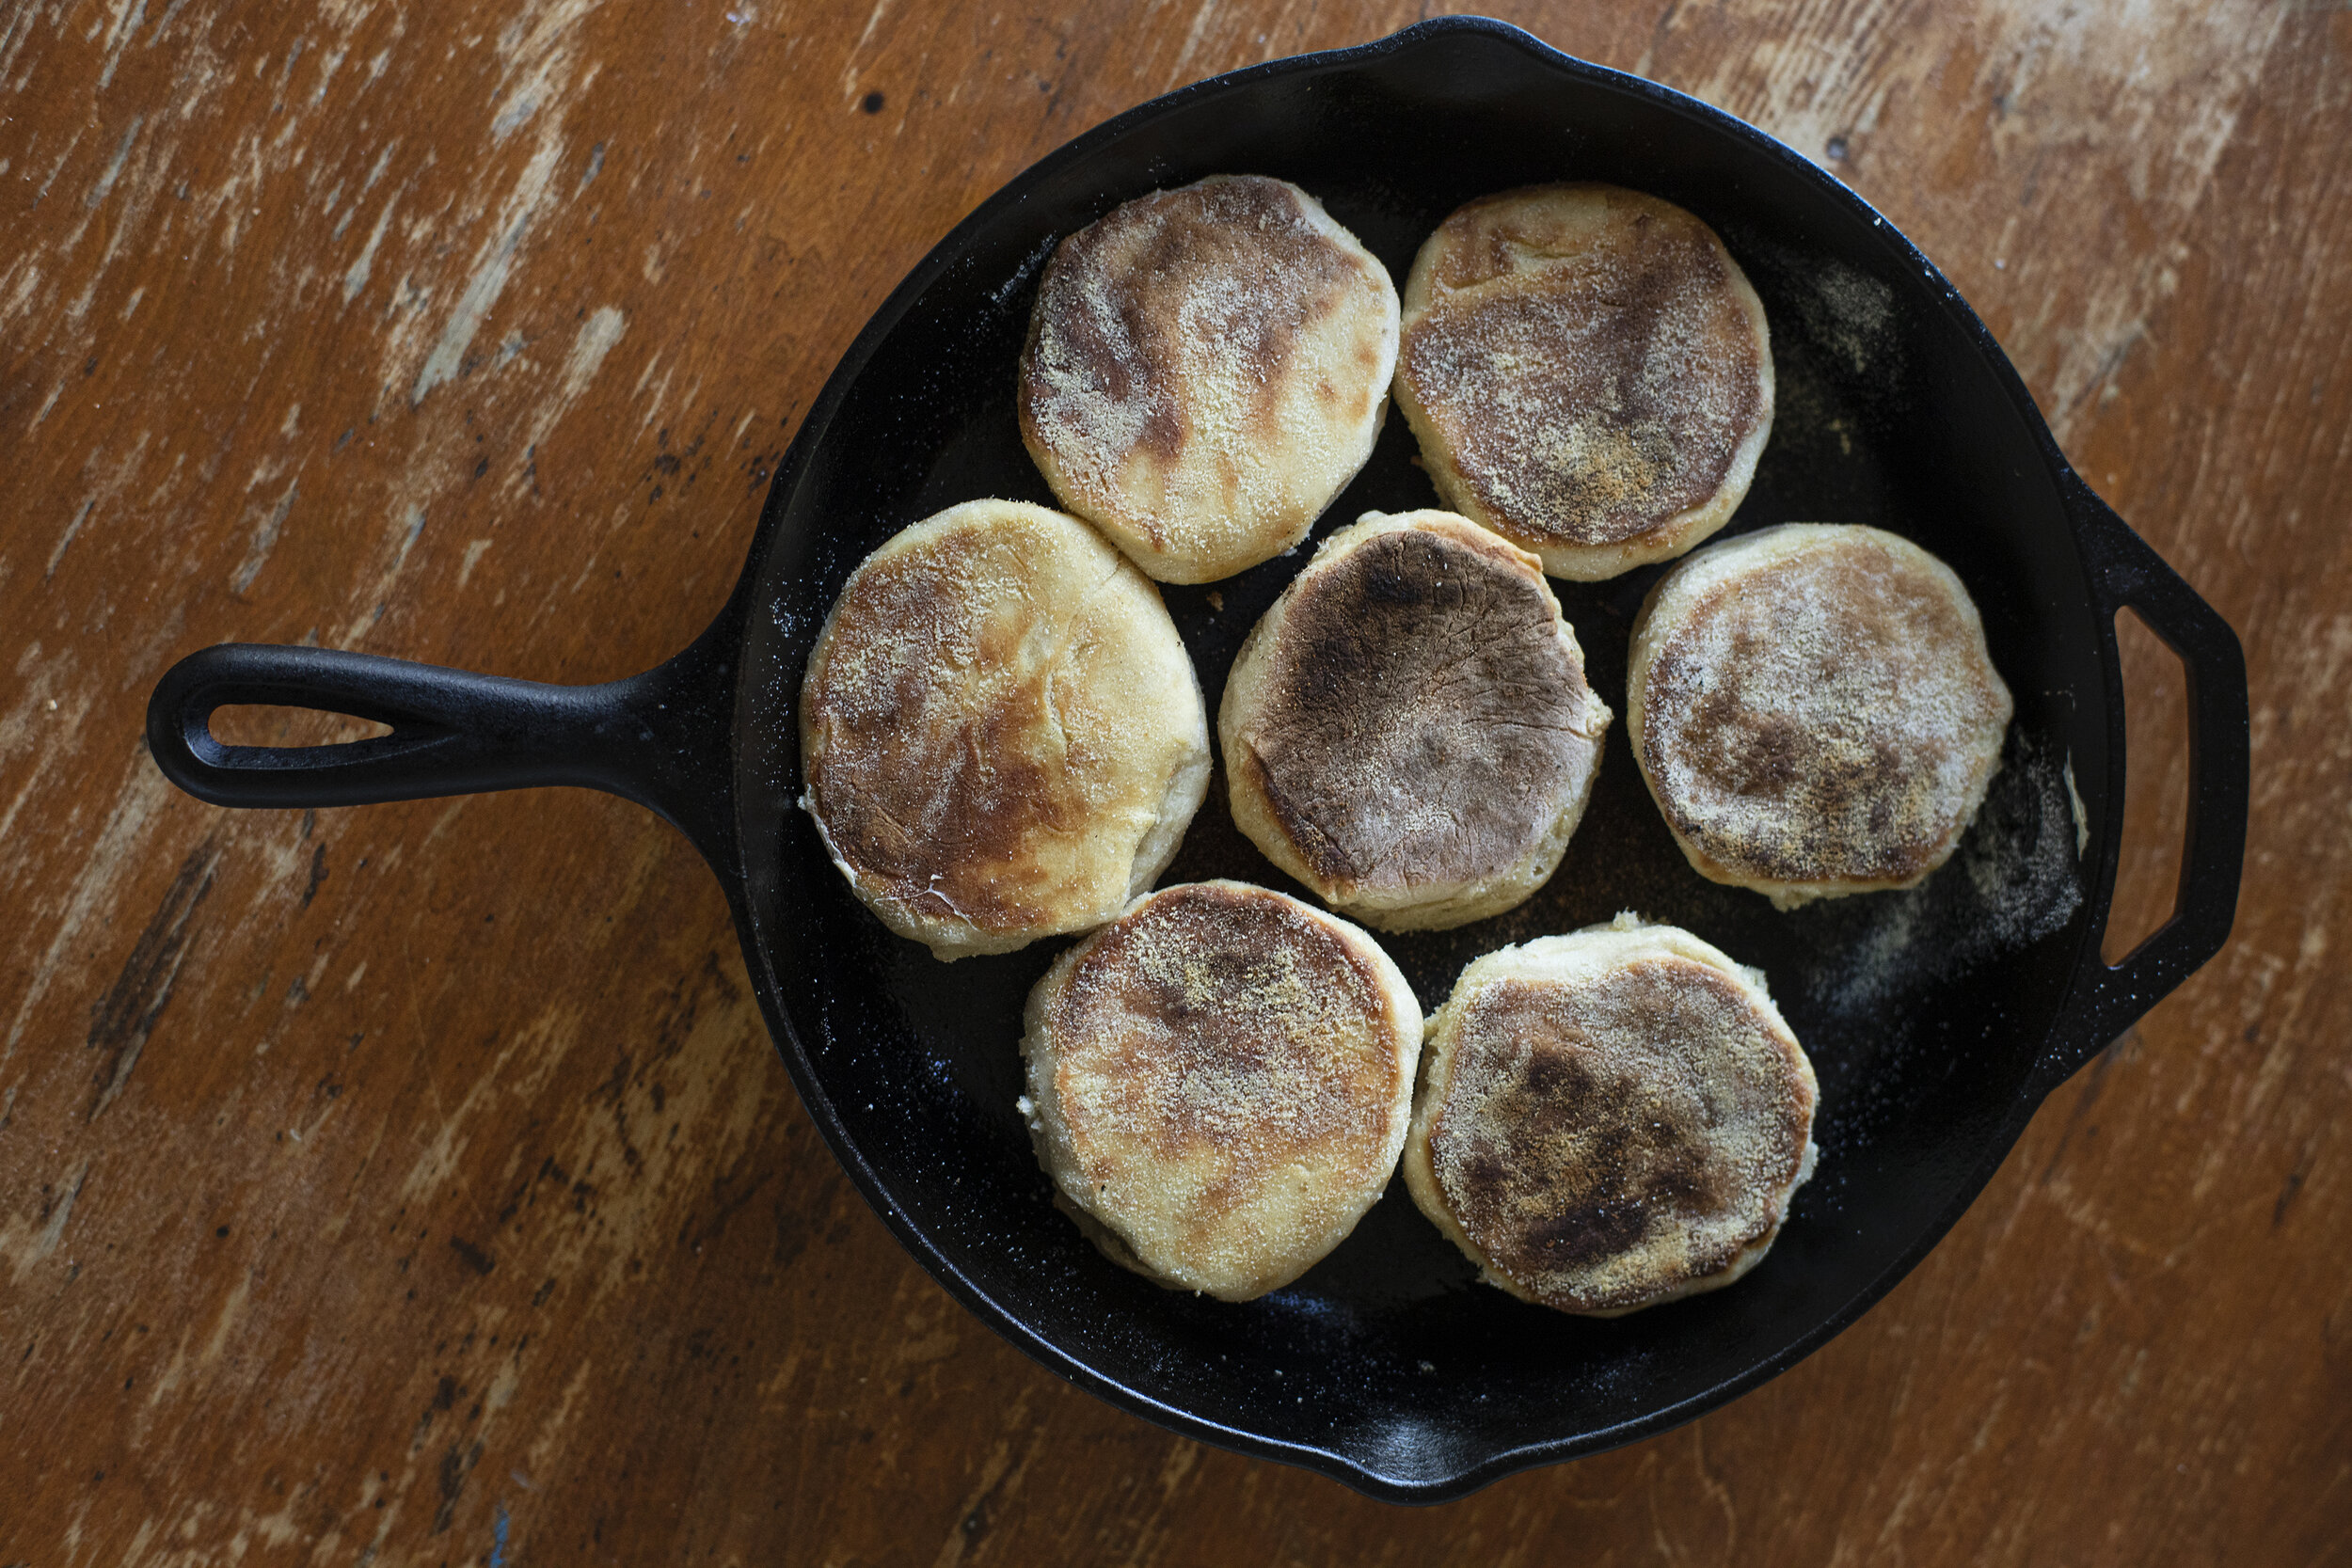
Add another 75 g bread flour, 1 tsp of salt, 1 tsp of baking soda, 1.5 tsp of honey, and 1.5 tsp of melted butter. Knead for about ten minutes until all the ingredients are well incorporated. Flour your working surface and roll the dough out to about half an inch thick. Using a circular form, punch out circles of the dough and dust them with a light coat of semolina. Set aside and let proof for about 45 to 60 minutes. 

Lightly oil a cast iron skillet and set to medium/low heat. Cook muffins directly in the pan for about 7 minutes on each side until golden/toasted brown. Cool on a wire rack and split open with a fork.

sausage ingredients.jpg

The Sausage Patties

   1 tablespoon finely chopped fresh sage

    1 tablespoon finely chopped fresh thyme

    2 teaspoons light brown sugar

    1½ teaspoons kosher salt

    1 teaspoon crushed fennel seeds

    ½ teaspoon crushed red pepper flakes

    ¼ teaspoon freshly ground black pepper

    ¼ teaspoon garlic powder

    ¼ teaspoon sweet paprika

    .5 pound ground pork 

    .5 pound ground venison

patties.jpg

Mix sage, thyme, brown sugar, salt, fennel seeds, red pepper flakes, black pepper, garlic powder, and paprika in a medium bowl. Add pork and venison and work spice mixture into meat with your hands until it's very well blended.

Using your hands, form approximately 3 - 4 inch patties about ¼ inch thick. Griddle sausage over medium-high heat until browned on one side, about 2 minutes. Flip and cook 2 minutes more. Use a grill press to ensure a thin and crispy patty.

open sandwich.jpg

The Sandwich

Lay your split English muffin open on a cast iron skillet and top with good quality cheddar cheese. Set into a broiler until the cheese melts. Meanwhile fry your egg in another pan with a generous amount of butter. Set the sausage patty on top of the melted cheese followed by the fried egg gently placed on top so it doesn’t break. Season with salt and pepper and the top half of the muffin. The sausage is already a little spicy but add hot sauce to your liking.

Tunisian Style Braised Venison Shank with Bone Broth

Before coming to America, my grandparents on my dad’s side took a detour through North Africa. They lived on the outskirts of Tunis, where my dad was born and raised. My Nonno had an eclectic series of business ventures, from driving taxis to operating a canned fish factory. My Nonna took care of everything else. Ultimately they would leave when the climate towards Europeans shifted, but during those two decades during the 1940’s and 1950’s they absorbed a lot of the food culture from the region. This dish is reminiscent of something my Nonna would make during her time in Tunisia and something she brought with her when she immigrated to America. It’s traditionally centered around lamb, but I’ve swapped out the lamb with venison shanks. Beef would be another option that would work well. It is meant to be served family style and makes for an impressive centerpiece to the dinner table. Video of the whole process below.

shanks from above.jpg

Bone Broth:

Simmer deer neck (or whatever bones you are working with), onion, garlic, carrots, bay leaf, and a little salt for 4 - 6 hours until meat is tender and falling off the bone. Pull all of the meat off the bones and set aside for any recipe where shredded meat would be ideal (ie: tacos). Return the bones to the stock and continue cooking for as long as you have time for. This can be made a few days in advance.

bone broth.jpg

Aromatics:

Heat up a drizzle of olive oil in a large pot to medium heat. Layer in ¼ cup of tomato paste, 1 teaspoon of caraway seeds, 1 teaspoon of coriander seeds, halved onion, 2 garlic cloves, salt, pepper, dried chilies to your liking, a few teaspoons of plum vinegar. Saute gently for a few minutes and then add in 2 cups of bone broth. Continue to simmer on low.

shanks in fire.jpg

The Shanks:

Brown the meat in wood fired oven or in cast iron skillet. Transfer the shanks to the simmering broth and cover. Braise in the oven at 300F for about 4 - 6 hours until almost perfectly tender. 

While the meat is cooking, peel your carrots and squash, breaking them down to uniform medium sized chunks.With about 30 minutes to go add in the carrots, squash, pre-cooked chickpeas and ¼ cup diced dried apricots. Return to the oven, covered, and finish cooking for about another 30 minutes until all the vegetables are fork tender.

As it finishes, prepare your couscous. I like using Les Moulins Mahjoub brand which is hand made in Tunisia but you can use whatever couscous is available. Gently layer in the cooked couscous onto a platter and drizzle with a nice olive oil.

shanks final.jpg

Assembly:

Remove from the oven and start layering all of the cooked vegetables on top of the cous cous. Next take the entire shank(s) and lay it on top of the mountain of couscous and vegetables. Set aside a bowl of the rendered juices to ladle on top of the individual portions. Garnish with fresh mint.