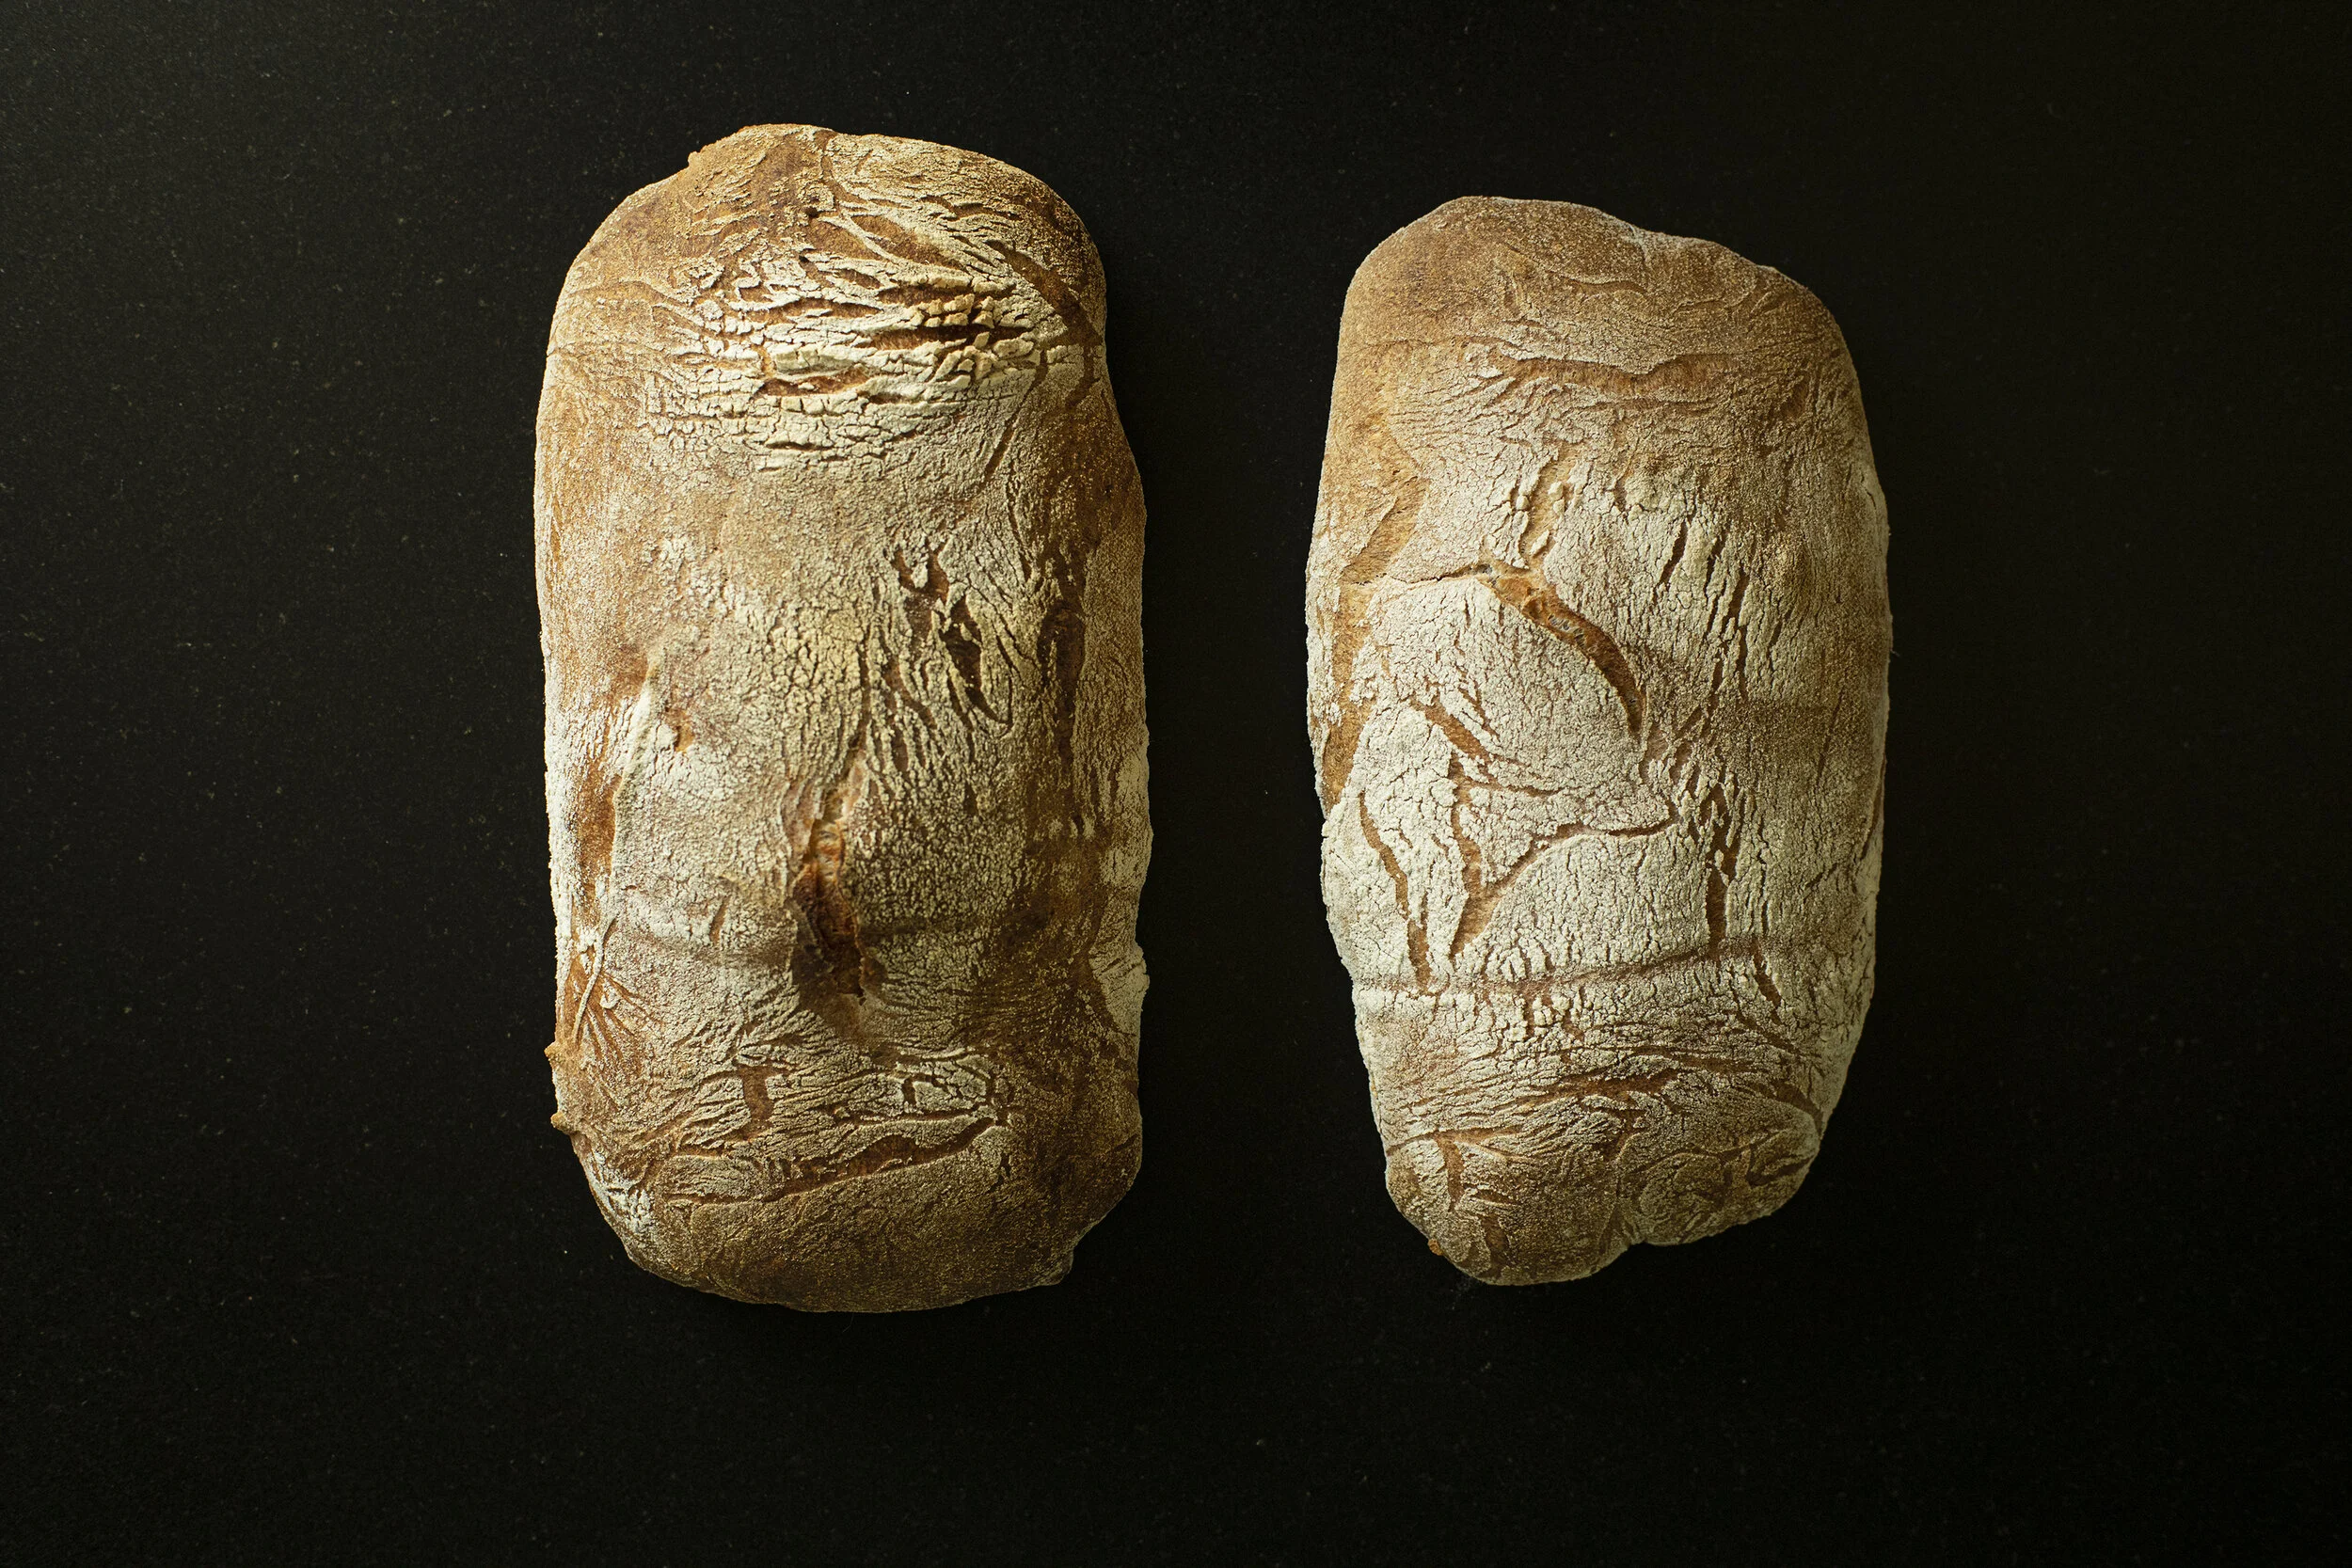
Sourdough Ciabatta
My first attempt at ciabatta was a total disaster. I decided to start from scratch and completely rethink the recipe. Second time around I think I nailed it. Beautiful open crumb and wonderful flavor.

450 g water
53 g whole wheat flour
477 g bread flour
90 g active starter
15 g salt
18 g olive oil
*yields two medium size loaves at 85% hydration
Step 1 Autolyse - 2pm Day 1
Mix together 400 g of water and 530 g of the combined flour. Make sure there are no clumps, cover and set to autolyse for up to six hours. Note that you are reserving 50 g of the total water for the next step.
Step 2 Bassinage Technique - 7pm Day 1
Because of the high hydration, a stand mixer makes this process quite a bit easier. You can mix by hand but it doubles the amount of time it takes to develop the gluten.
Combine the autolyse mixture, 15 g of salt, 90 g of active sourdough starter, and 18 g of olive oil into your mixing bowl. Lower the hook attachment into the bowl and start it at the lowest setting for a few minutes. Very slowly add in the remaining 50 g of water. At this point you may begin to question whether or not it’s going to work but stay the course and the dough will start forming structure. Increase the mixer speed and continue to add water slowly. Increase the speed again. Total mixing time will take about 10-15 minutes. You’ll notice that with patience, the dough begins to form a ball and will start slapping against the sides of the bowl. Transfer the dough into a large mixing bowl or container.
Step 3 Additional Folding - 7:15pm - 9:00pm Day 1
You’ll want to fold the dough three times (with your hands) over the course of the next 1.5 hours to develop the gluten. By the end the dough should be very smooth and should not stick to your hands while folding. It will remain very wet but it should pass the windowpane test. Cover and rest overnight at room temperature.

Step 4 Proofing - 7am Day 2
Uncover the dough and generously flour the surface. Gently pull the edges of the dough back from the sides of the container allowing flour to rolls down along the edges. Turn the container over onto a floured surface and divide the dough into two halves. The key now is to touch the dough as little as possible. Gently shape each half into rectangles and transfer them onto a well floured couche. Any clean kitchen linens will work if you don’t own a baker’s couche. You’ll want to make sure there is a barrier between the two doughs as they proof. Give another dusting of flour to the top of the dough and cover with another couche or kitchen linens. Allow to proof for another 2 - 3 hours.
Step 5 Baking - 10am Day 2
Your oven should be set to 450F with a heatproof bowl of water on the rack to create steam. The next part can be a little tricky and you may need to improvise depending on the type of tools you’re working with. Now it’s time to get your proofed dough off of the couche, onto a peel or board, and into the oven. As long as you have floured the couche and dough liberally you shouldn’t have any issues with the dough sticking. Because of the high hydration you’ll need to work somewhat quickly and confidently. Now you’ll flip each dough off of the couche and onto your launching tool in one clean motion so that the bottom now becomes the top. I like to use parchment paper for this stage as well. For this recipe, both doughs should fit on a medium sized pizza peel and will bake directly on a stone in a medium sized conventional oven. Bake for 20 minutes with the steam and lower the temperature to 425F. Remove the bowl of water and baker for another 20-25 mins until golden brown and well risen. Remove from oven and allow to cool before slicing.