
Sourdough Bagels, Homemade Cream Cheese, and Gravlax
After a few iterations on this sourdough bagel I am finally happy to share the recipe. The texture and taste fall somewhere in between a New York and Montreal style bagel. Along with the homemade gravlax and cream cheese, this makes for an incredibly satisfying breakfast/brunch combination. A detailed video of the whole process is below.

The Bagels
The whole process takes about 22 hours from start to finish and a little bit of smart planning. Ultimately it is a very approachable recipe if you have the right ingredients on hand. I typically start my process around noon on day one and bagels will start coming out of the oven around 10am the next morning. These bagels are approximately 55% hydration which seems to be the gold standard when researching recipes.
Ingredients (for 5 bagels)
250 g water
65 g active sourdough starter
450 g bread flour
10 g salt
4 g barley malt syrup (for the dough)
3 g barley malt syrup (for the boiling water)
1 tsp baking soda (for the boiling water)
semolina (for dusting the tray)
Sesame and poppy seeds (for topping)
*The one ingredient you’re most likely not to have in your kitchen is the barley malt syrup. While it is possible to make bagels without it, it does serve a very specific purpose and is what many New York / Montreal bagel makers use in their formulations. It adds color, sweetness, and helps to condition the dough through the enzymatic processes that it contributes. If you don’t have barley malt syrup, you can use honey, brown sugar, or molasses to add a touch of sweetness - but keep in mind they function very differently.
Instructions
Mix all of your ingredients together in a stand mixer with the dough hook (except for the additional 3 g malt syrup, baking soda, and semolina). Mix for about 10 minutes starting at the slowest setting and gradually increase to medium speed. This can be done by hand but it will take a lot longer to get to the right consistency. When fully mixed the dough should be tacky to touch, but not overly sticky. Cover the bowl and let ferment for 3 - 4 hours at room temperature depending on how warm your area is. Cooler ambient temperature will require longer ferment time.
After 3 - 4 hours, dump your dough onto a clean (lightly floured) work surface and divide into 5 equal portions. Use your hands to roll each piece into a cylinder approximate 8 inches long and about an inch in diameter. Wrap the cylinder around your hand, press the two ends together, and gently roll the seam with your fingers to form a circular shape with a hole in the middle. This may take a few times to get it right, where you have uniform size all the way around each bagel.
Transfer the bagels into a tray, lined with parchment paper and dusted with semolina. Cover with plastic wrap, and a light weight cloth or towel. Allow to ferment at room temperature for one more hour.
Transfer the tray into the refrigerator to cold ferment overnight.
In the morning, around 8am, remove the tray and allow to come to room temperature for about 30 minutes. Meanwhile bring a pot of water to a boil, mix in the baking soda and 3 g of additional malt syrup. Set your oven 500 F. Mix together the poppy seeds and sesame seeds (or whatever topping you like) in a medium sized bowl.
Gently drop a few bagels at a time into the pot of boiling water. They may sink at first, but they should rise to the surface relatively quickly. Boil each side for about 1 minute each. Using a slotted spoon, transfer the boiled bagels to your tray for a few seconds, before transferring them into the bowl of toppings. Use your hands to roll the bagels around so there is a nice even coating on both sides. Transfer the bagels back into your tray. Repeat until all bagels are done.
The bagels can be baked right in the tray or directly onto a pizza stone if you have one. Bake for 7 minutes and then flip, and then 7 more minutes - 14 minutes total time.
Allow to cool slightly before enjoying.

Shaped and proofed.

Bagels will float when properly fermented and proofed.

The Gravlax
This recipe is heavily inspired by a recipe from George Lang that my dad always used to make during the holidays. With the exception of a few minor tweaks, it is very similar to his original recipe.
Ingredients
2 pounds salmon with skin on
2 tbsp Aquavit or Vodka
1/3 cup coarse salt
1/3 cup white sugar
2 tbsp crushed black pepper
4 oz fresh dill sprigs (chopped)
Instructions
Pat the salmon dry with a paper towel. Place it in a bowl or tray.
Coat the salmon with the aquavit or vodka, rubbing it evening on all sides of the fish.
In a small bowl, mix together the salt, sugar, pepper, and dill. Using your hands, pack the mixture onto all sides of the fish. Make sure there is an even coat all around. If some area seem like the fish is exposed, you can sprinkle on a little more salt.
Place a piece of plastic wrap on top of the fish. Now you need something heavy to weigh down the fish. I use a small piece of bluestone, but anything will work. Wrap the bowl/tray/weight with another piece of plastic wrap to ensure it is completely sealed. Transfer into the refrigerator.
After 8 - 12 hrs, flip the salmon over onto the other side, put the weight back on, wrap again in the plastic, and put it back into the refrigerator for another 12 - 20 hours. For a thicker piece of salmon, you’ll likely need more time so the salt can properly penetrate the meat.
Remove the salmon and rinse in cold water. I like to leave a little bit of the cure on the outside, but that’s a personal preference.
Now thinly slice the meat, and serve with crackers, on a bagel, or just eat it by itself.

Day 1: Packing the salmon with salt, sugar, pepper, and dill.

Best when sliced thinly.

The Cream Cheese
It’s hard to compete with Philadelphia cream cheese, but what you’ll get by making your own is a heavenly and luxurious texture and something that feels a little more wholesome. The flavor is a bit more “farmy,” especially if using farm fresh milk and cream so it’s not for everyone - but for me the whole experience was well worth the effort just to be able to experience the difference between homemade and store-bought.
Ingredients
3 cups whole milk
3 cups heavy cream
1/4 tsp mesophilic culture
3 drops of rennet (dissolved into a tablespoon of water)
Chives/scallions (optional)
*You’re going to need a few obscure items here to make homemade cream cheese, but all are readily available either through Amazon or local distributors. Rennet, mesophilic culture, and butter cloth are all important to ensure you have success. This is a two day process, so you’ll need to plan ahead. I start my process at 2pm on day 1 and finish at about 4pm the following day.
Instructions
Combine the milk and heavy cream into a heavy duty pot.
Set your stove top to the lowest setting and bring the mixture up to 75/76 F. You need to pay close attention here so that it does not overheat.
Once you’ve reached temperature, sprinkle in the mesophilic culture and rennet diluted in water, and stir until well incorporated.
Cover and set aside at room temperature for 12 - 18 hours.
When ready, you’ll notice that the whey has separated and there will be a big block of cheese that has coagulated. Take a spatula or spoon and gently break it apart.
Line a medium sized bowl with a folded piece of butter cloth, and carefully transfer the cheese into it. Pull up the corners of the butter cloth, and tie it together in a tight ball. You’ll need to hang the ball over the bowl for the next 8 hours, so you may need to get crafty with how you do this. Over the 8 hours, all the whey will drain out, leaving you with a super creamy ball of cream cheese.
Open the butter cloth and transfer to a clean bowl. It might seem a little stiff at first, but use a spatula to spread it around and reveal it’s velvety texture. Season with salt to your preference. Add in scallions/chives if you’d like. Enjoy!

After the rennet has done it’s work, this is the moment the coagulated cheese is broken.

Transferring the cheese into the butter cloth.
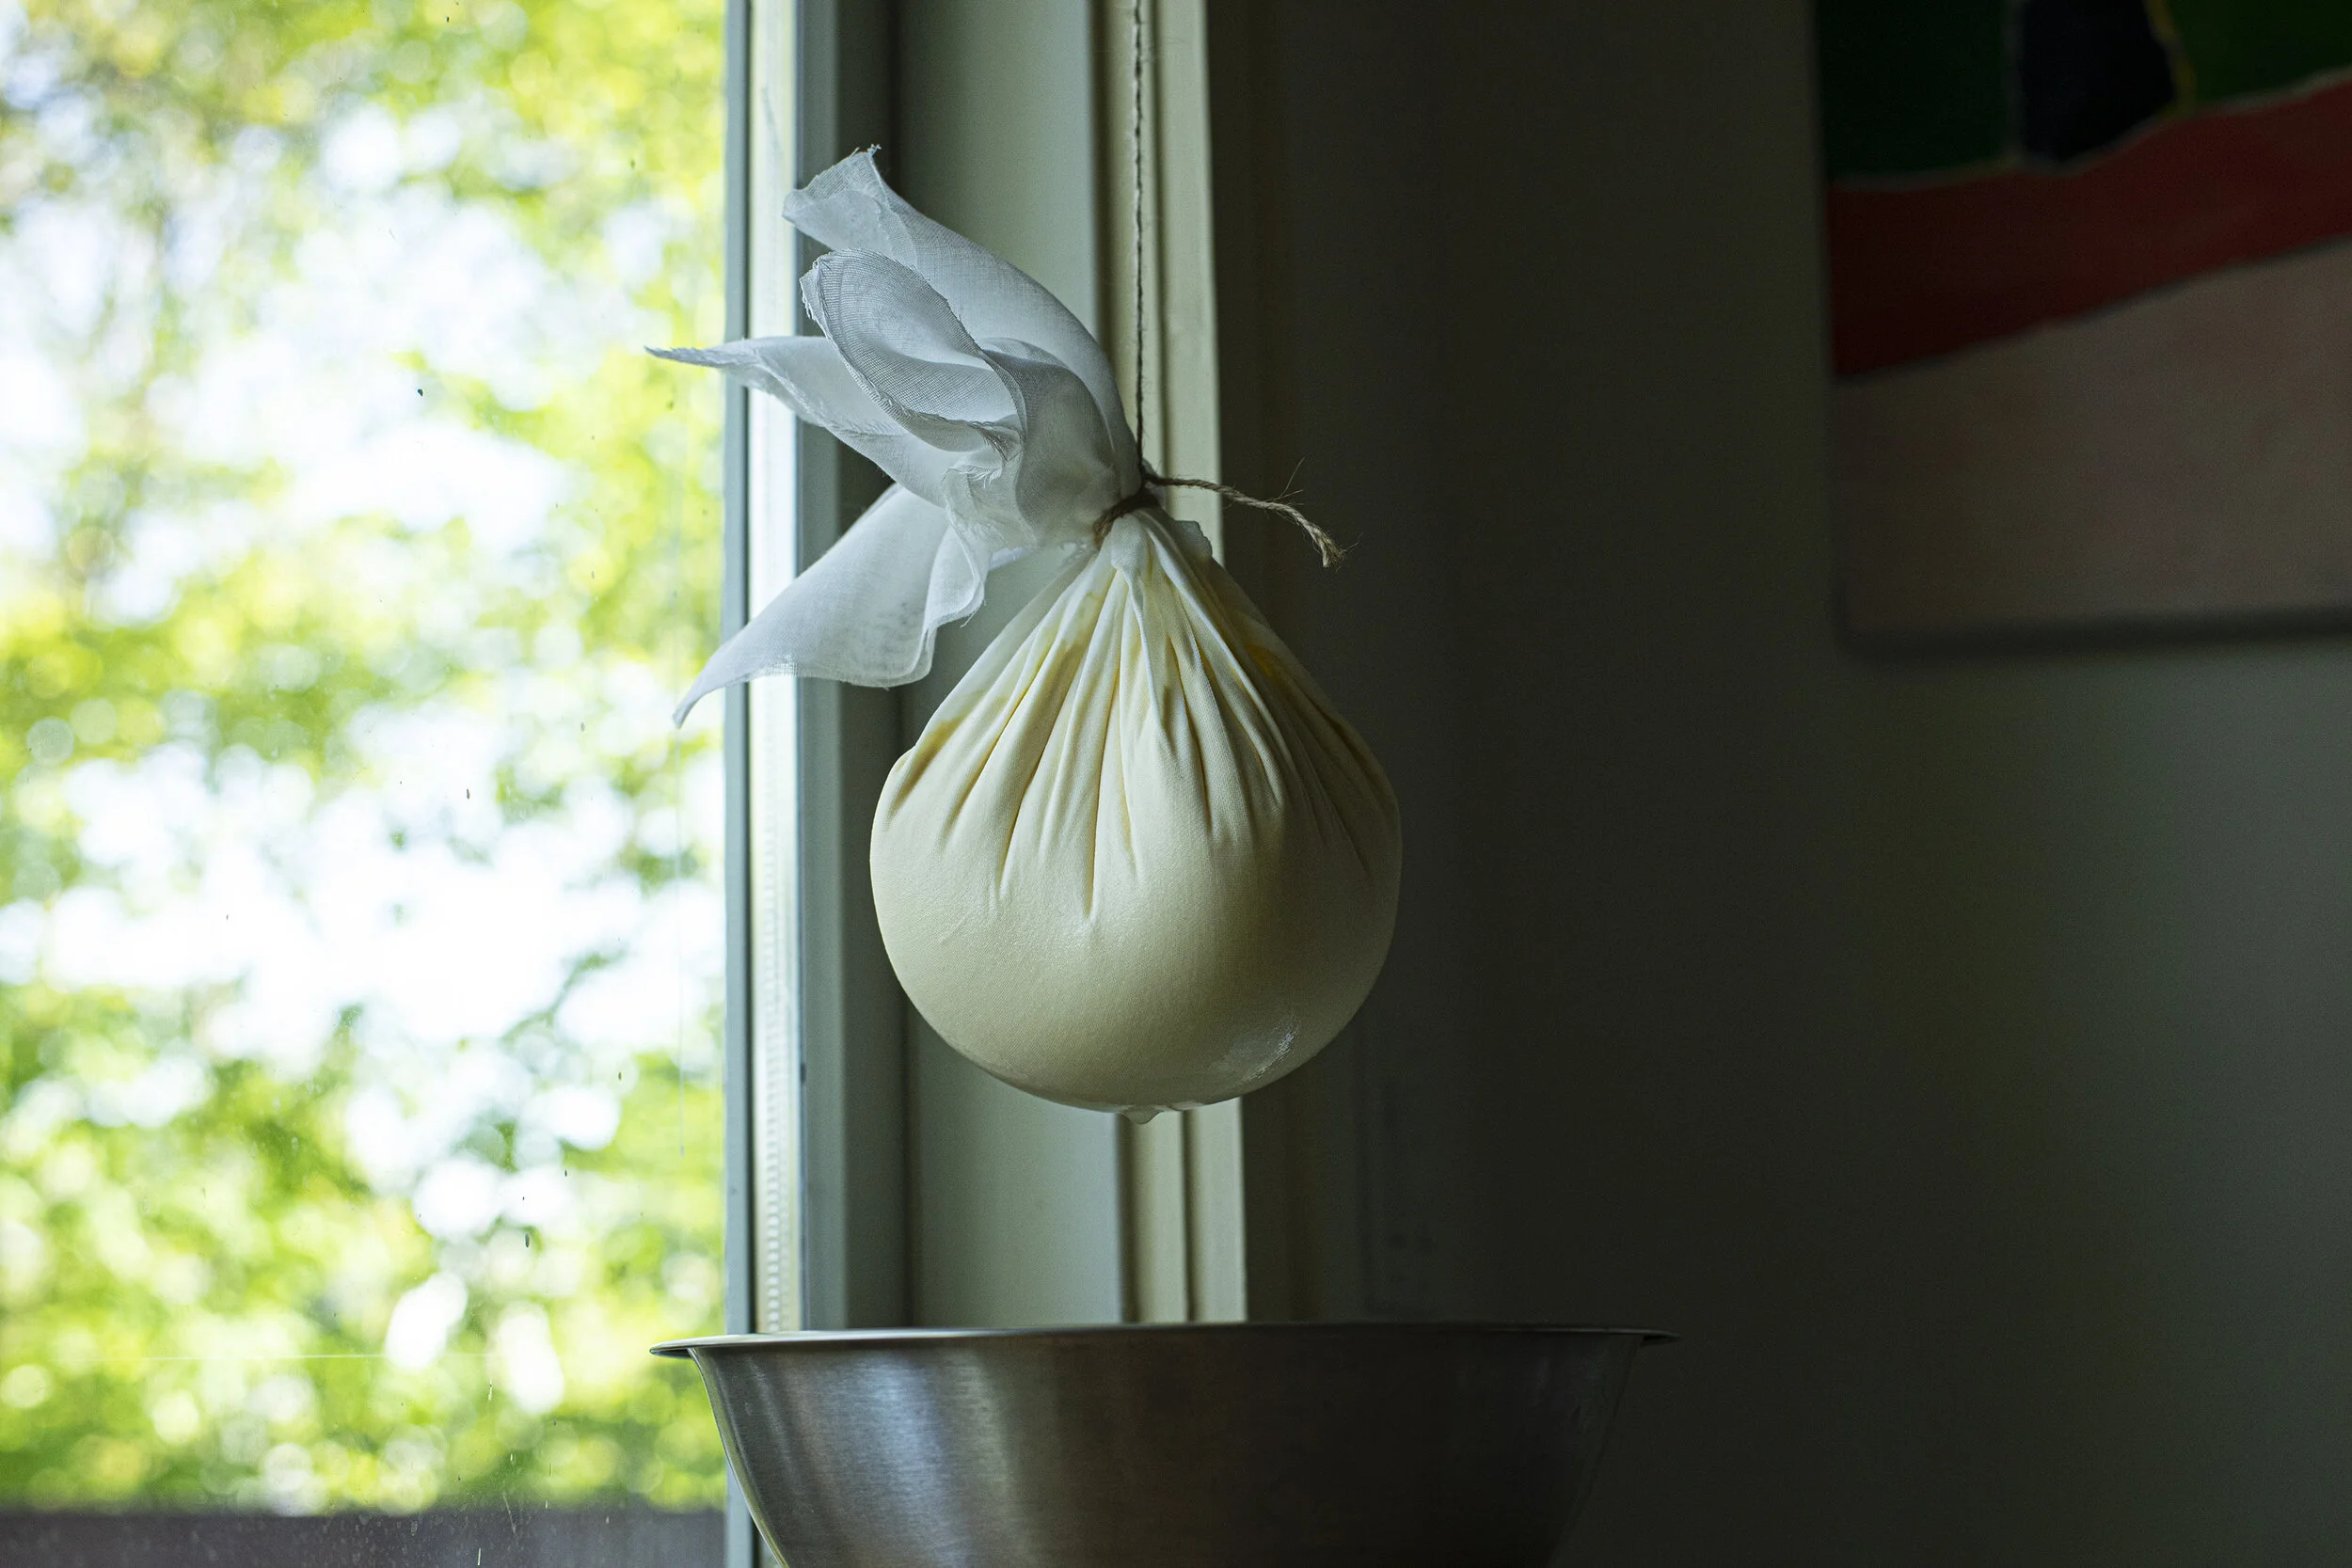
Hanging the cheese for 8hrs to drain the whey.
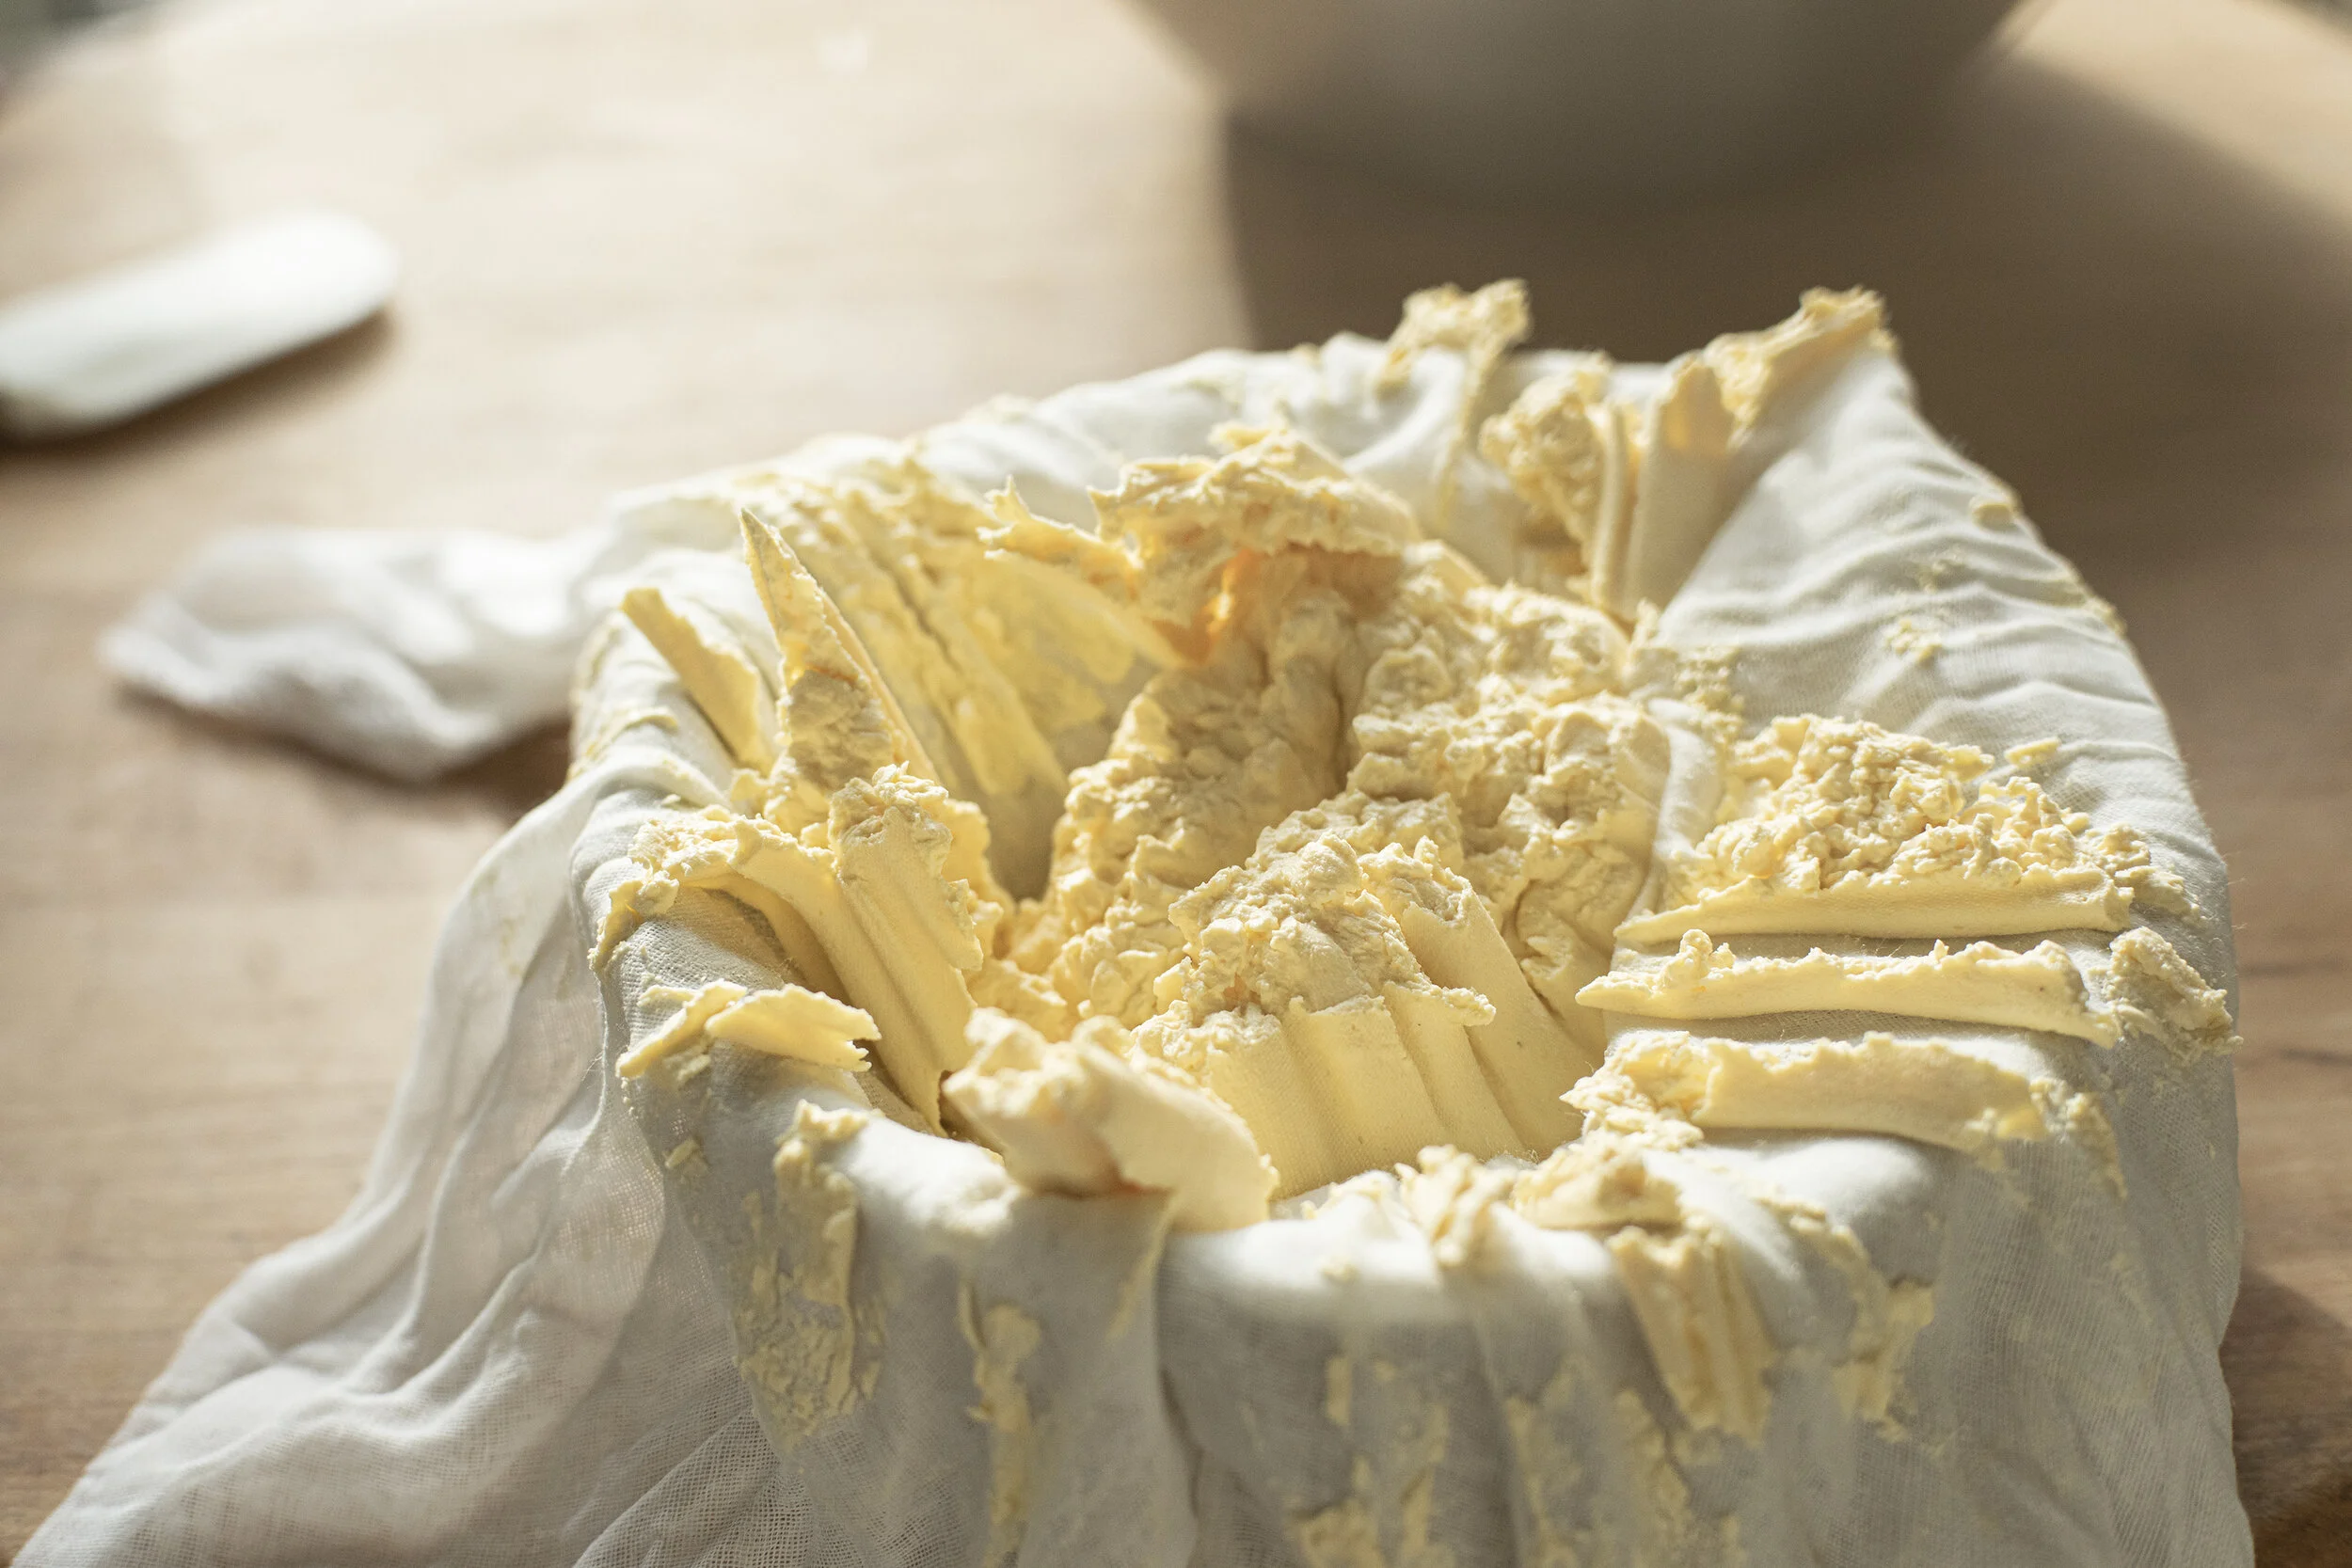
The moment the butter cloth is opened.
